
Hello! Welcome back to my blog. I am excited to share a couple of projects inspired by Altenew’s Clean and Simple class taught by Jennifer Rzasa. This class is part of the Altenew Educator Certification Program (AECP) that I am participating in.
I had so much fun taking the class which was packed with tips and tricks from Jennifer. Before the class, I thought I got this style down. Well, I have to say I struggled with coming up with a simple design for my projects. Who knew that “clean and simple” isn’t simple at all!
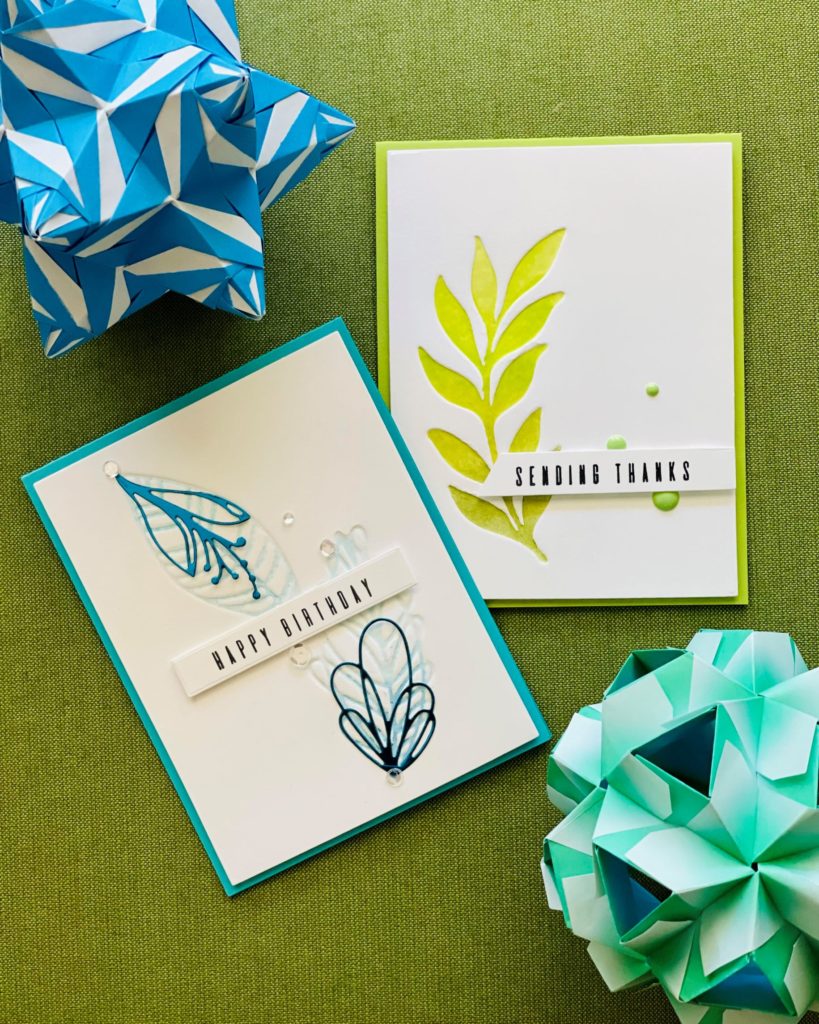
Jennifer covered many techniques in the class and one of lessons was faux letter press. I have been wanting to try faux letter press for some time now. This was perfect opportunity to give it a go for the assignment. Let’s look at my two projects.
Card #1
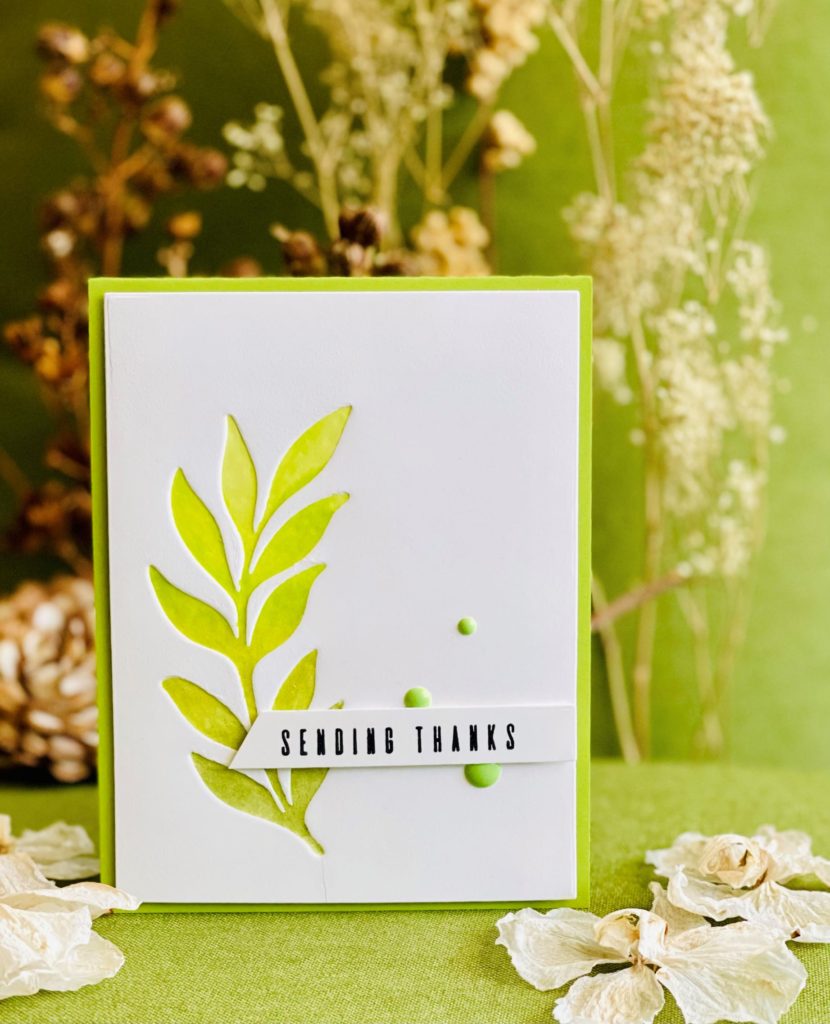
The first step was to prepare the die cuts for the pressing element. For the first card, I chose to feature Altenew’s decorative swirl die set. I die cut the two leaves from the set twice with 110lb Neenah Solar White cardstock and once with vellum. For each leaf set, I adhered all three layers with the vellum at the bottom of the stack. Once the pressing elements were ready, I needed to pick the inks to press with. Dye inks work best for this technique, but I suspect Distress Oxides may work well also. I can’t wait to try this technique with Distress Oxides next time. Anyway, I wanted an ombre effect, so I chose Altenew’s Tropical Forest Mini Ink Cube set. With the vellum side facing up, I applied the ink cubes directly on the vellum with the lightest color first and gradually with darker inks towards the bottom.
Meanwhile, on my die cut machine (I used Spellbinder Platinum 6 for this project), I put a Tim Holtz’s 120 lb. watercolor paper panel. I used Tim Holtz watercolor cardstock for its’ thickness and bright white. Then, I put the stacked pressing element facing the watercolor panel and ran it through the die cut machine back and forth. I followed the machine’s sandwich instruction to make a die impression (platform, embossing mat and embossing plate). I found that the 120 lb. watercolor card stock along with the sandwich plates generated too much pressure. There were many cracks on the panel. One of pressing element leaf set broke in half after the first pass through the die cut machine! (I was left with one remaining pressing element to use. I guess it was good that I made two pressing elements.) Next, I tried misting the panel with some water. Again, too many cracks! Then, I tried an 80lb layering paper and instead of the embossing plate, I used the clear-cutting plate. That didn’t give enough pressure and the result was no faux pressing at all. Just as I was about to give up on the project entirely, I thought a slightly lighter card stock with the original sandwich plates may work. I switched to 110lb Neenah Solar White A2 (4.25″x 5.5″) card panel, I misted it with water and again ran it through with the same sandwich. The fourth time was the charm! The faux letter press came out beautifully. I learned that card making can be a trial-and-error process and often requires persistence.

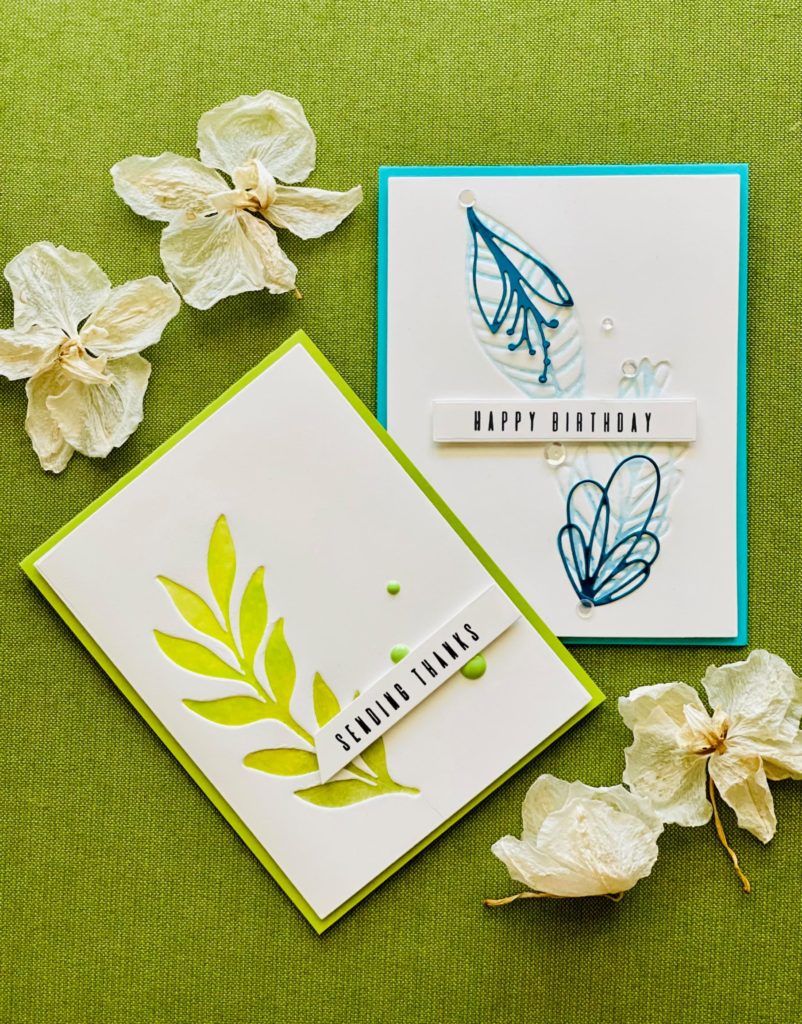
For the card design, I had to reframe from doing too much. It was difficult not to fuss with adding more textures, layers and complicated designs. In keeping with the clean and simple theme, I trimmed the panel slightly smaller and mounted the panel with some foam tape on a green A2 top folding card base. I applied some anti-static power to a white card strip, stamped “Sending Thanks” from Altenew’s Sohcahtoa stamp set, and heat embossed it with clear embossing powder for a subtle shine. For a finished look, I added some light green enamel dots.
Card #2
For the second card, the process was the same as the first card. I chose Altenew’s Leaf Mix Die Set. For inks, I used Altenew’s Cool Summer Night Mini Ink Cube set. For this card, I decided to add some extra shine (Jennifer suggested using metallic specialty paper) to complement the skinny leaf outline.
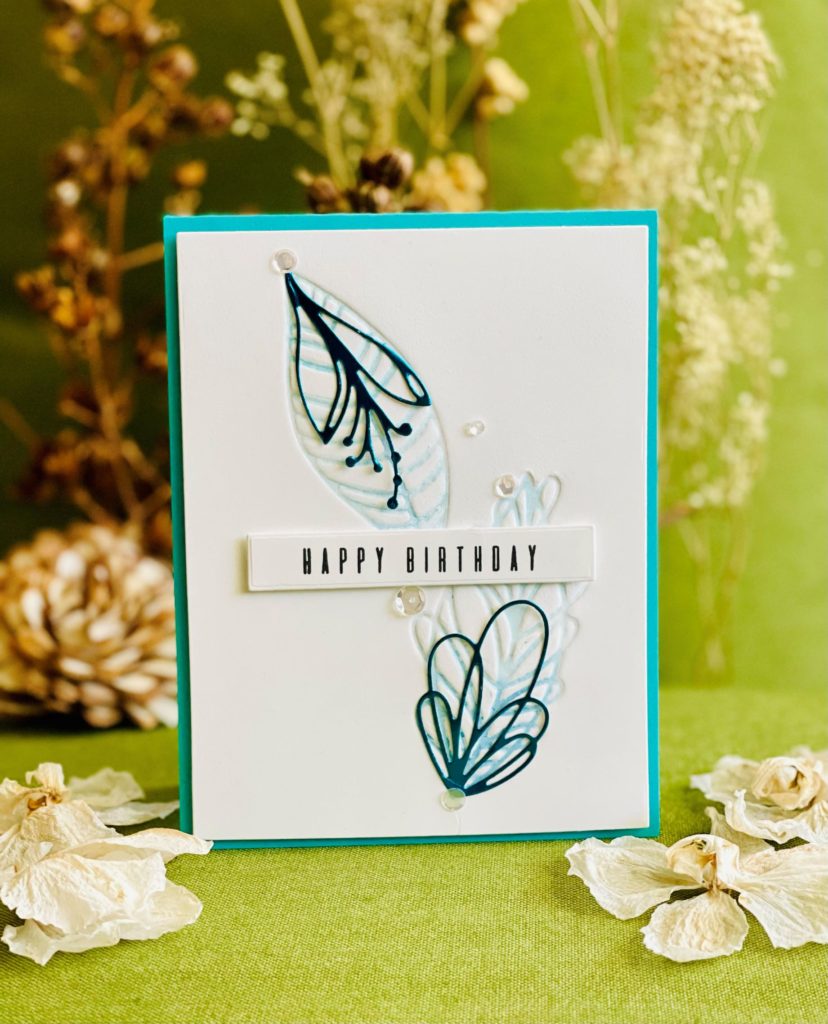
The die set comes with several inner parts for the leaves, and I picked two to die cut with some teal foil paper. I stamped “Happy Birthday” from Altenew’s Sohcahtoa stamp set on a white card strip, mounted it on foam tape for dimension. The entire panel was mounted on a teal A2 heavy weight top folding card base with some foam tape. For some added shine, I finished the card with some Crater Lake sequins from Catherine Pooler Designs.
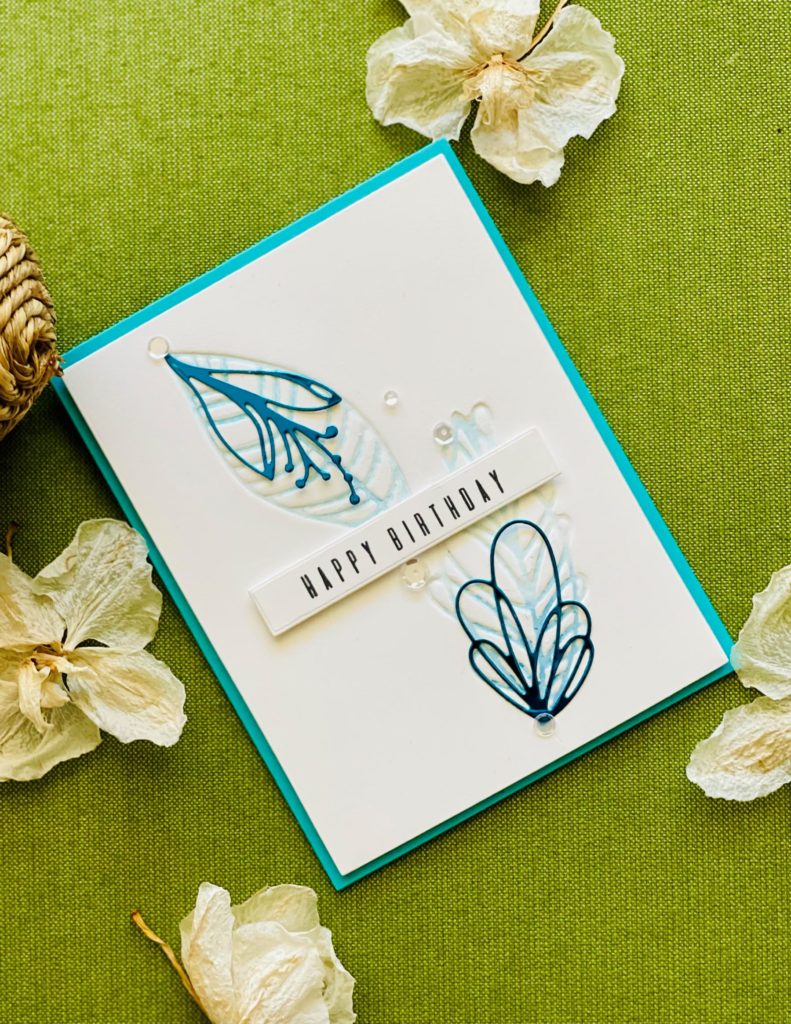
I love how these two cards turned out. I can’t wait to do more of faux letter press in the future. The takeaway for me is to keep things simple and not over complicate the designs which I tend to do. I hope you are inspired to give this technique a try.
Thanks for stopping by and I wish you a beautiful day. See you soon.
Lillian
Tips:
(1) For softer ink transfer, use a blending brush instead of inking directly on the pressing die stack element.
(2) Once you place the pressing element on the panel, reframe from moving it to avoid inks on unwanted area of the panel. Ask me how I know!
(3) The pressing element can be reuse for other projects.

Absolutely stunning! Thank you for submitting your beautiful work to the AECP assignment gallery.
Thank you so much Erum!