Hi! Welcome back. As I am working through the Altenew Educator Certification Program (AECP) course work, I am amazed in learning the innumerable techniques and tools out there in the paper crafting / cardmaking world. Today’s projects are inspired by Altenew’s Celebration Stencil Techniques class taught by Laurel Beard. This is my fifth submission for level 1 of AECP.

Stencils are known for creating background, but Laurel showed us many more creative uses. For my assignment, I am featuring two cards using beautiful stencils from Altenew.
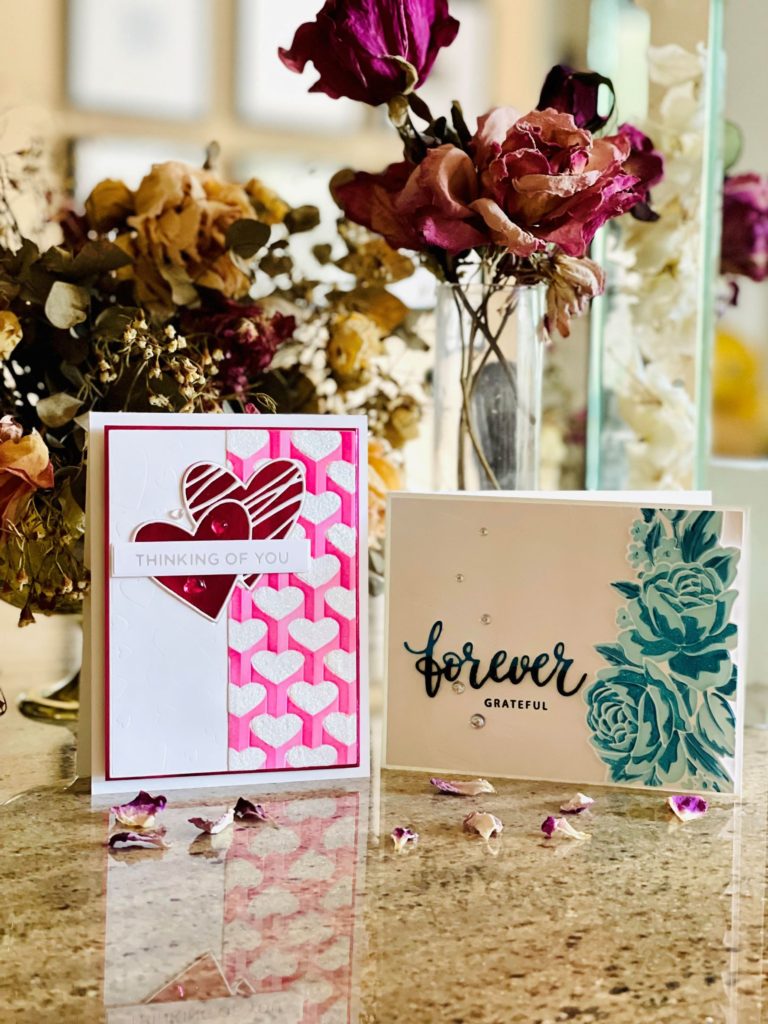
Card #1 – Sweet Spring
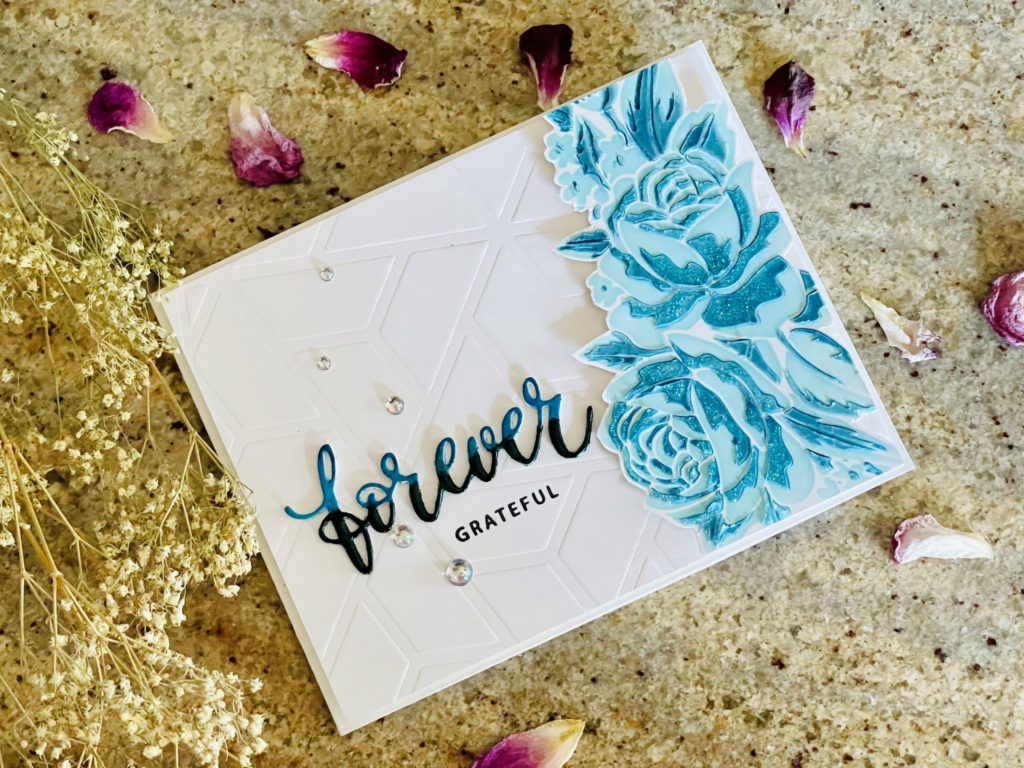
I have Altenew’s Sweet Spring stencil in my stash for a while and it is perfect for this assignment. There are two images in this stencil (an outline and a layer). To begin, on a heavy weight Neenah Solar white card panel, I ink-blended the outline image with Altenew Ocean Waves crisp dye ink. By the way, to prevent the card and stencil from moving, I used Brutus Monroe stick and stamp mat, a very useful tool in my craft space. It held both the card panel and the stencil in place without the need to use excessive tape. For the second image, I opted for Altenew Desert Night ink.
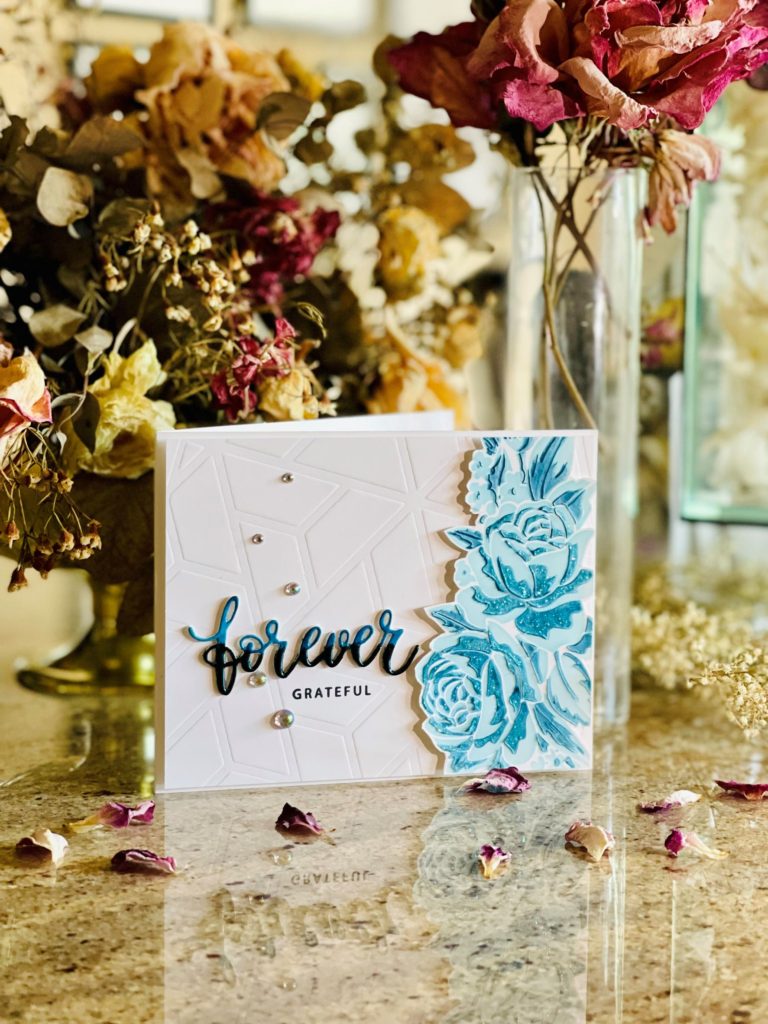
After cleaning the stencil, for extra dimension, I applied some Hero Arts texture paste to the inked panel. To prevent the harden paste from damaging the stencil, I immediately cleaned it with warm water. I set the panel aside to dry. Did you know that you can dry emboss stencils? This is the perfect technique to add subtle texture to the background. It was exactly what I did on a separate A2 Neenah Solar white layering card panel with Altenew’s Color Block Triangle stencil. Be sure to follow your die-cutting machine’s sandwich instructions to dry emboss stencils.
Next, I die cut the “Forever” die from Gina K Designs once with a Lindy’s Gang mica powder blended background scrap from another project, and twice with white cardstock scraps. After adhering the three layers together, for added impact, I heat embossed the bottom half with Lindy’s Gang’s Midnight Teal embossing powder.
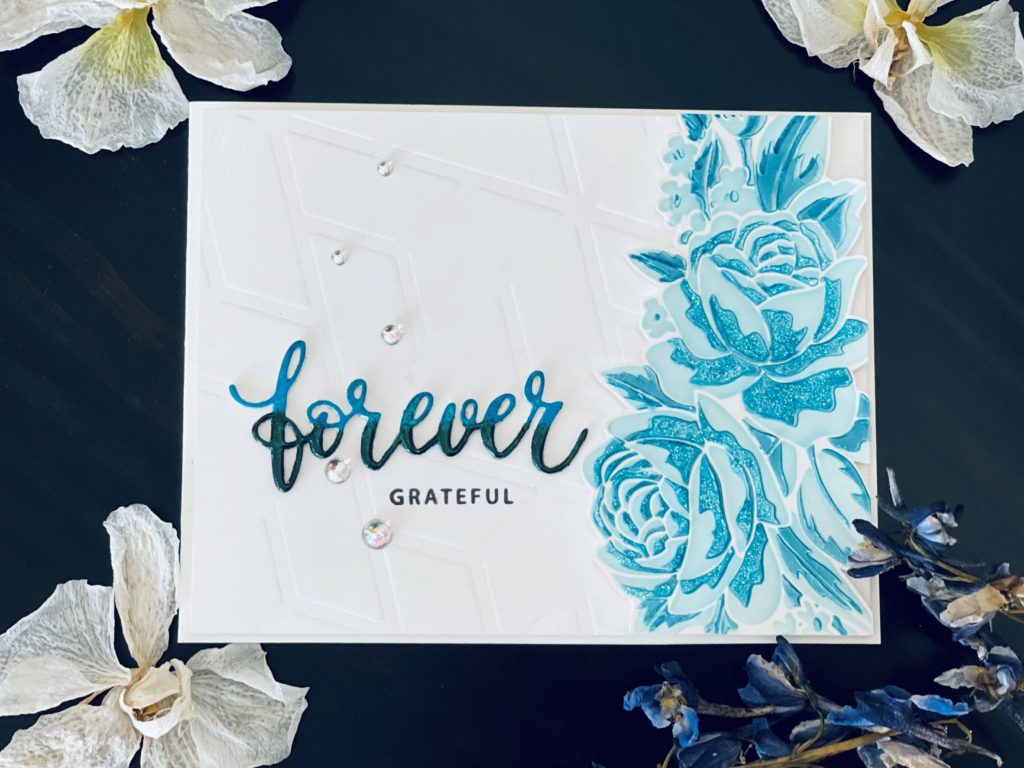
After the Sweet Spring image was dry, I fuzzy cut it. Then, I added some Ranger Star Dust Stickles glitter gel to the flowers for some sparkle. Once again, I set it aside to dry. In the meantime, on the dry embossed A2 panel, I stamped “Grateful” with VersaFine Clair nocturne ink. I adhered the “Forever” die element above the stamped “Grateful”. I love the topography contrast of the two words. To finish the card, I glued the focal to the right side and affixed some Studio Katia magic pearls around the sentiment. For dimension, I attached some foam tape and glued the entire panel to an A2 heavy weight horizontal folding card base.
Card #2 – Hearts Galore
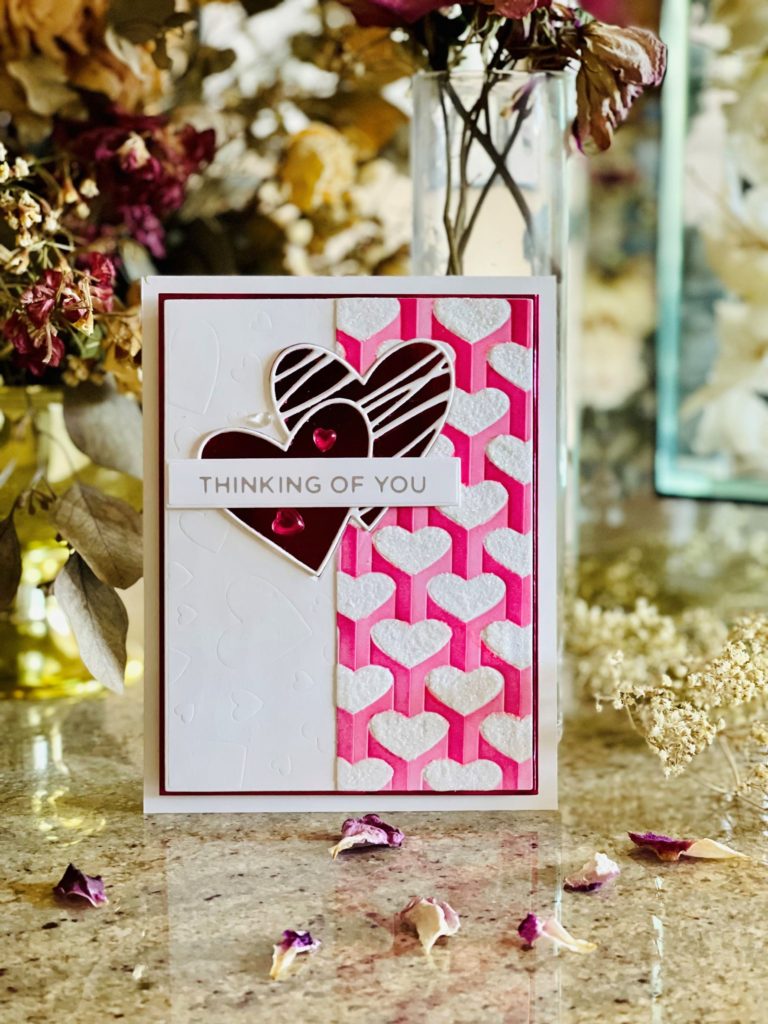
For the second card, I used Altenew’s Heart Builder stencil. With the stencil overlay on an 80 lb. Neenah Solar white panel, I ink-blended it with Altenew Coral Berry crisp dye ink. After cleaning the stencil, I flipped it over and ink-blended with Ruby Red ink. The stencil came with instructions that was easy to follow. For added texture and shine, I wanted to add some Gina K Glitz glitter gel to the heart shapes. In order to do so, I needed a way to apply the gel.
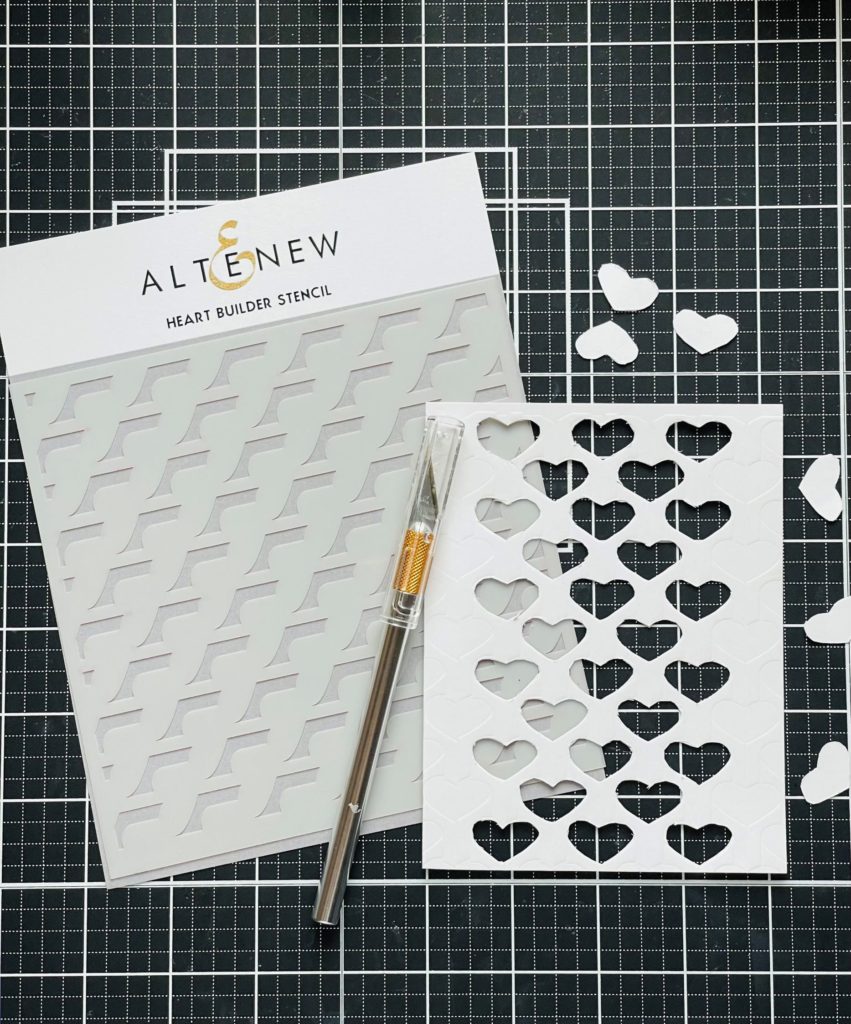
So, on a heavy card stock, I dry embossed the Heart Builder stencil following same process described above. Then, I cut out the hearts with a craft knife. After some time and a lot of patience, Voila! I have a stencil to use! I applied the glitter gel and set it aside to dry.
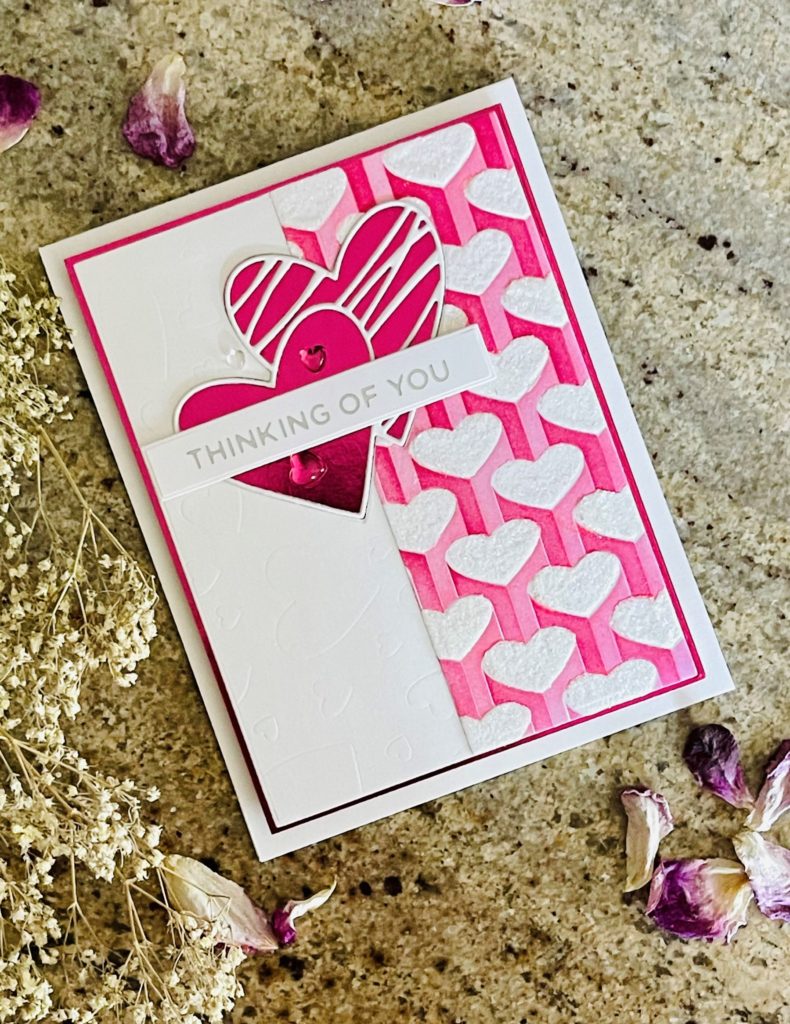
Meanwhile, on a separate A2 Neenah Solar white layering card panel, I dry embossed Simon Says Stamps Tumbling Hearts stencil. Next, I died cut Simon Says Stamp Sketched Hearts die three times with white cardstock scraps and adhered them together for dimension. Once the inked hearts panel was dry, I cut a 2” x 5” strip and glued it to the SSS Tumbling Hearts panel. For the card design, I used SSS Sketched Hearts die to create an aperture. Since the panel was thick, I needed to run it through the die cut machine twice.
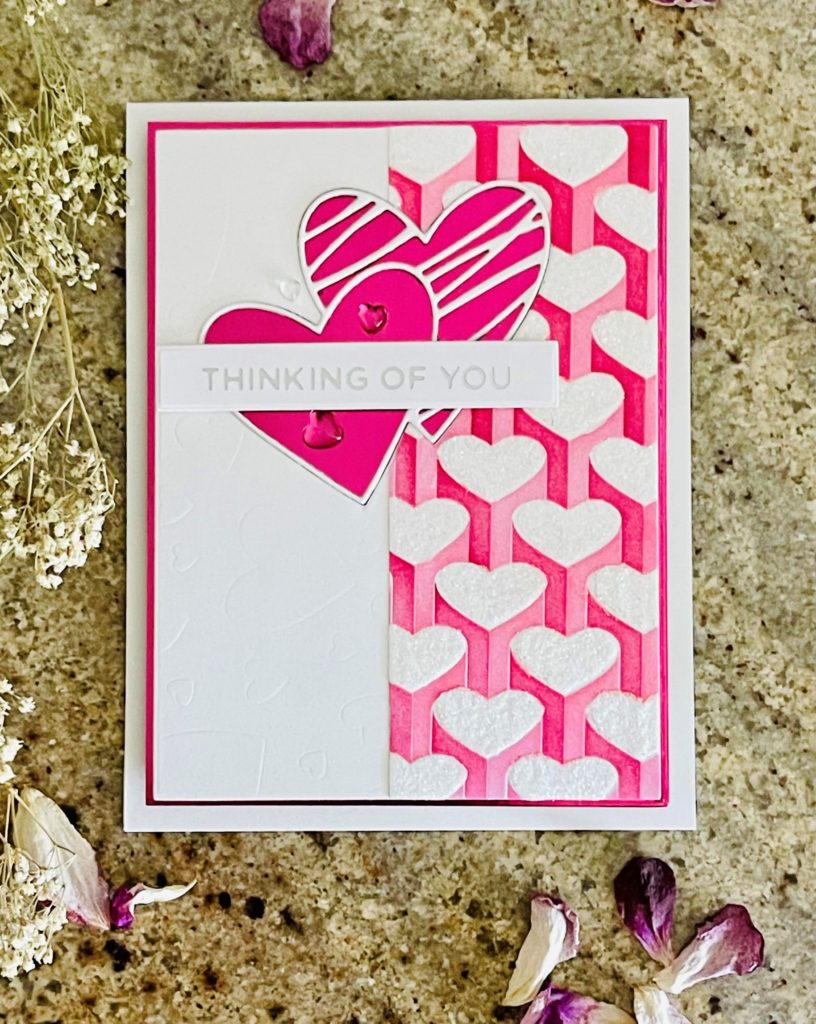
Next, I adhered the panel to a slightly larger foil paper cardstock and glued the SSS Tumbling Hearts die cut element to the aperture. Finally, I adhered a matte silver hot foiled “Thinking of You” sentiment from my stash. I affixed some foam tape in the back and adhered the panel to an A2 top folding heavy weight Neenah Solar white card base. To finish, I added some crystal-clear hearts embellishment.
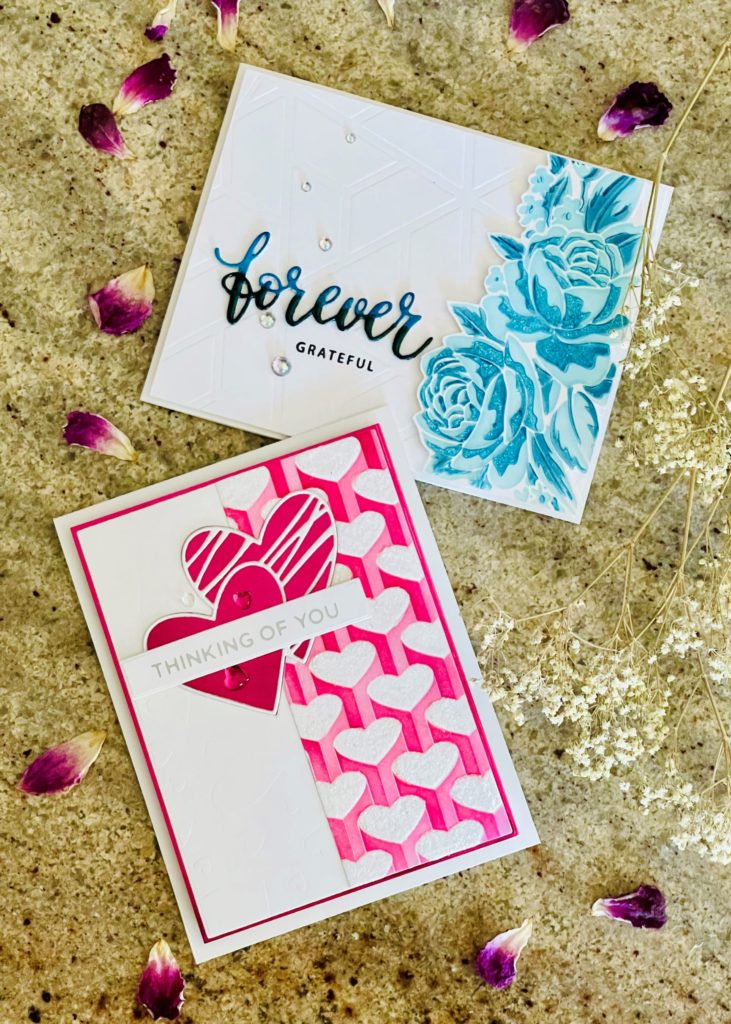
I love the texture, sparkle and shine on these two projects. I hope you are inspired to give your stencils a fresh look. Thanks for stopping by and happy crafting.
See you soon.
Lillian

So gorgeous, Lilian! Your second card, the blue one, has my heart! Thank you so much for submitting your wonderful work to the AECP assignment gallery.
Thank you so much Erum.