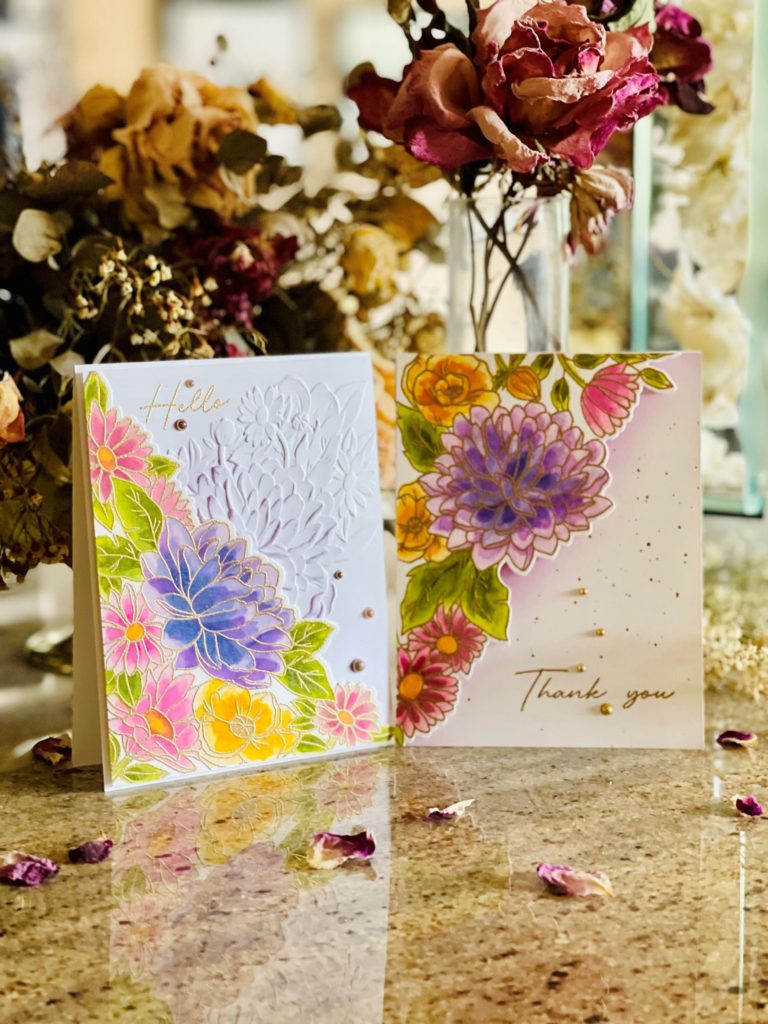
Hi! Welcome back. I am sharing a couple of projects as part of Altenew’s Educator Certification Program (AECP) I am participating in. This is my sixth submission to level 1 Easy Ink Blending Techniques class taught by Amy Lee. I was thoroughly impressed by Amy’s talents and teaching style. The cards I am sharing today feature the gorgeous Altenew’s Craft Your Life Project Kit – Florescence.
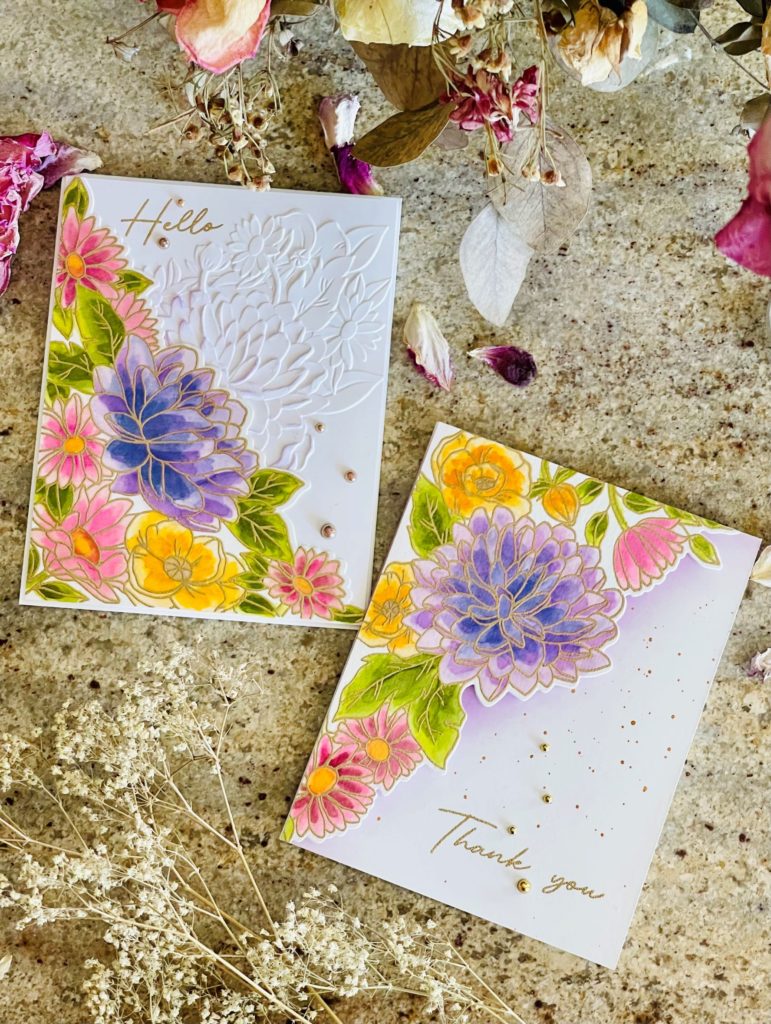
Card #1 – Thank You
Amy showed us many ways to ink blend. In particular, emboss resist and faux watercolor techniques resonate with me. To begin, on a A2 Neenah Solar white layering panel, I applied some anti-static powder. I stamped one of the images from the stamp set with VersaMark watermark ink and heat embossed with gilded gold embossing powder.
Next, on a glass mat, I smooshed some Altenew crisp dye inks from the Lilac Blossoms, Sugared Candies, Secret Garden and Tropical Forest ink cube sets. Altenew’s inks are water based and are perfect to watercolor with. For the leaves and stems, I used Olive ink as the base layer. There are three different flowers on the stamp set, I used different inks (Buttercream, Rose Quartz and Soft Lilac) for variety. After water coloring the image with the first layer, I went back through it with the next shade in the color family. For the leaves, I went back in with Moss ink to add some dept. For the largest flower, I used all six hues in the Lilac Blossoms cube set (Soft Lilac, Wisteria, Lavender Fields, Deep Iris, Ultraviolet and Andromeda).
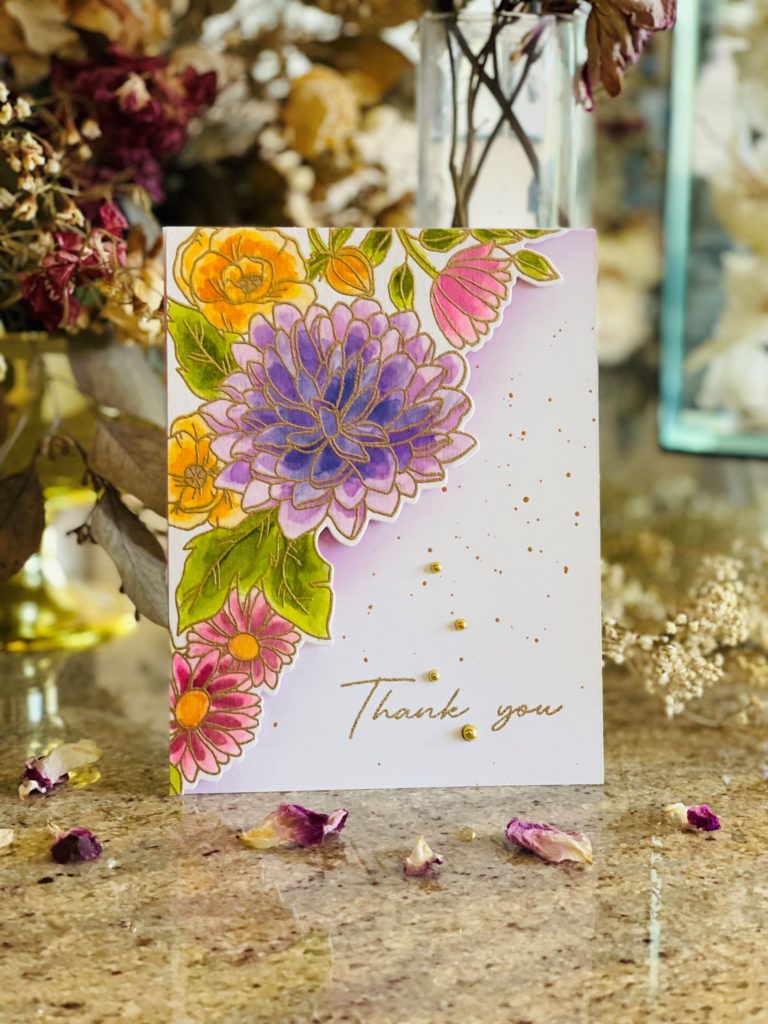
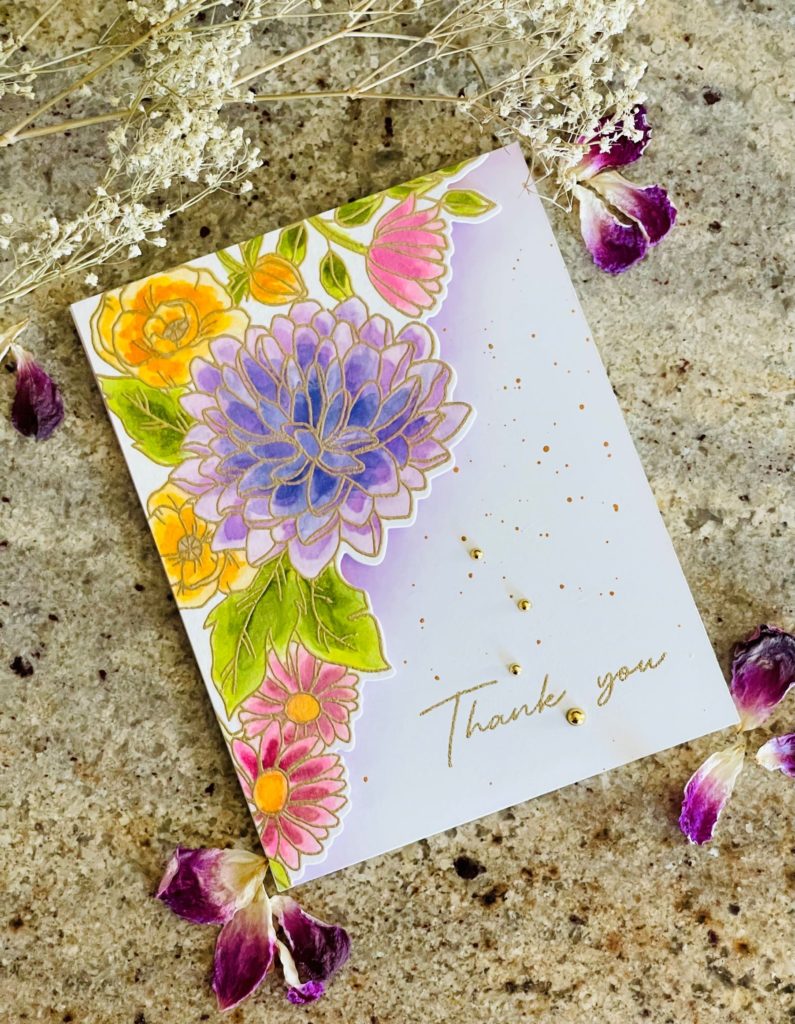
Once the panel was dry, I die cut it with the coordinating die. In the meantime, on a separate A2 Neenah Solar white panel, I ink-blended diagonally with Soft Lilac and Pink Diamond inks. This was the background on which the focal image would rest. On the same panel, I heat embossed the “Thank You” sentiment with the same gilded gold embossing powder. Before adhering the focal element with some foam tape to the panel, I splattered some gold water-based pigment from Gansai Tambi. To finish the card, I added some Spellbinders gold pearls.
Card #2 – Hello
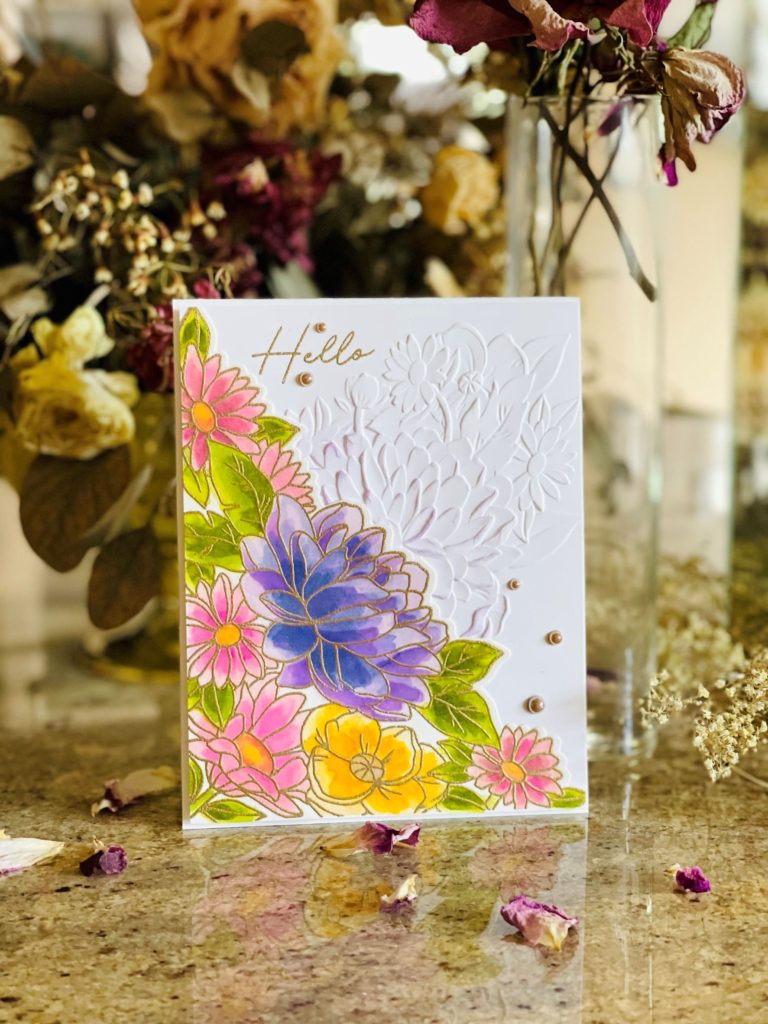
For the second card, I followed the same approach as the first card described above. This time, I used the other large image in the stamp set. The kit came with an 3D embossing folder, and I thought an embossed image would enhance the loose watercolor image. Before running an A2 heavy weight Neenah Solar white card panel inside the 3D embossing folder through the die cutting machine, I misted it with some water to prevent cracking. Next, I heat embossed “Hello” with the same embossing powder. Before adhering the watercolor image, using a blending brush with some Wisteria ink, I lightly blended on the raised parts of large flower. I finished the card with some Pinkfresh Studio sparkling champagne metallic pearls.
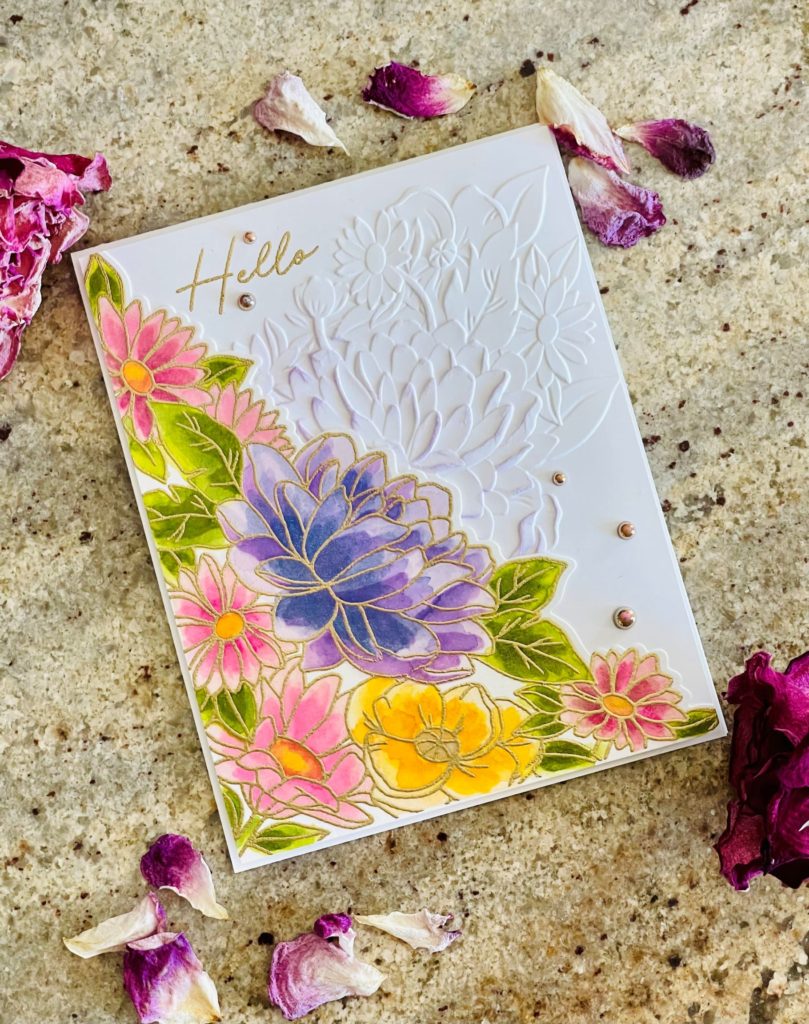
I love how these cards turned out. I hope you found some inspirations. Thanks for stopping by and have a wonderful day!
See you soon.
Lillian

Gorgeous work, Lillian!! LOVE the cards. Love the colours used. These make me so happy/ Thank you so much for sharing!
Thank you so much Erum!