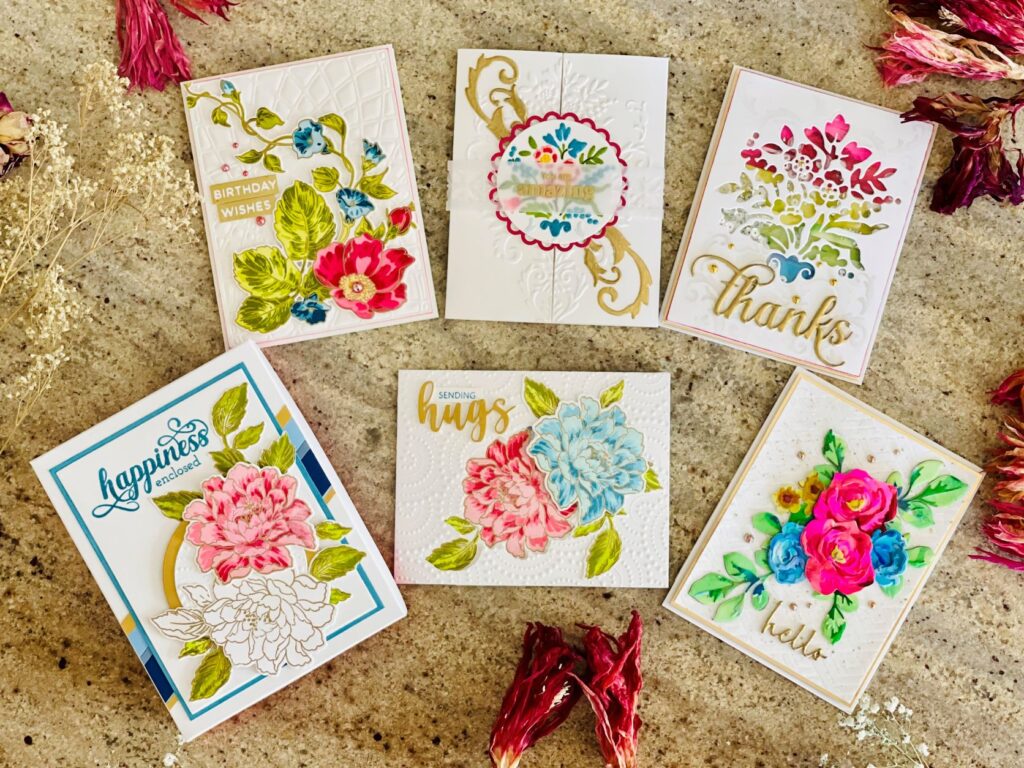
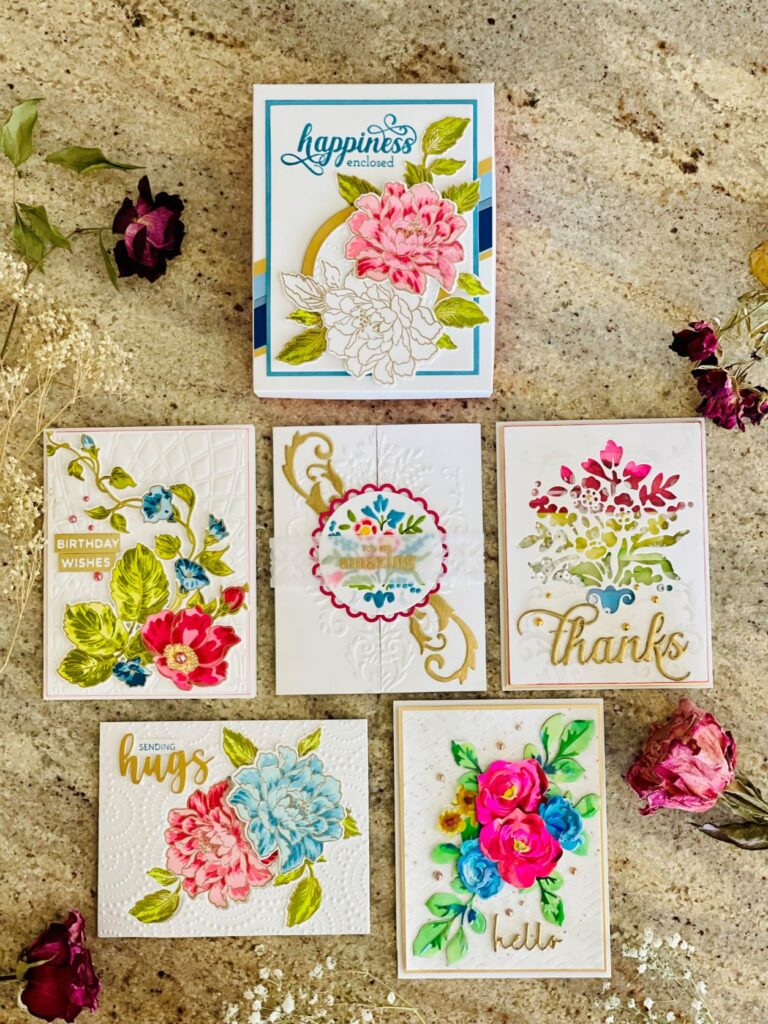
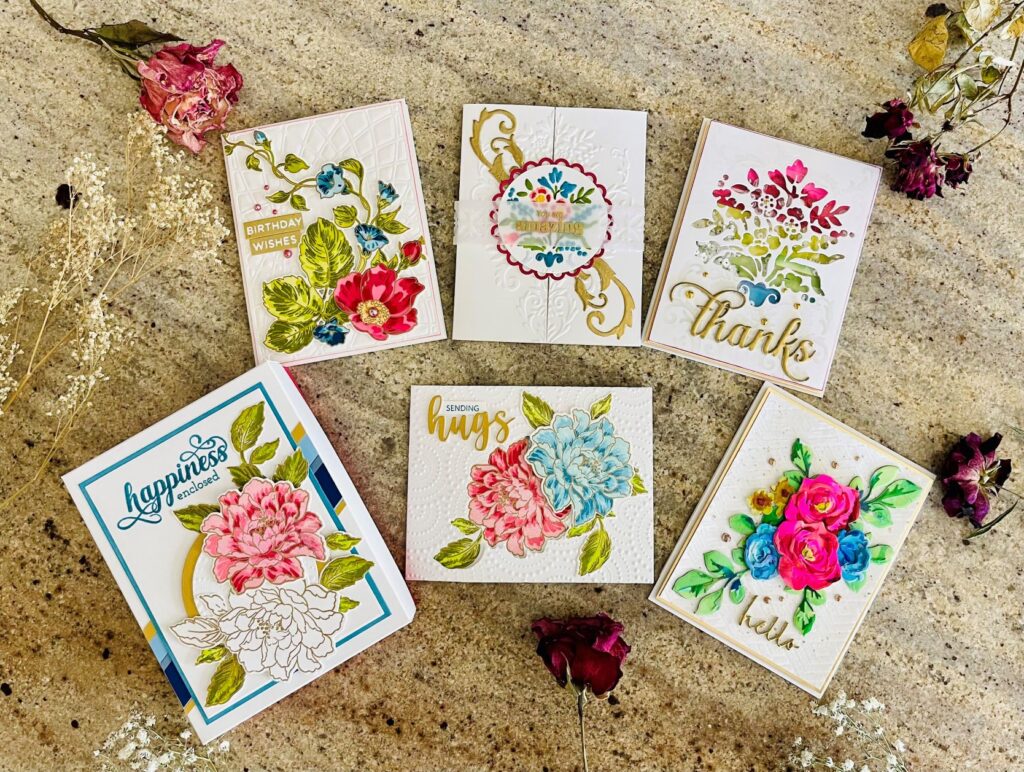
Hello! Welcome back. I am happy to share feminine cards gift set project for the Altenew Educator Certification Program Level 1 challenge. This is the second part of the challenge. As explained in the previous post, I am challenged to create two gift sets – one masculine and one feminine, must use techniques from three courses in the designs, each set must be cohesive with a gift packaging, and should include a recycled item in the card set or the packaging.
Fair warning in advance that this is a long post, so please get comfortable and I hope you will find some useful inspirations. To achieve the cohesive theme, my approach to this 5-card gift set is to use Altenew’s gorgeous florals from various project kits, stamp sets and die sets. I chose shades of pink, red, green, blue, and complimented with gold, gray and white. I used the recycle item in one of the cards. In addition, consistent with the masculine card set, I made the same set of card styles (a top folding, a shaker, a gate fold, a side fold, and a landscape). I featured the following Altenew project kits, die and stamp sets:
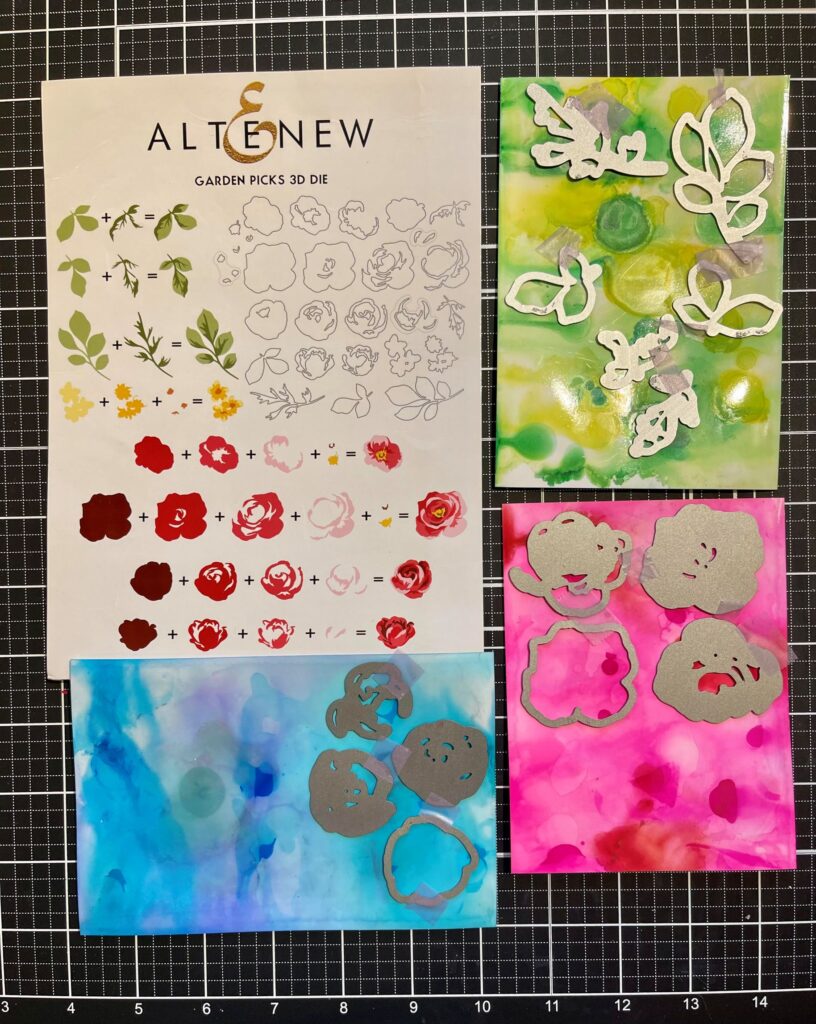
- Garden Picks 3D Die
- Stacked Diamonds Cover Die
- Layered Geo Cover Die B
- Dotty Circles 3D Embossing Folder
- Craft Your Life Project Kit – Dynamic Blossoms
- Craft Your Life Project Kit – Always Sunshine
- Build a Flower – Coral Charm
I applied take aways and techniques Level 1 courses in this gift set. Similar to the masculine card set, Let it Shine and other class techniques also made a showing in addition to the following lessons learned from the following classes:
- Easy Die Cutting Techniques
- All About Layering
- Easy Ink Blending Techniques
- Clean and Simple Boutique Cards
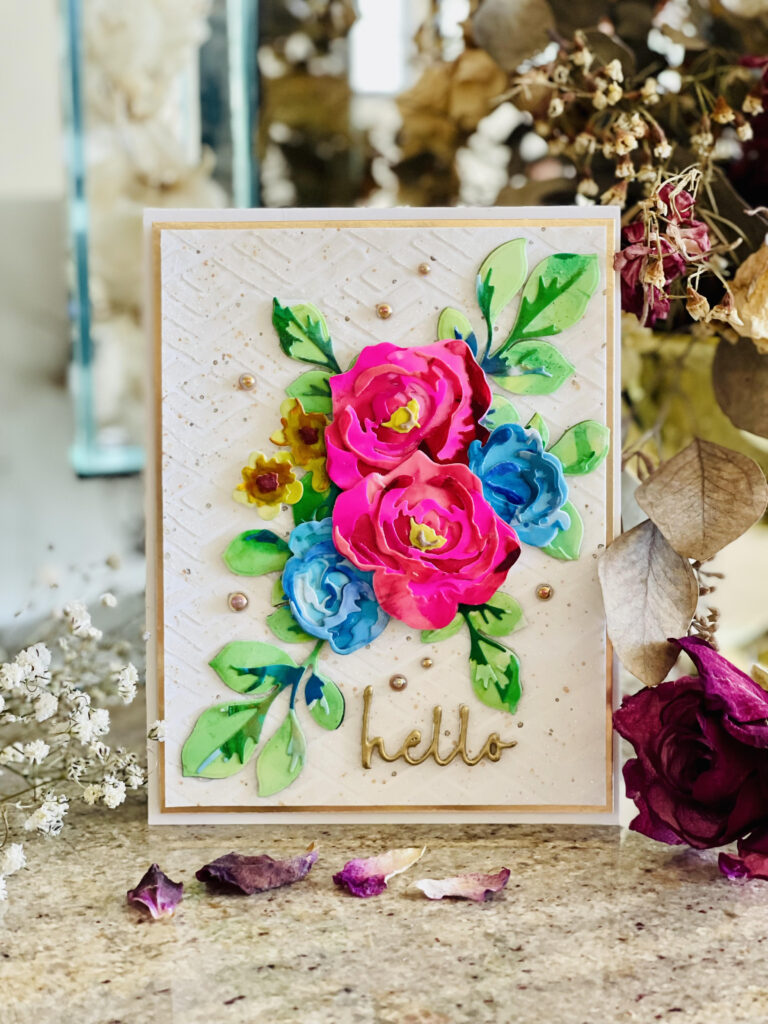
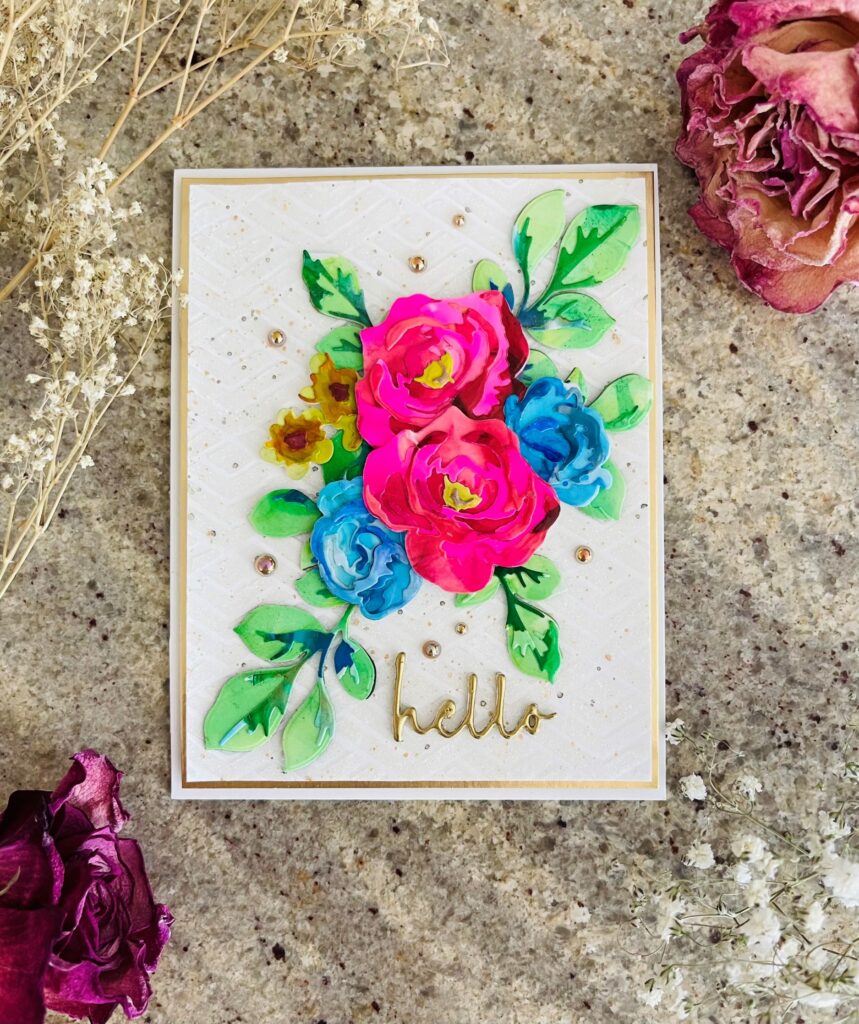
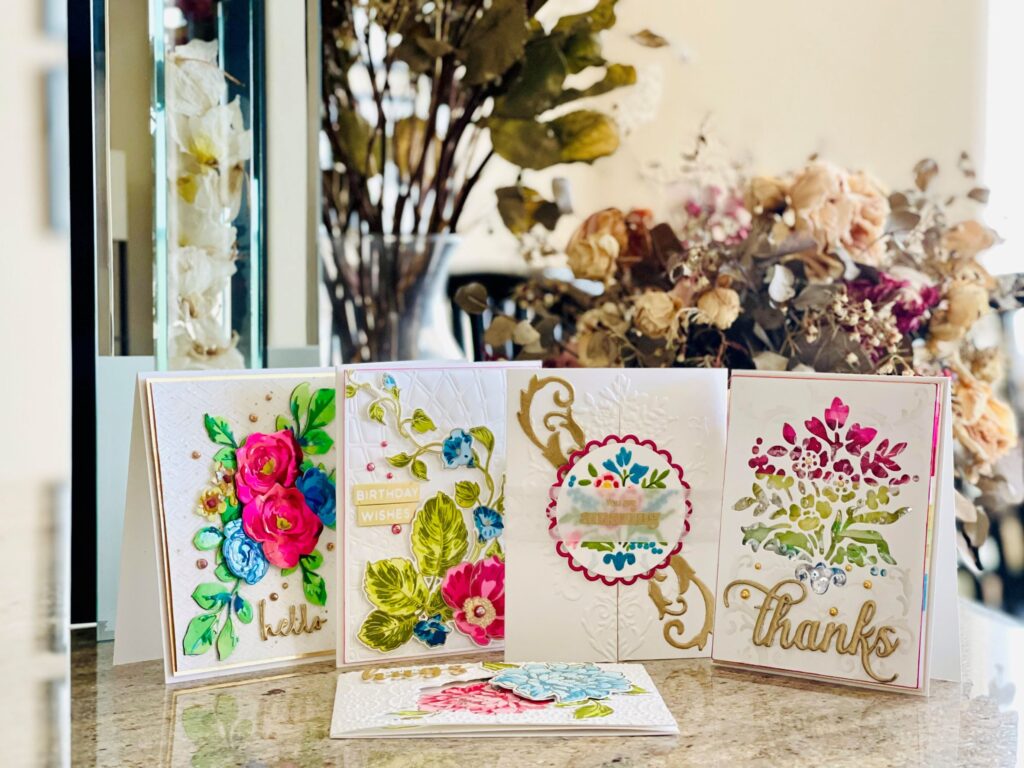
Card #1 – Hello
For the first card, I used the lessons learned from All About Layering, Easy Die Cutting, and Irresistible Inking classes. For this card, I wanted to explore with making alcohol ink backgrounds to use. I featured one of my favorite Altenew die sets – Garden Picks 3D die set.
Steps:
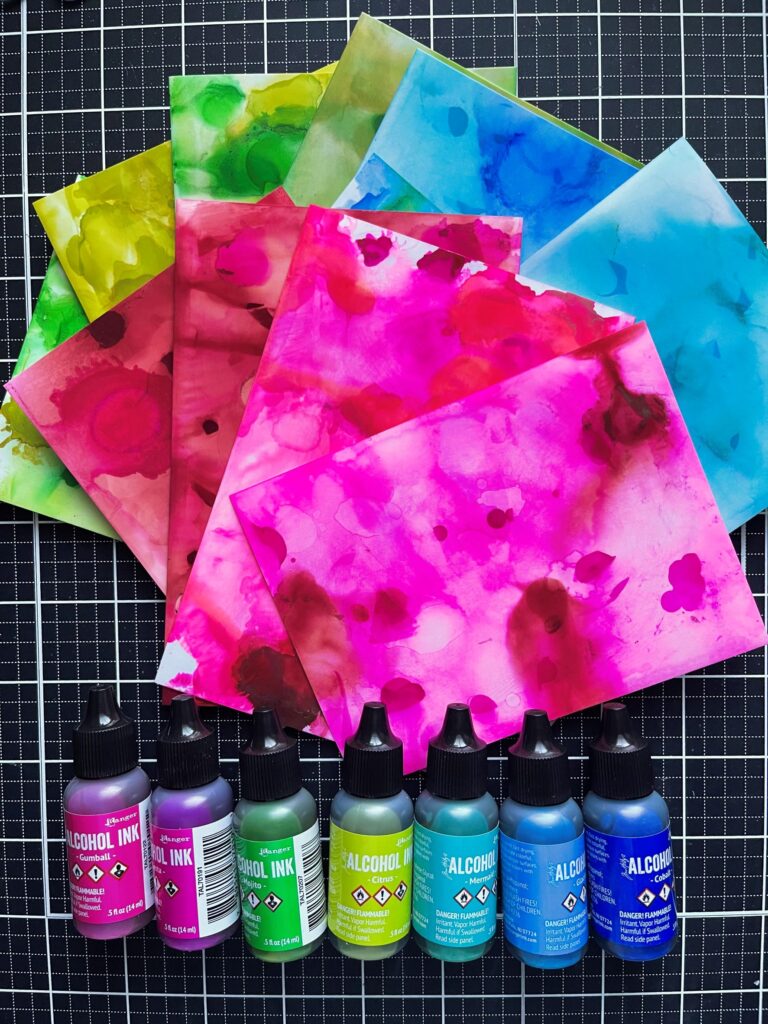
- I will have a more in-depth post on how to make alcohol ink backgrounds as I get better with the technique in the future. For now, I wanted to share that since this was the first time I experimented with alcohol inks, I am very good with it yet and at the time, I didn’t have the right isopropyl alcohol (I needed at least 90% but only had 70%). Also, I used photo rather than Yupo paper. I found that the inks did not flow easily on photo papers. I had some Ranger alcohol inks in my stash that I haven’t used yet. So, I selected the inks that best match with the color scheme in this series. Tip: Work in a well-ventilated area and with alcohol inks, you need to work fast so ensure you have all the supplies ready to go. Also, the alcohol ink air blower is a must to move the inks around.
- I made a few backgrounds to ensure I have plenty to choose from. After setting them aside to dry, I strategically placed the dies on the areas of the backgrounds to ensure I have color variations and depths for the elements needed.
- Separately, on a heavy weight (110 lb.) Neenah Solar white A2 panel, I die cut the Stacked Diamonds Cover die. I used it as a stencil to apply Glitter Hero Paste on another heavy weight panel and set it aside to dry.
- Once dried, I splattered some gray and gold inks on it for added interest and shine.
- From the die cut elements in step #2, I arranged the pieces and applied foam tapes on some pieces for dimension. Tip: I took a picture of the arrangement with my phone so I can reference it before adhering everything. I also used Press ‘n Seal to hold everything together.
- To finish the card, I heat embossed “hello” from the Dynamic Blossom project kit twice with Brutus Monroe gilded gold embossing powder, scattered some sparkling champagne metallic pearls and adhered the entire panel to a gold border matte panel. With some foam tape for dimension, I attached it to top folding A2 heavy weight top folding white note card.
Card #2 – Thanks
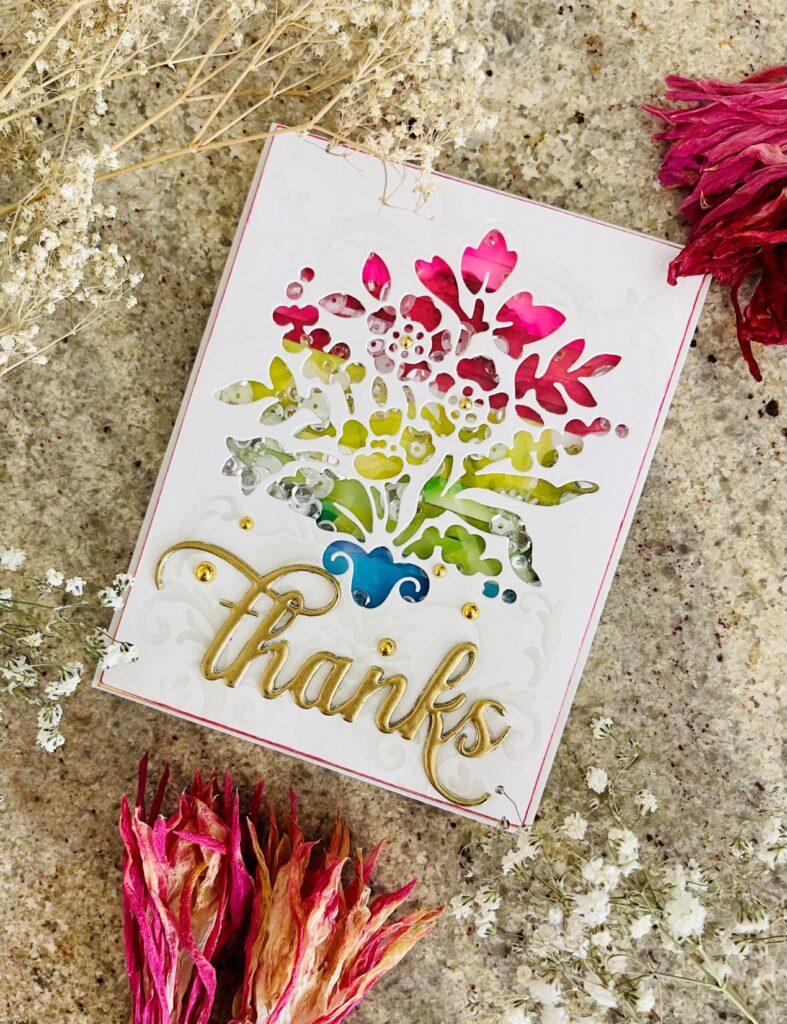
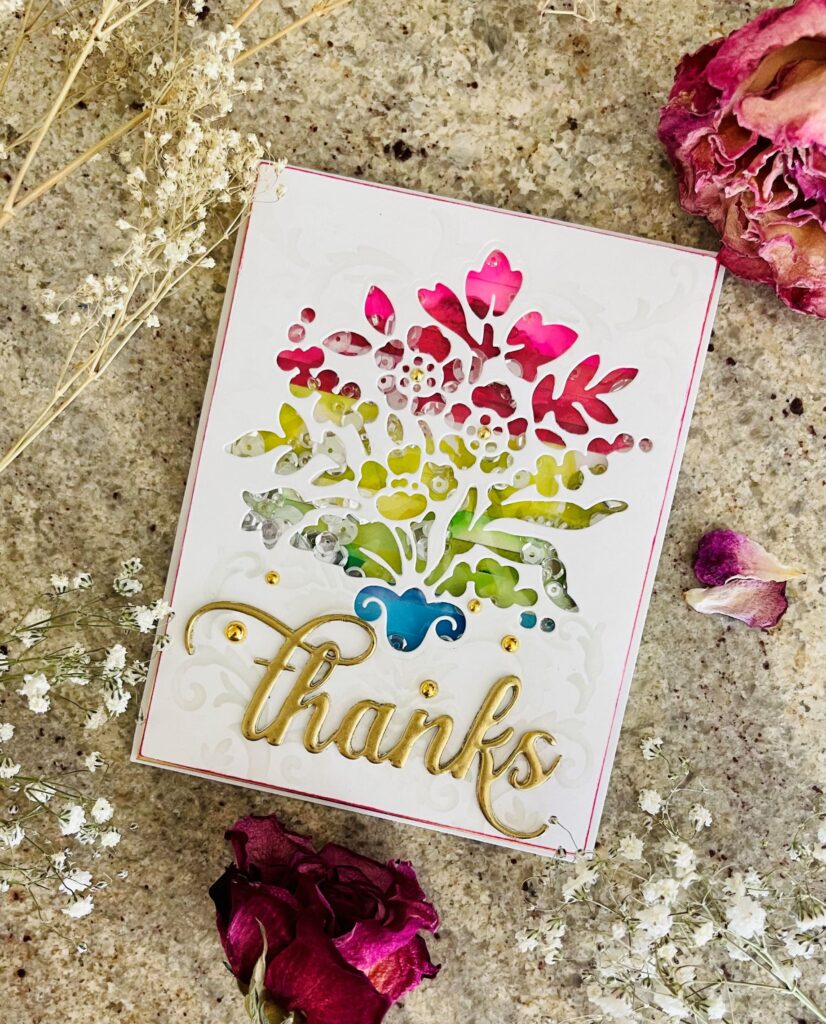
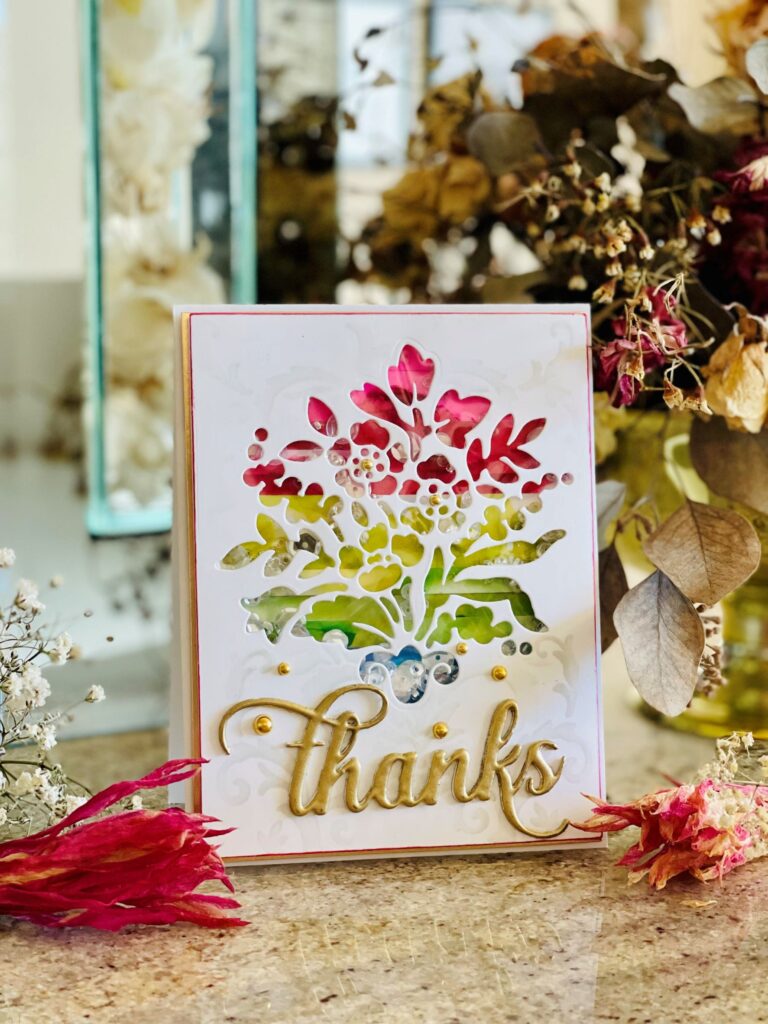
Since I had so many alcohol ink backgrounds, I wanted to use them in a shaker card. Here, I featured the Dynamic Blossom project kit. This project kit is one of my favorites as it is very versatile and packed with many features. Techniques from Easy Ink Blending and Easy Die Cutting classes were used here to create the shaker card.
Steps:
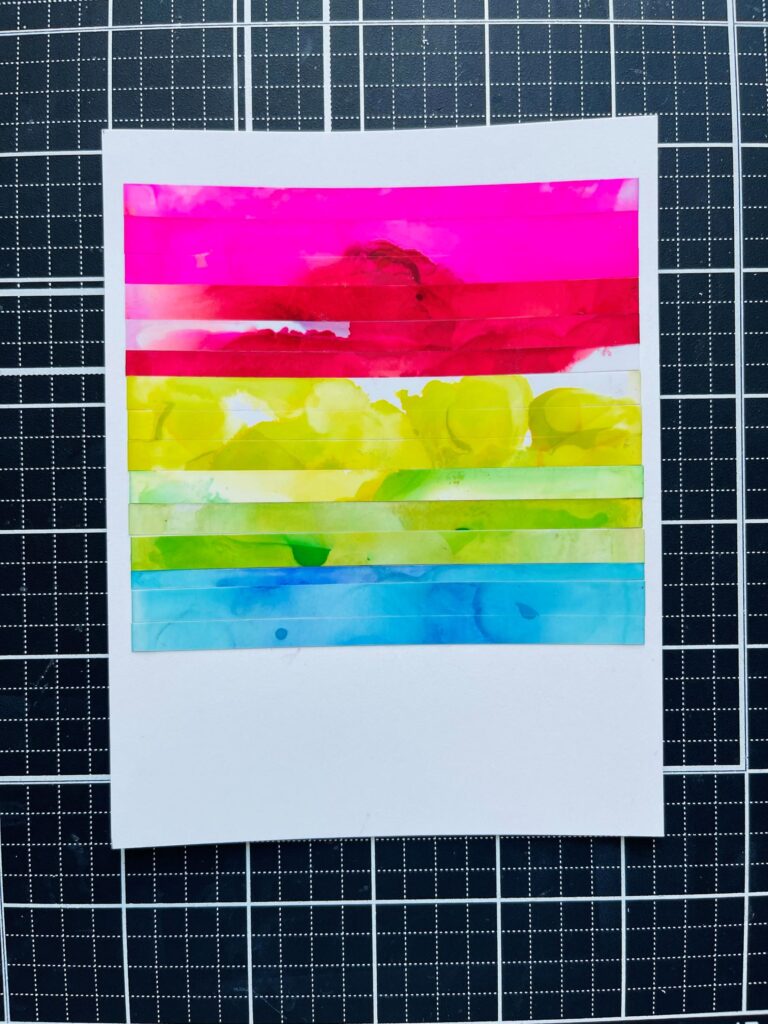
- I began by cutting strips in different sizes using the alcohol ink background colors I created for the first card discussed above. I adhered them horizontally on an 80 lb. A2 white card stock.
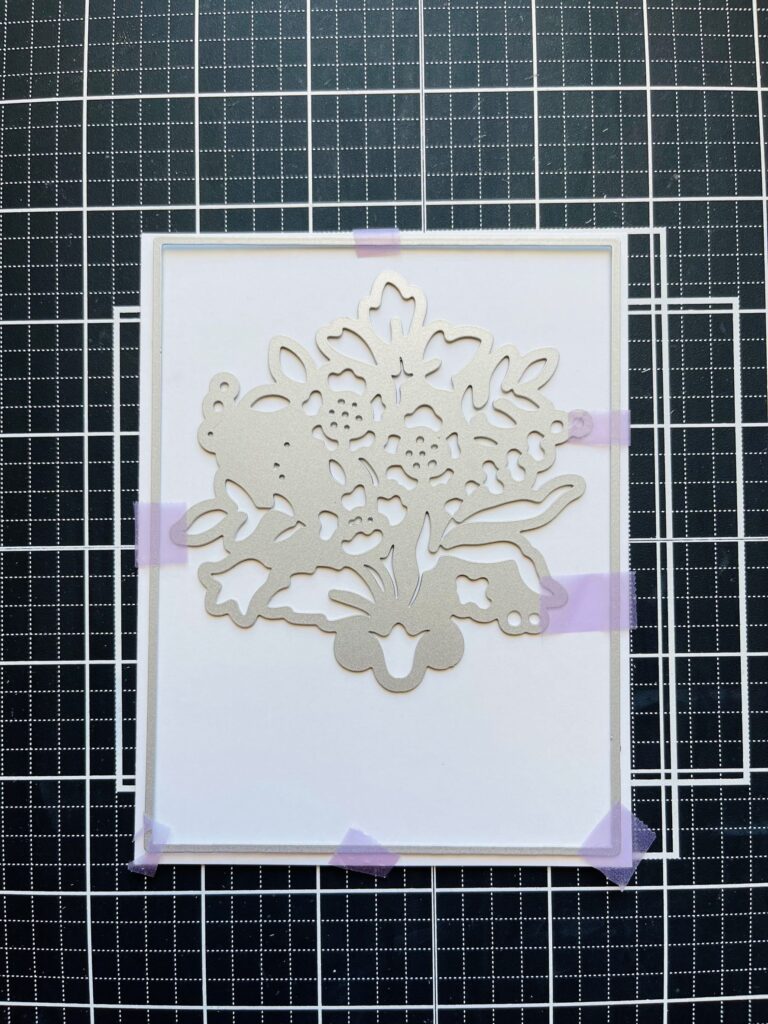
- I die cut the floral cluster die with a heavy weight 4” x 5.25” white card panel.
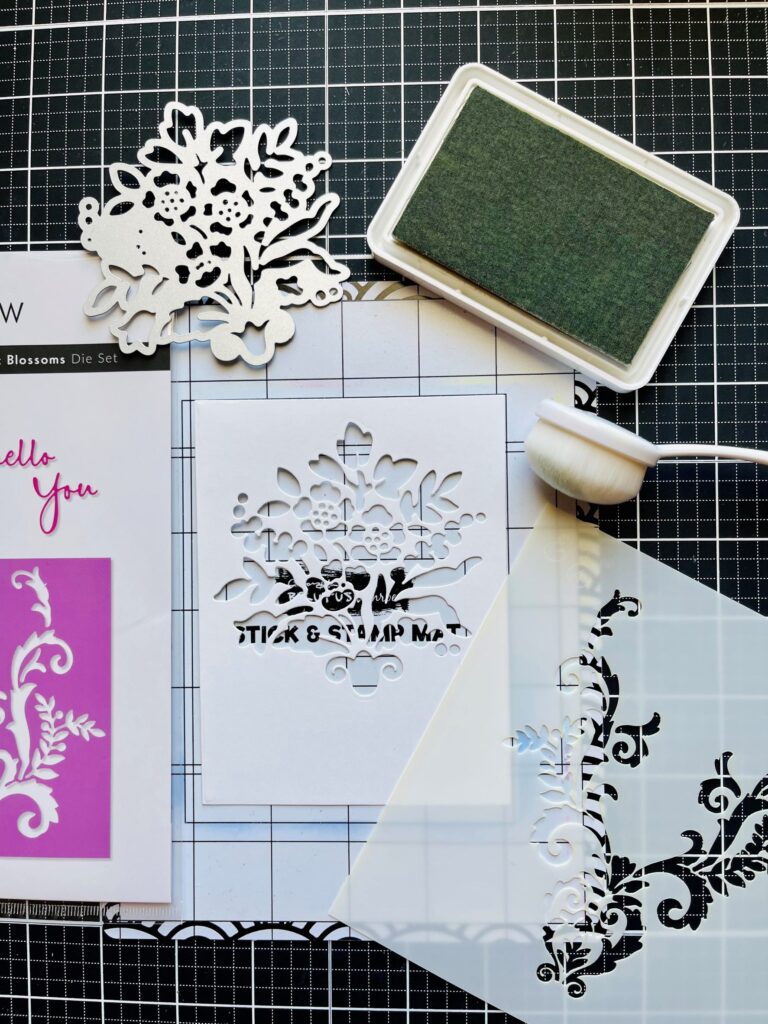
- Next, I used the swirls stencil that came with the kit to lightly ink blend the patterns with gray dye ink adding subtle interest to the panel.
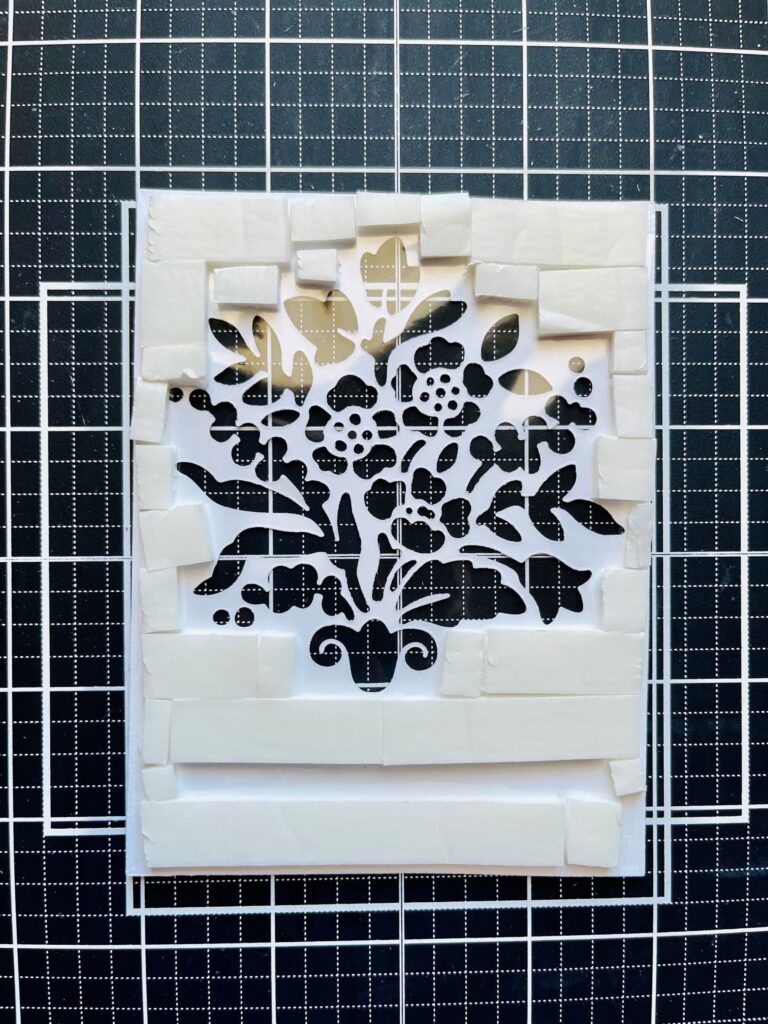
- To make the shaker card, I attached a piece of plastic packaging that came with stamps. I adhered foam tapes all around for sequins and crystal beads. Then, I placed the sequins and beads on the stripped background and glued the front panel.
- From the Irresistible Inking class, I learned the direct to paper method. For an added touch, before I adhere the card to a gold matte panel, I used the Ruby Red ink cube and ran it directly around the edges of the card.
- I finished the card with the “Thanks” sentiment that I heat embossed three times with gilded gold embossing powder. I also scattered some Spellbinders gold pearls for some added shine.
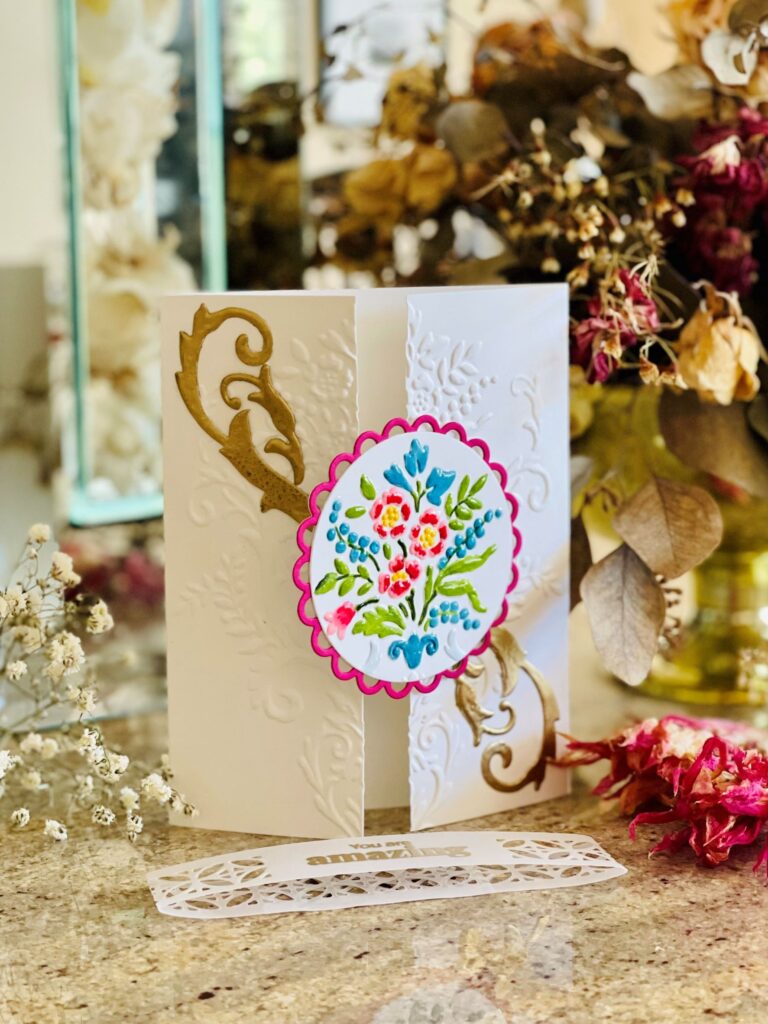
Card #3 – You are Amazing
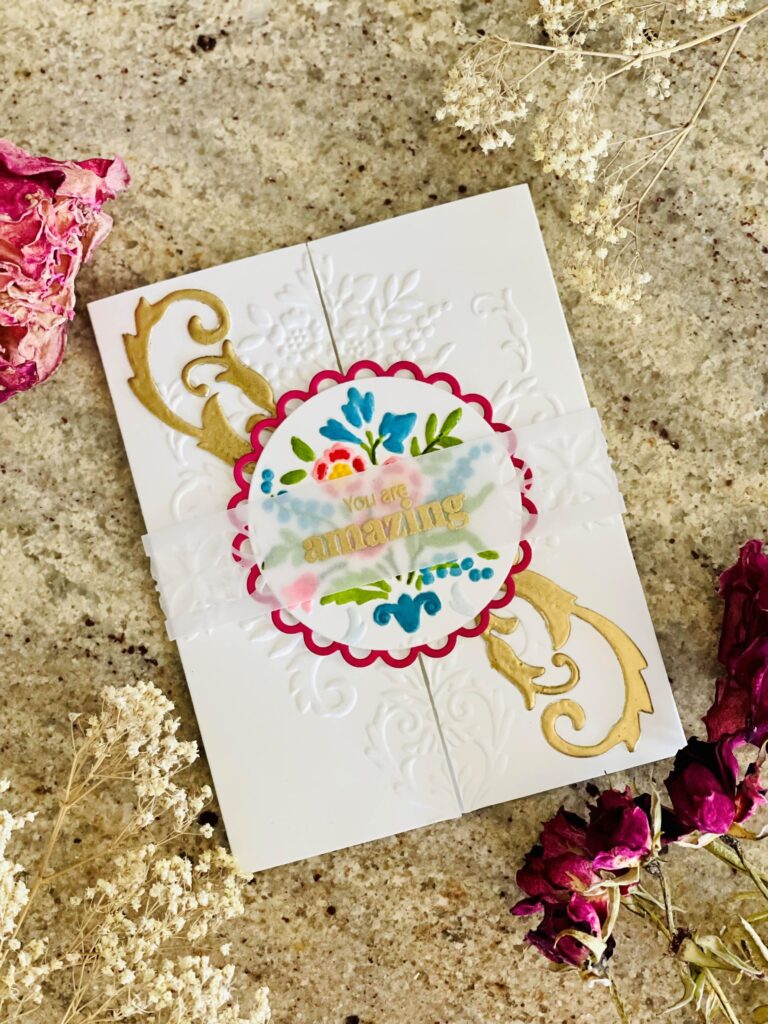
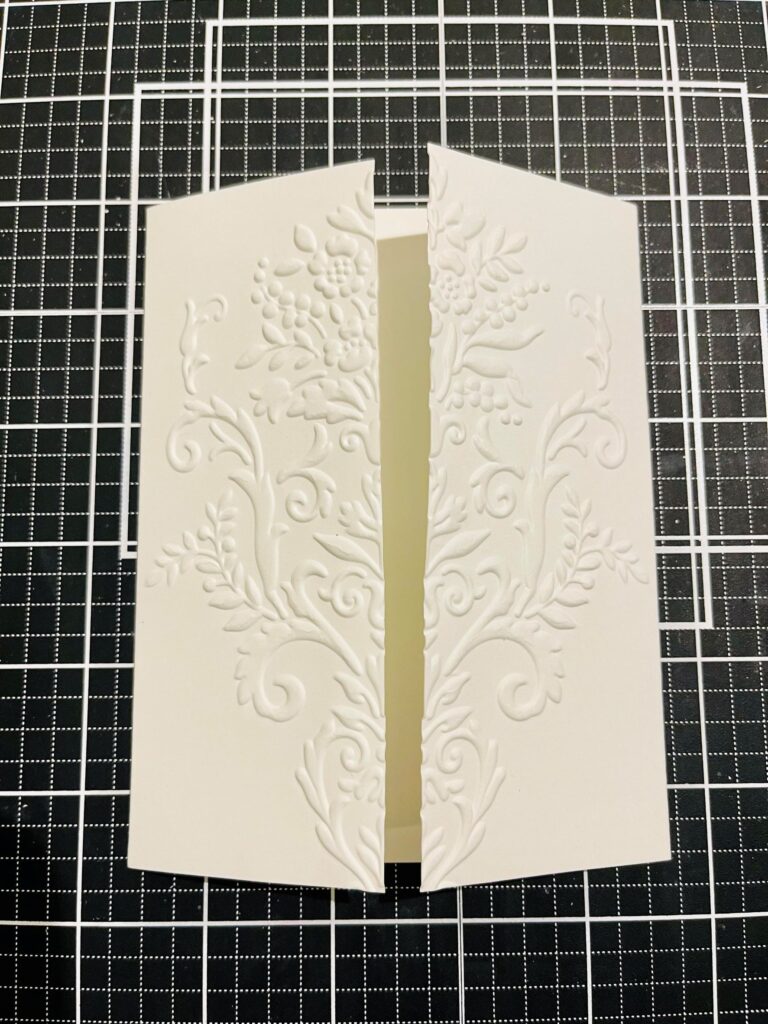
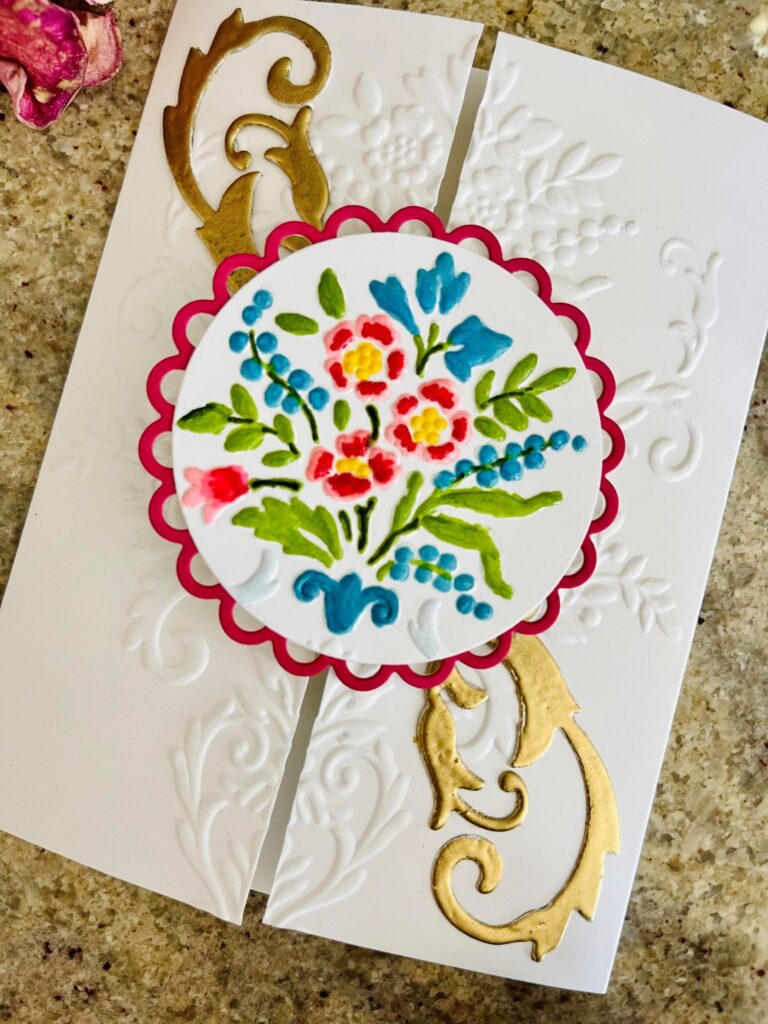
From All About Layering classes, I learned to use dry embossed image as background without distracting the main focal point. Additionally, I used the 3D embossing folder from the Dynamic Blossom project kit to create a gate fold card.
Steps:
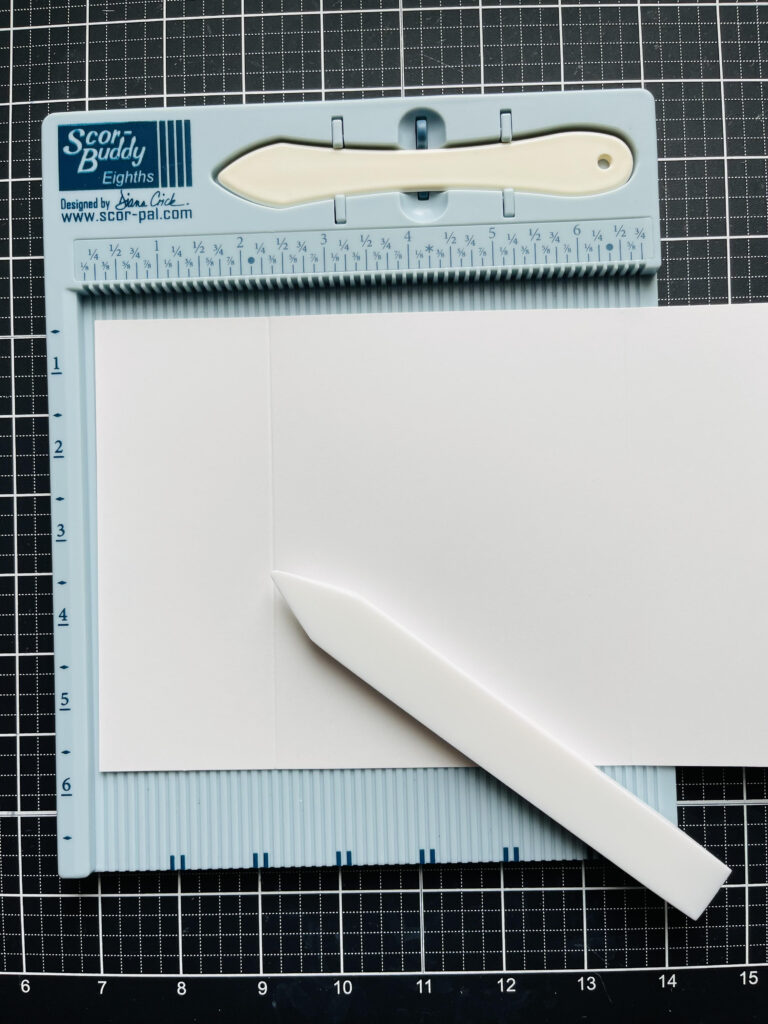
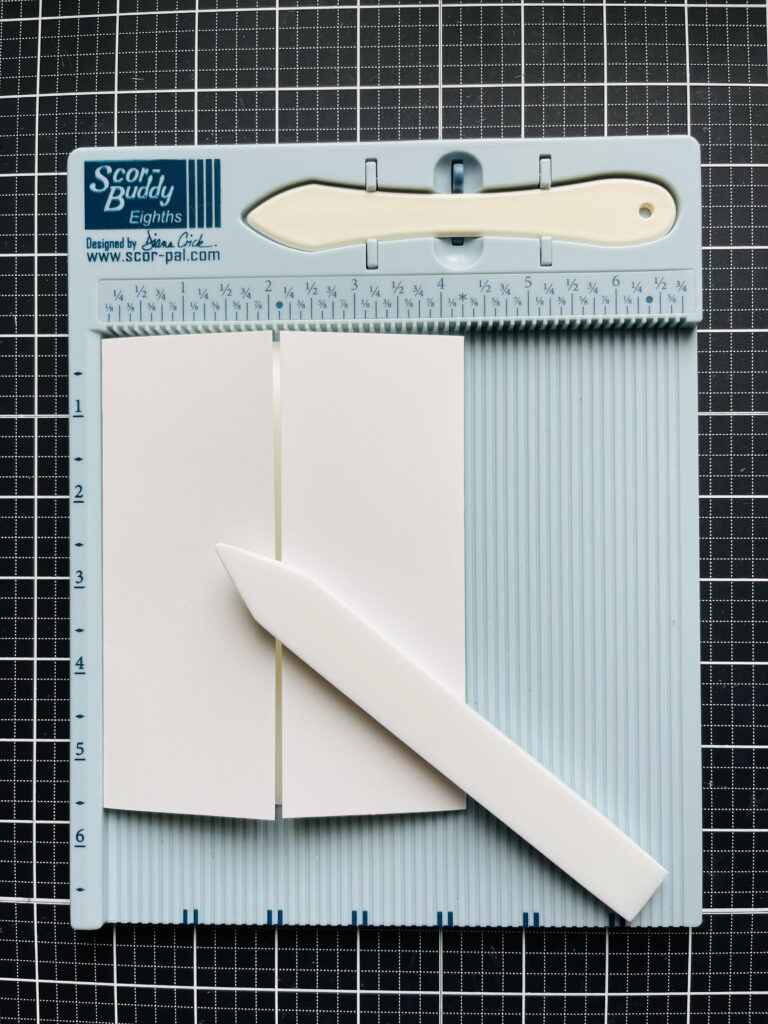
- To create the gate fold, I cut an 8.5” x 5.5” heavy weight white note card and scored at 2 1/8” on both ends.
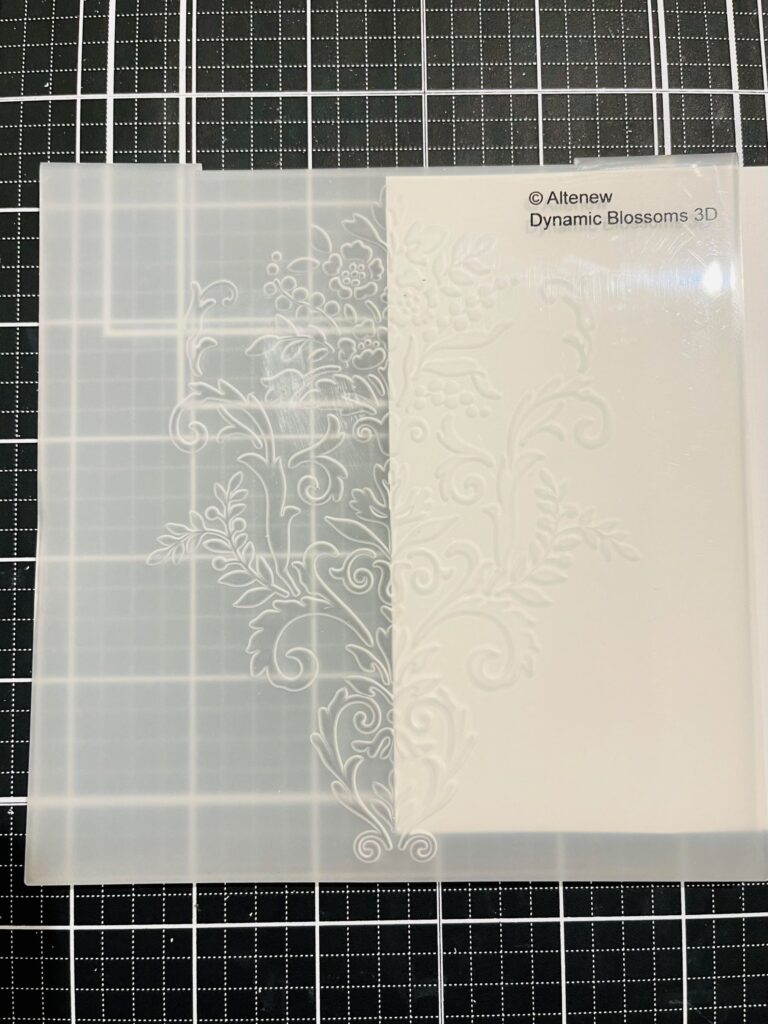
- Since I needed to dry emboss, I didn’t burnish the gate folds yet for ease of embossing with 3D folder. To ensure I have the image aligned perfectly, I placed the note card on one side of the folder. Tip: spritz some water on the back of the note card to prevent cracking.
- I repeated embossing the other side. Burnish the gate fold score lines so that the imagine was perfectly centered.
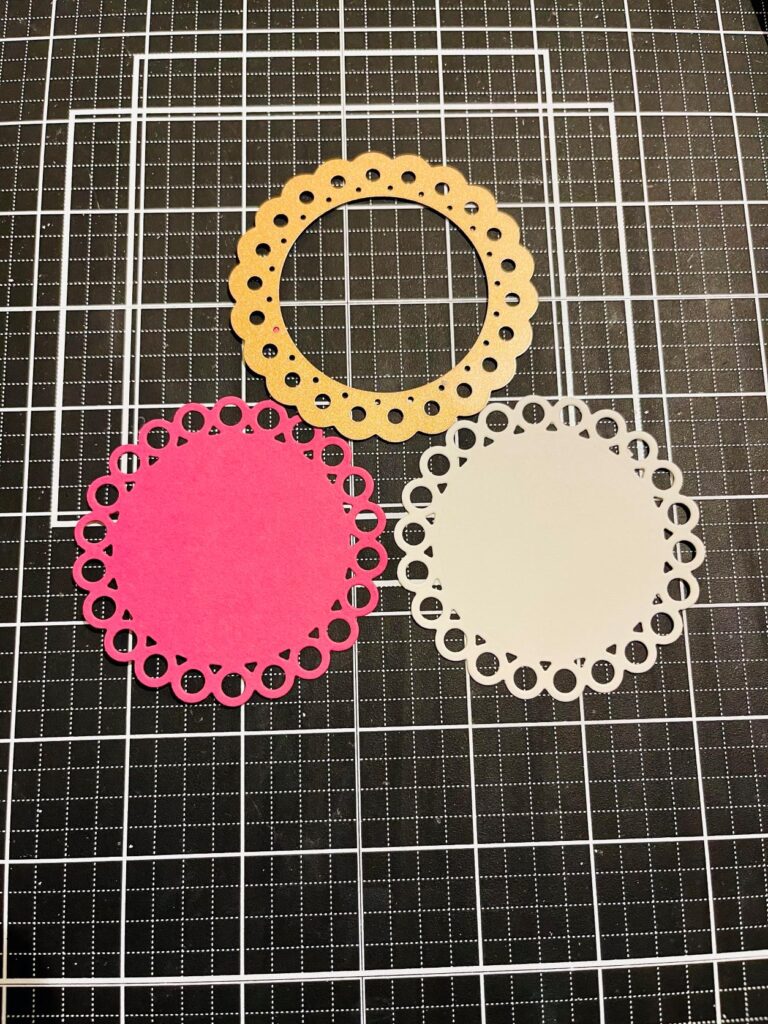
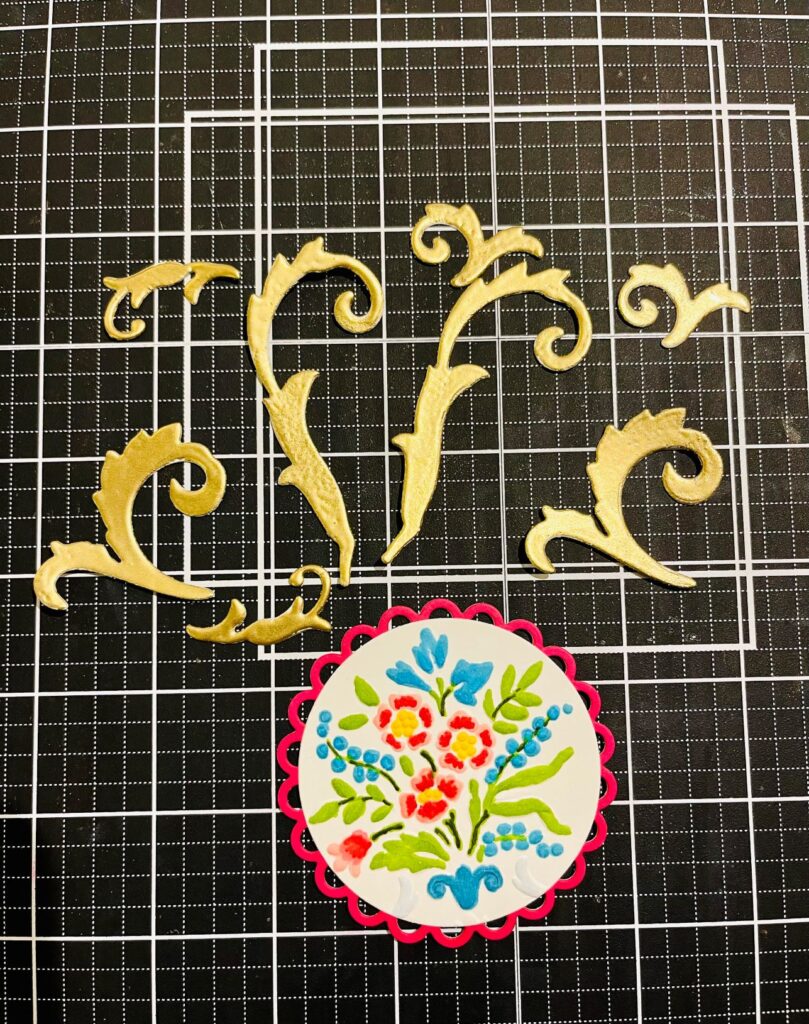
- On a separate heavy weight white scrap panel, I died cut two circles. I embossed one circle by placing it at the floral cluster of the Dynamic Blossom 3D embossing folder. The floral cluster would be the focal image.
- I colored the floral cluster using Altenew alcohol ink markers (Forest Glades, Evergreen, Frosty Pink, Coral Berry, Ruby Red, Dusk, Ocean Waves, Desert Night and Artic). Once the inks dried, I added some Ranger’s Glossy Accents for more texture and shine.
- I wanted a matte that highlight the main focal. Using the Ruby Red cardstock from the Altenew Red Cosmos gradient cardstock set, I die cut it using Spellbinder’s Rings Around the Circle die. For dimension, I die cut another Rings Around the Circle in heavy weight white card scrap and glue it to the Ruby Red one. Next, I adhered the colored floral focal to the matte circle. To ensure a finish look, I glued the extra plain circle to the back.
- From the other coordinating swirls die from the project kit, I die cut the swirls. Heat embossed them in gilded gold embossing powder.
- I attached the swirls elements to each side of the gate fold card. Then, I glued the finished floral focal only to the right side of the gate fold.
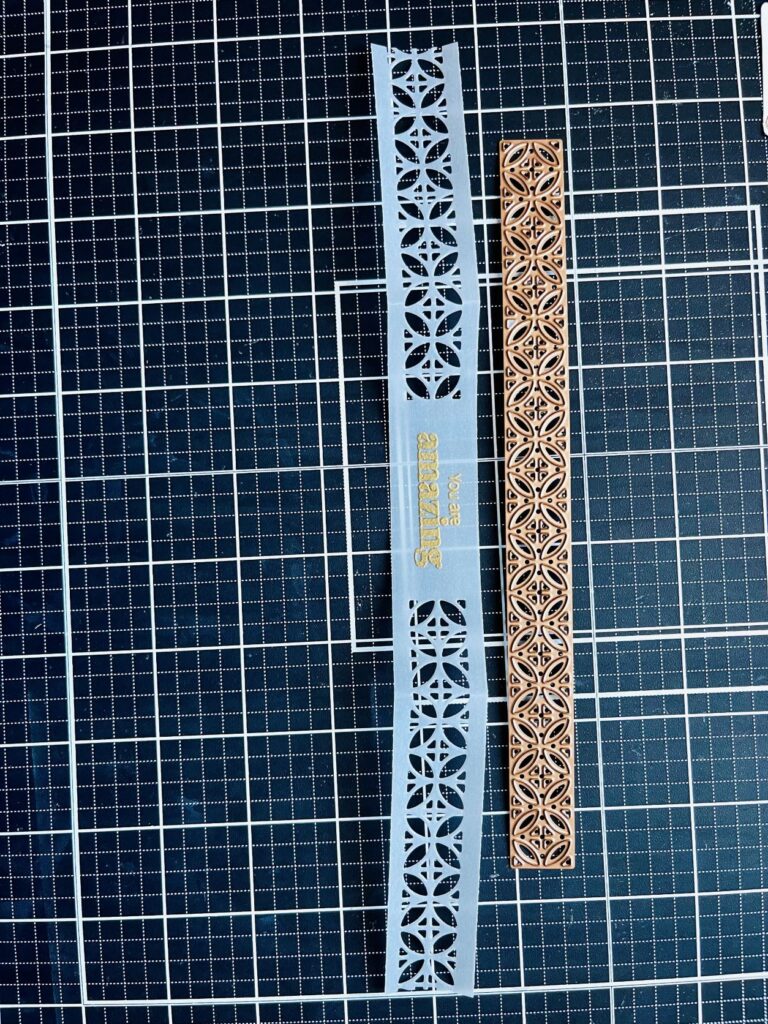
- To finish the card, I cut a 1″ x 11” vellum strip to make the belly band. Using the same gold embossing powder, I heat embossed “You are Amazing” from the Magnolia & Blooms project kit. For added texture and interest, I die cut a pattern on the vellum from Spellbinders’ Create a Slimline Border die set. Since glue shows on vellum, I attached two of the extra gold embossed swirls made in step #7 above. This gave the back of the card extra design detail. Tip: Don’t wrap the belly band around the card too tight. Allow a smidge of extra room for the band to slide on and off the card.
Card #4 – Birthday Wishes
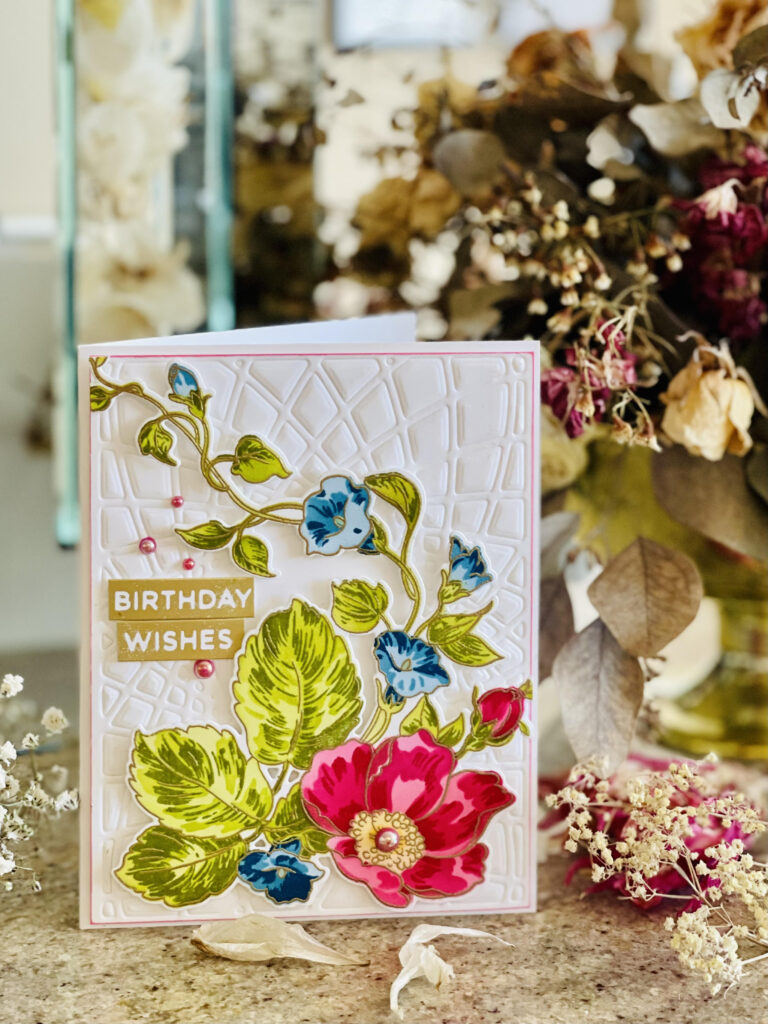
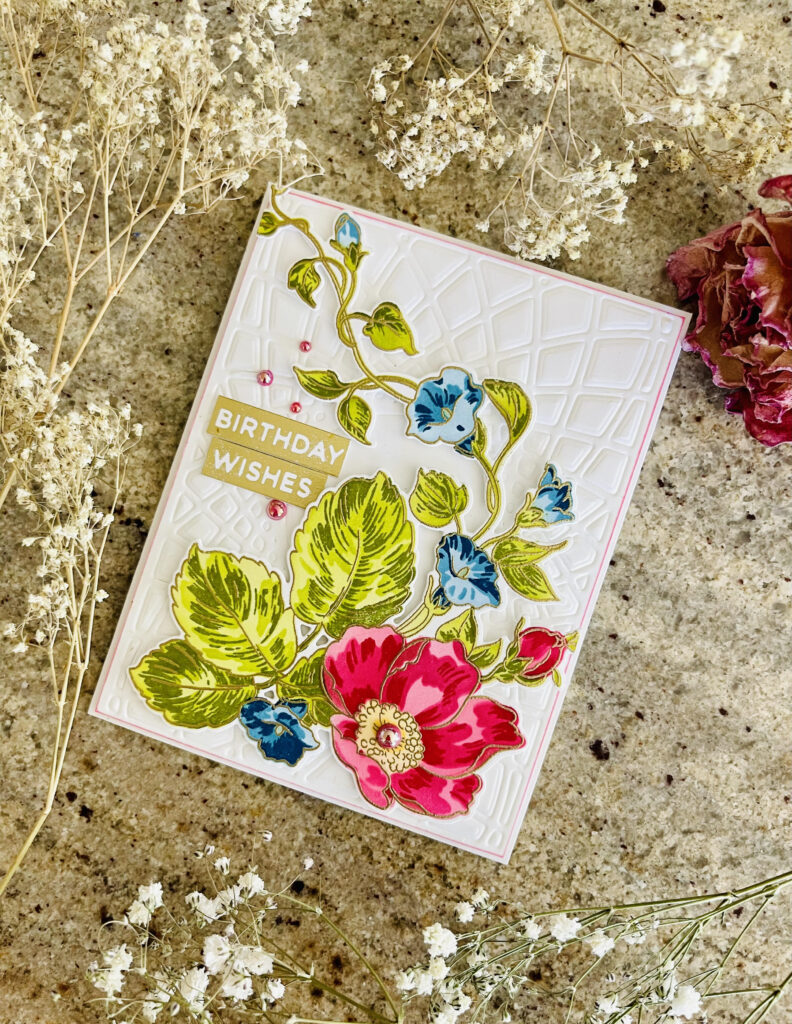
This vertical side folding card utilized techniques learned from All About Layering, Easy Die Cutting and Clean and Simple Boutique Cards classes. The card featured the Craft Your Life Project Kit: Always Sunshine.
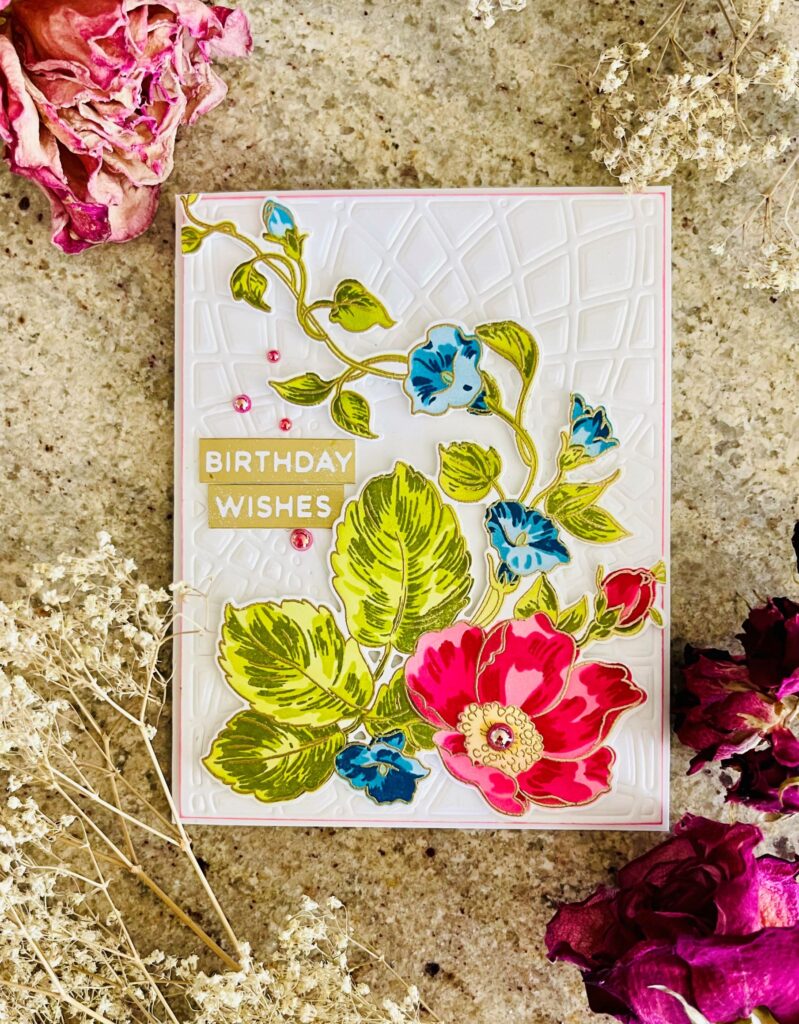
Steps:
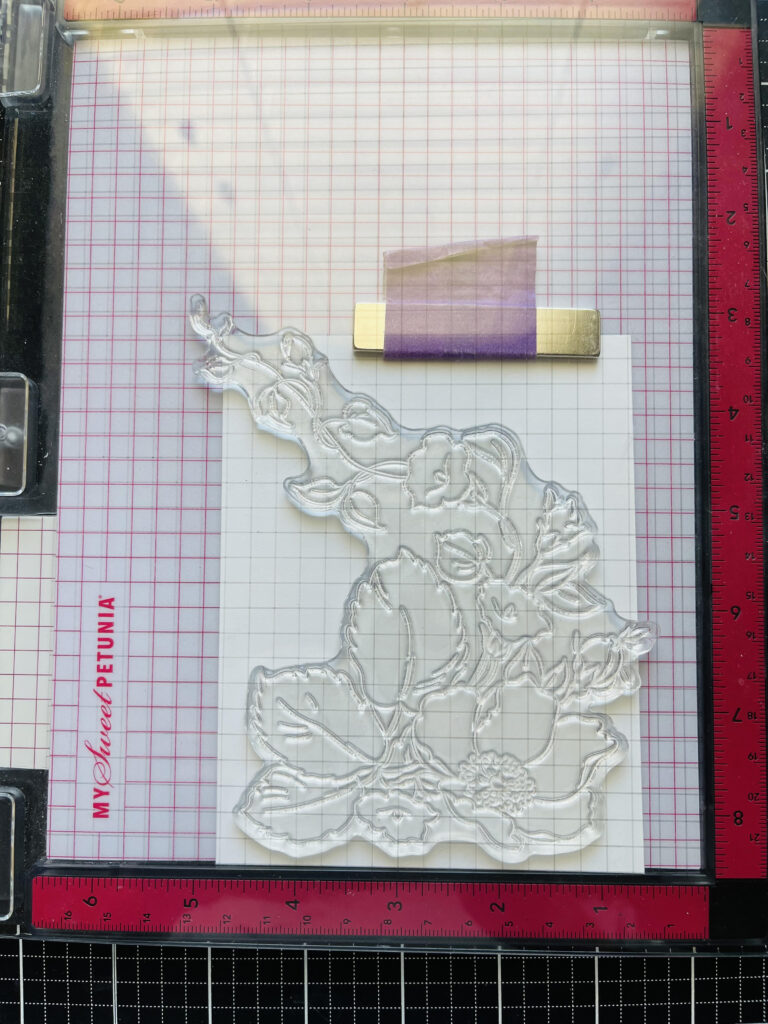
- On an 80 lb. A2 white card panel, after applying anti-static powder, I placed the stamp in my Misti and stamped it with VersaMark ink. I heat embossed it with gilded gold embossing powder.
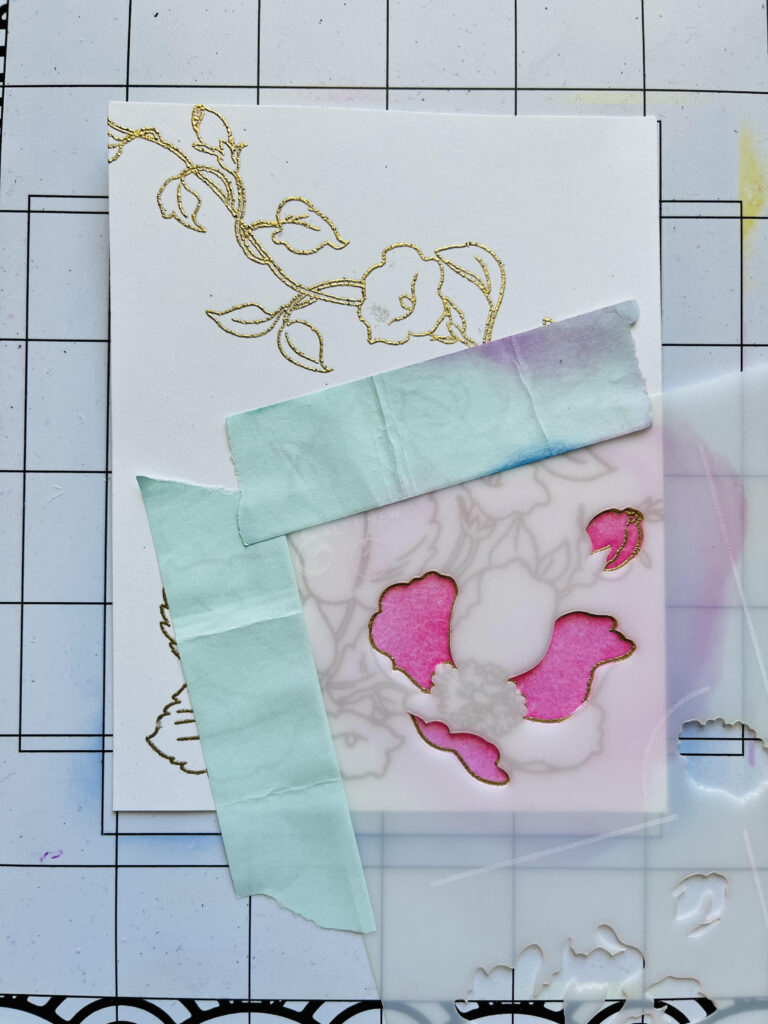
- Using the layering guide, with the coordinating stencils, I ink blended the main flower and small bud with Altenew Frosty Pink, Coral Berry and Ruby Red crisp dye inks. For the flower center, I used Warm Sunshine.
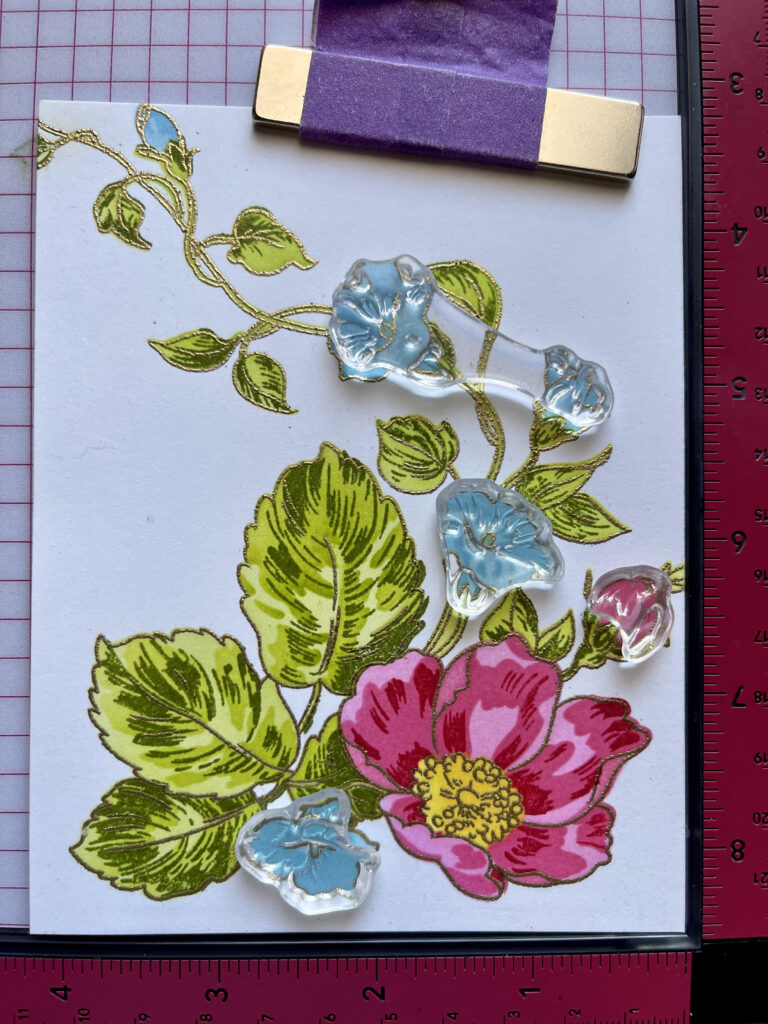
- Next, I ink blended the smaller flowers with Sea Glass, Caribbean Sky, Dust and Desert Night crisp dye inks. For the leaves, I used Bambo, Olive and Moss crisp dye inks for the leaves. After stenciling, I didn’t think the image had enough details. For more definitions and added layers, I used the coordinating last layering stamps from the set.
- I die cut the image with the coordinating die.
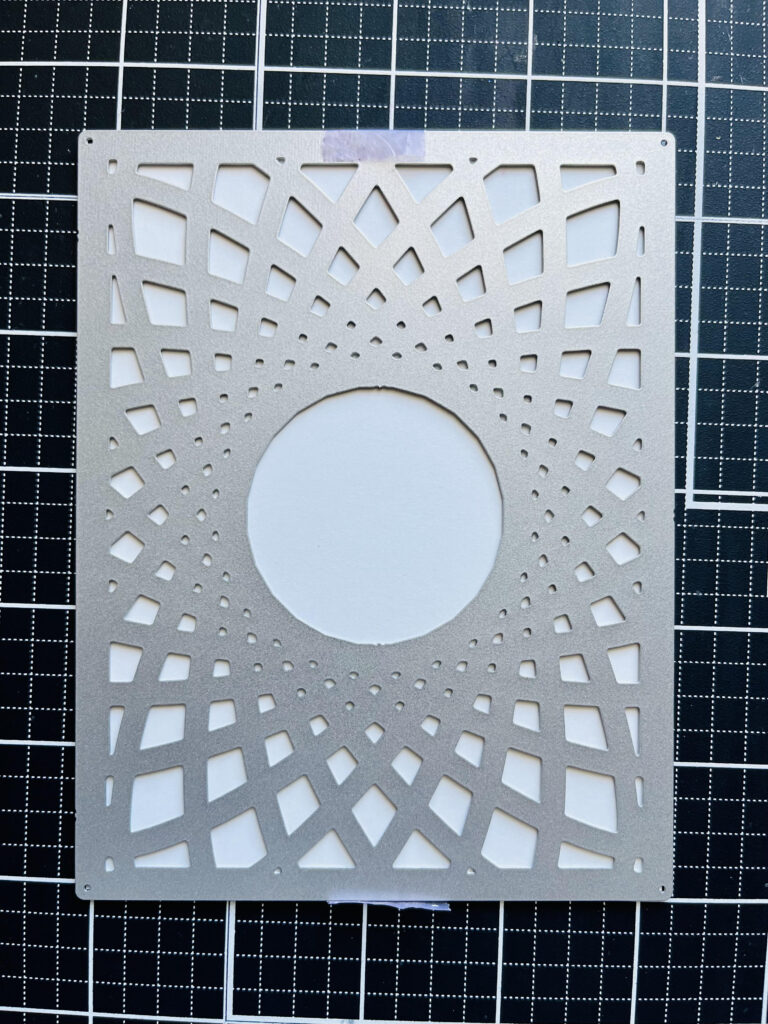
- From Easy Die Cutting class, I learned to use dies in alternative ways. Here, I dry embossed Altenew Layered Geo Cover Die B to create a textured background without distracting the main focal. Tip: Spritz the panel with some water mist before dry embossing to prevent cracking. Also, be sure to follow your die cutting machine’s sandwich instructions for dry embossing.
- I used some foam tape behind the main focal and attached it to the dry embossed panel. Next, I used the Ruby Red mini–ink pad direct to paper around the card. The technique I learned from the Clean and Simple Boutique Card class.
- To finish the card, I attached the “Birthday Wishes” foiled sentiment from my stash along with some Studio Katia hibiscus pearls.
Card #5 – Sending Hugs
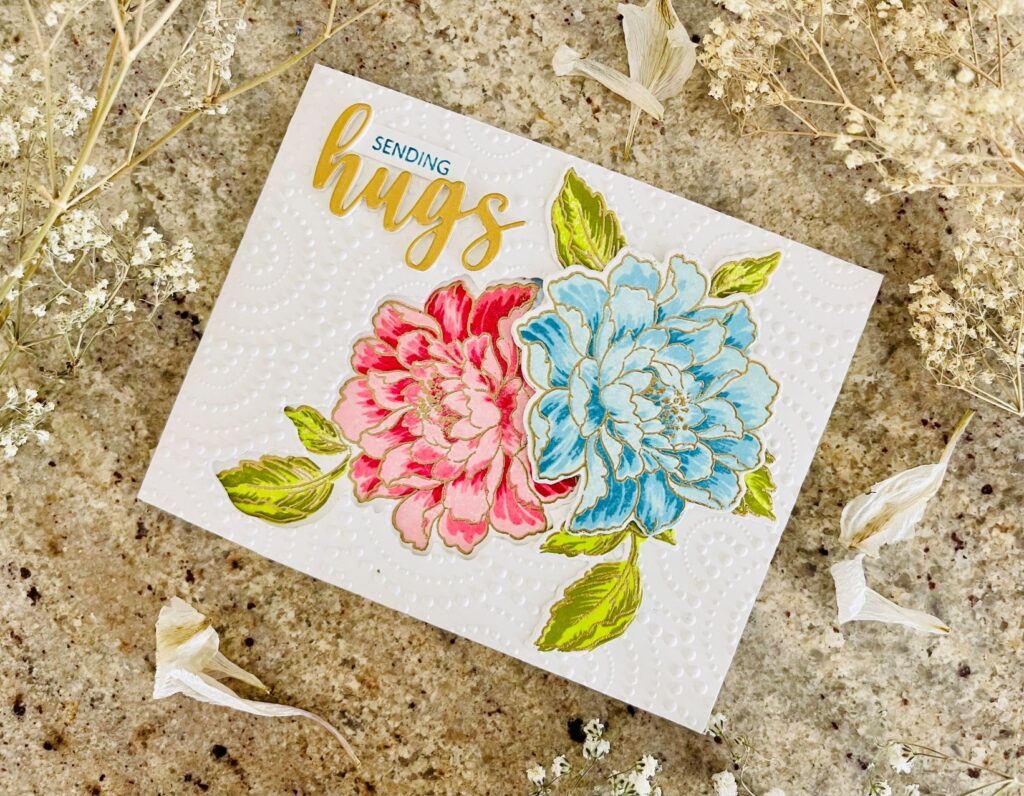
For the last card, I thought it would be fun to make a tri-fold landscape window card. This card used techniques from All About Layering and Easy Die Cutting classes. I featured one of my favorite Altenew stamp sets – Build a Flower Coral Charm.
Steps:
- I cut 2 panels of heavy weight 4.25” x 5.5’ landscape note cards (Tip: simply cut an 8.5” x 11” in half vertically and score at 5.5”). Cut a smidge off the back of one note card and the front of the other. This ensured the two cards will fit.
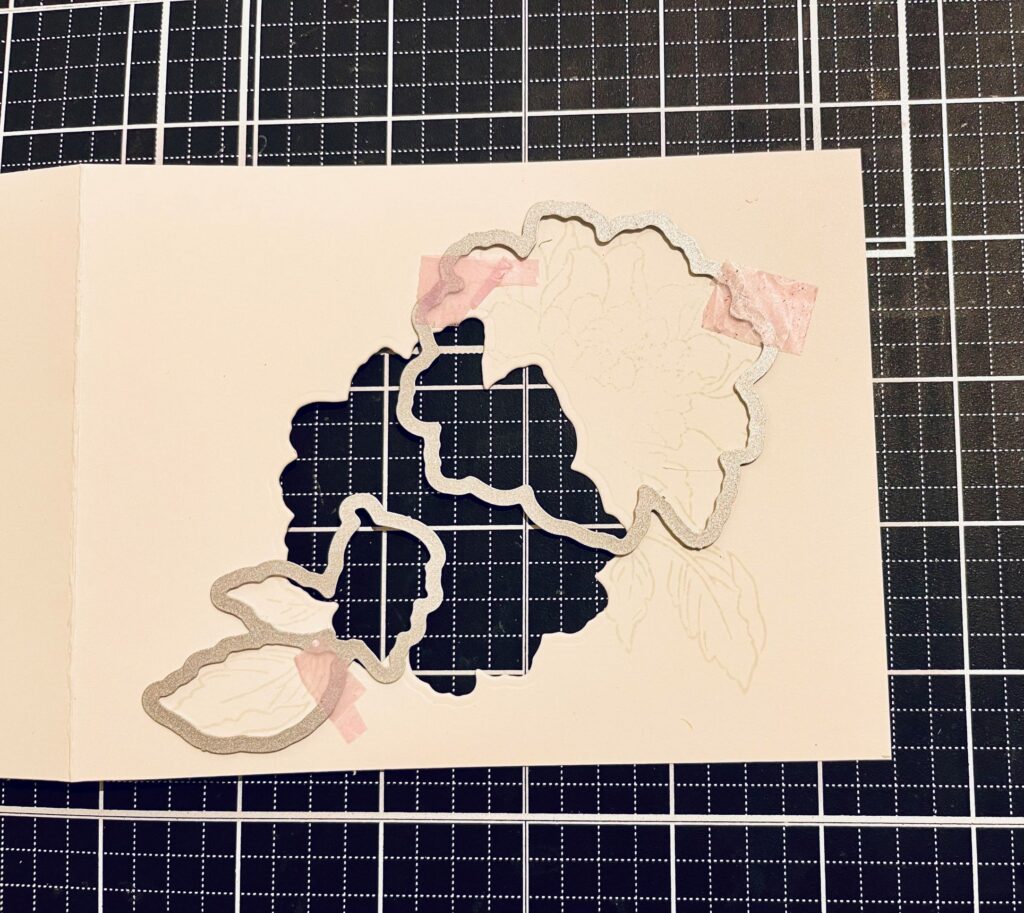
- Since I intended to do some masking, I died cut 2 flowers using Gina K masking magic from my stash.
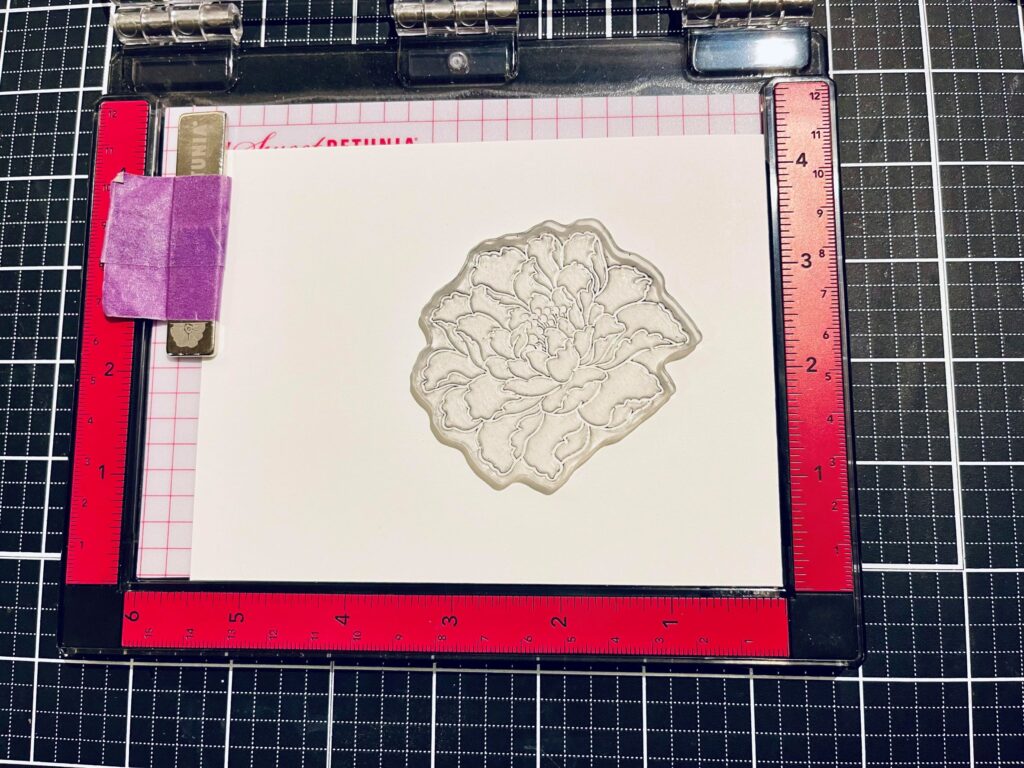
- On one of the note cards, after applying anti-static powder, I heat embossed the outline flower stamp with gilded gold embossing powder.
- With the stamp in the same spot in my Misti, I stamped the other note card with gray ink. This didn’t need to be perfect as it was going to be die cut for the window. Set the panel aside.
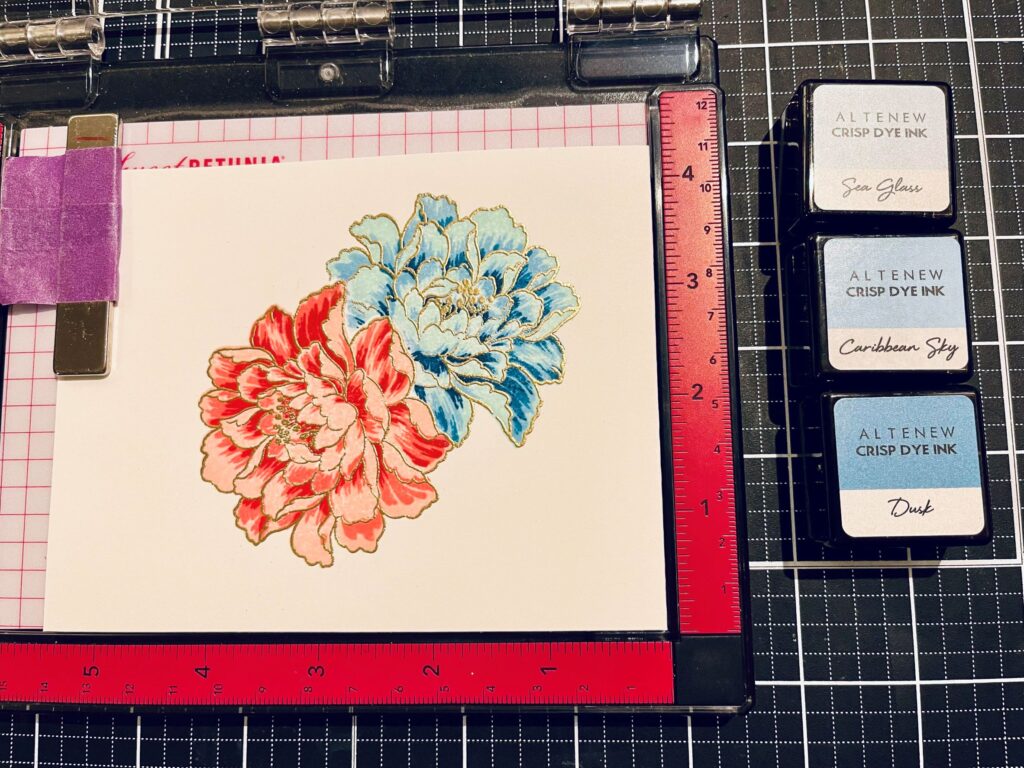
- Back to the gold embossed outline flower, I followed the layering guide (which was easy to do, and instructions were clear), I stamped the layers using Altenew crisp dye inks – Pink Diamond, Coral Berry and Ruby Red. I added some shimmer to the flowers using Nuvo aqua shimmer glitter gloss pen.
- To make a bouquet, I masked the first flower, a repeated the process for the second flower. This time I used Altenew Sea Glass, Ocean Wave, Caribbean Sky and Dusk crisp dye inks.
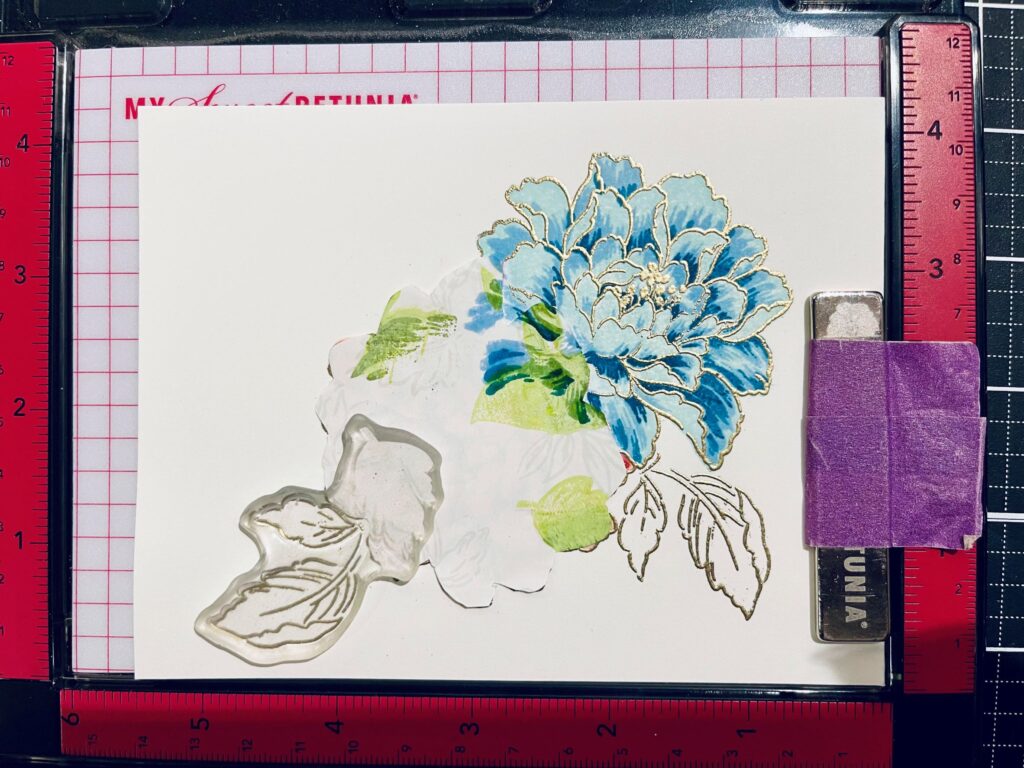
- With the two main flowers completed, I masked off both flowers; and heat embossed the leaves. While the leave stamp was still in the Misti, I stamped the other note card where I wanted to have the leaves outline as part of the window.
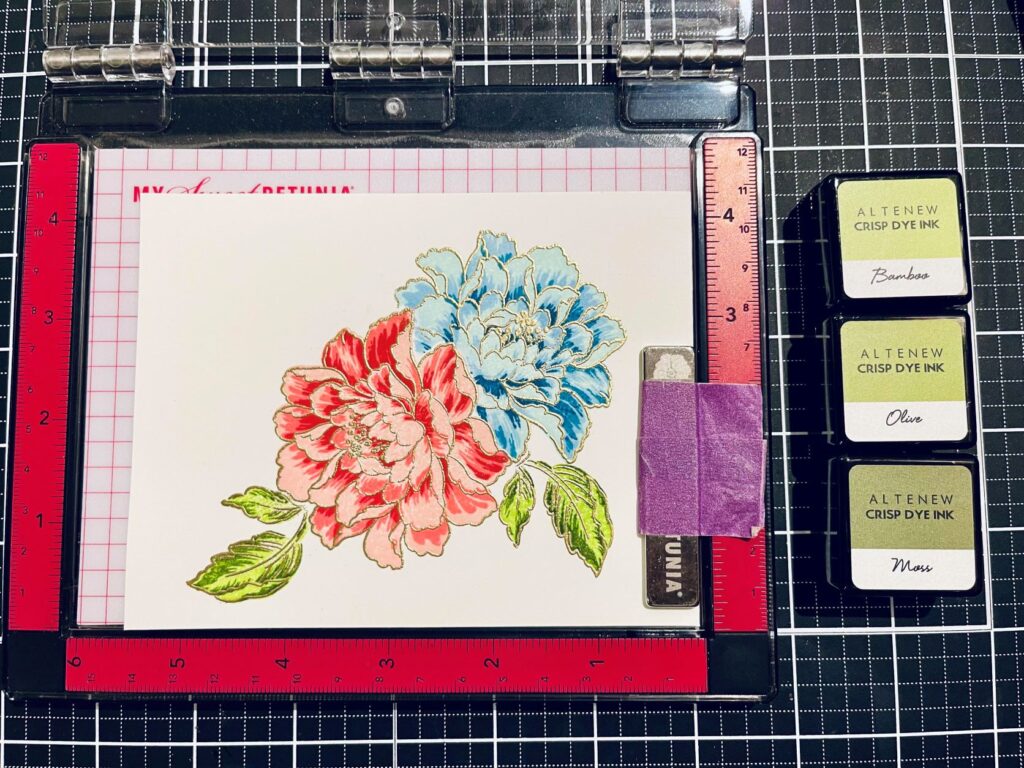
- For the gold embossed leaves on inside panel, I used Altenew Bamboo, Olive and Moss dye inks. To complete the cluster, I used gray ink to stamp the small floral and leaves around the two main flowers.
- While I had my supplies out, I made several extra flowers and leaves die cuts to be used for the front card and the gift box.
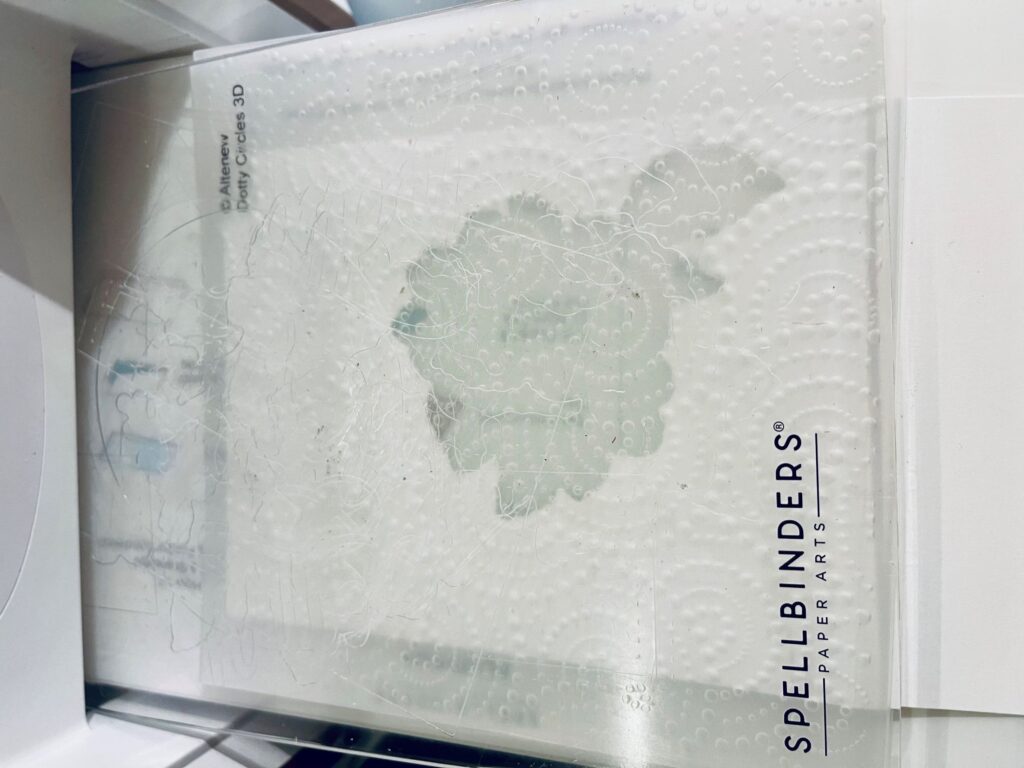
- For the front note card, I die cut the flower and leave outline to create the see-through window. For added texture, I dry embossed the front panel using the Dotty Circles 3D embossing folder.
- I glued the two note cards together. Then, I die cut the “Hugs” sentiment (3 times with white and one with matte gold card stocks). Stamped “sending” using Dusk ink and heat embossed with Altenew translucent pearl embossing powder. The “Hugs” die and “Sending” stamp came from the Altenew Floral Acanthus craft your life project kit.
- To complete the card, I adhered a flower and several leaves on the front panel. I attached “sending hugs” on the top left corner to complete the design.
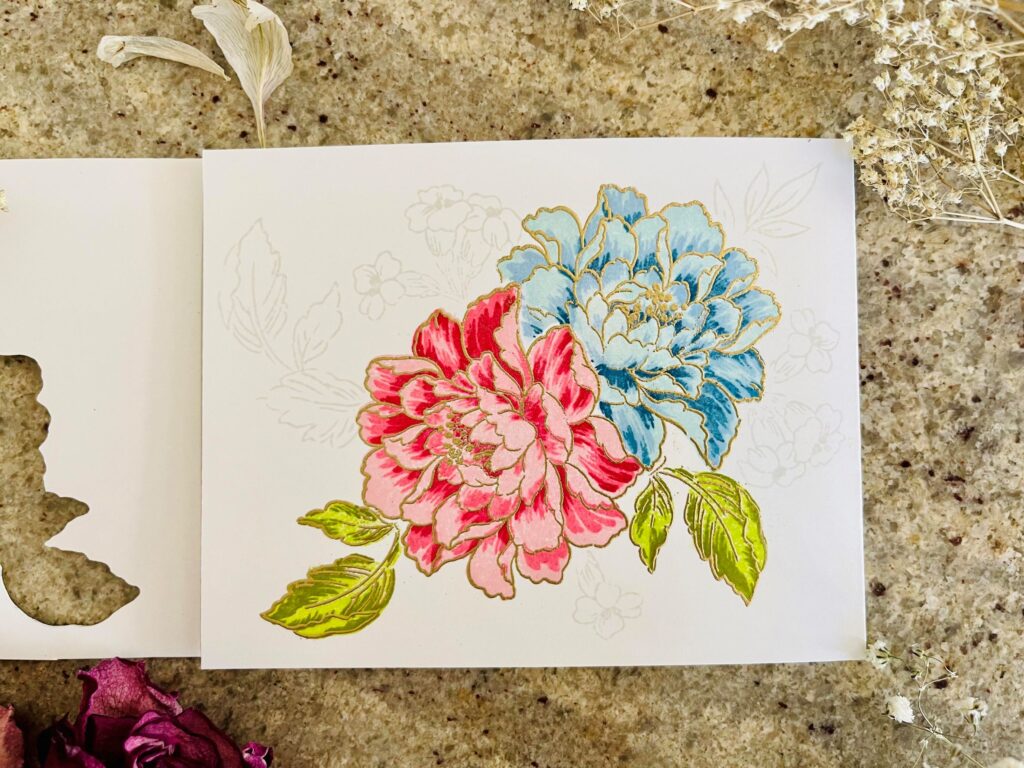
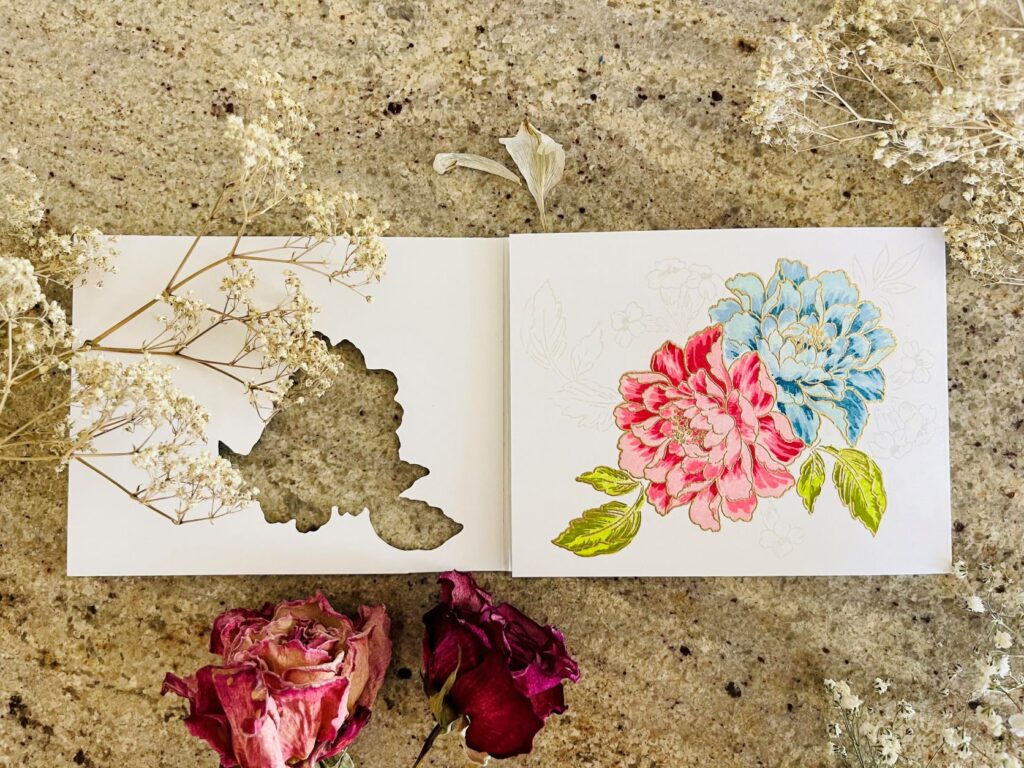
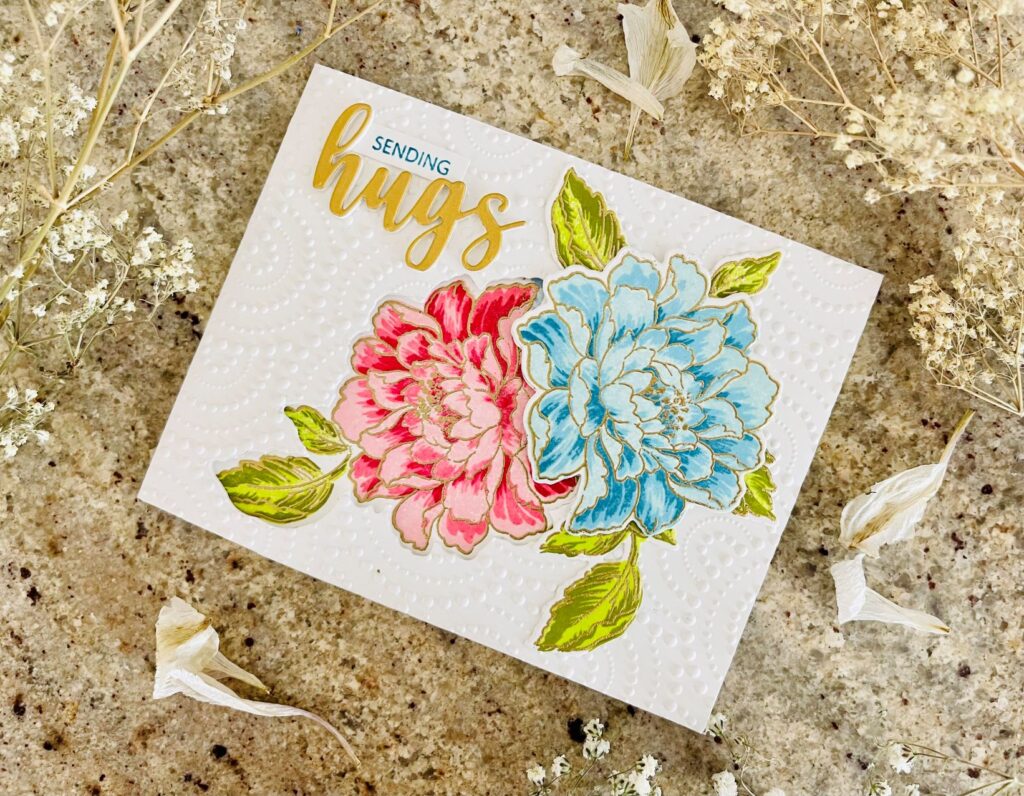
I must say, this is my favorite card of the series. The shimmer is hard to see in the photos but under the right light, it is beautiful. Next, let’s look at how I made the gift packaging.
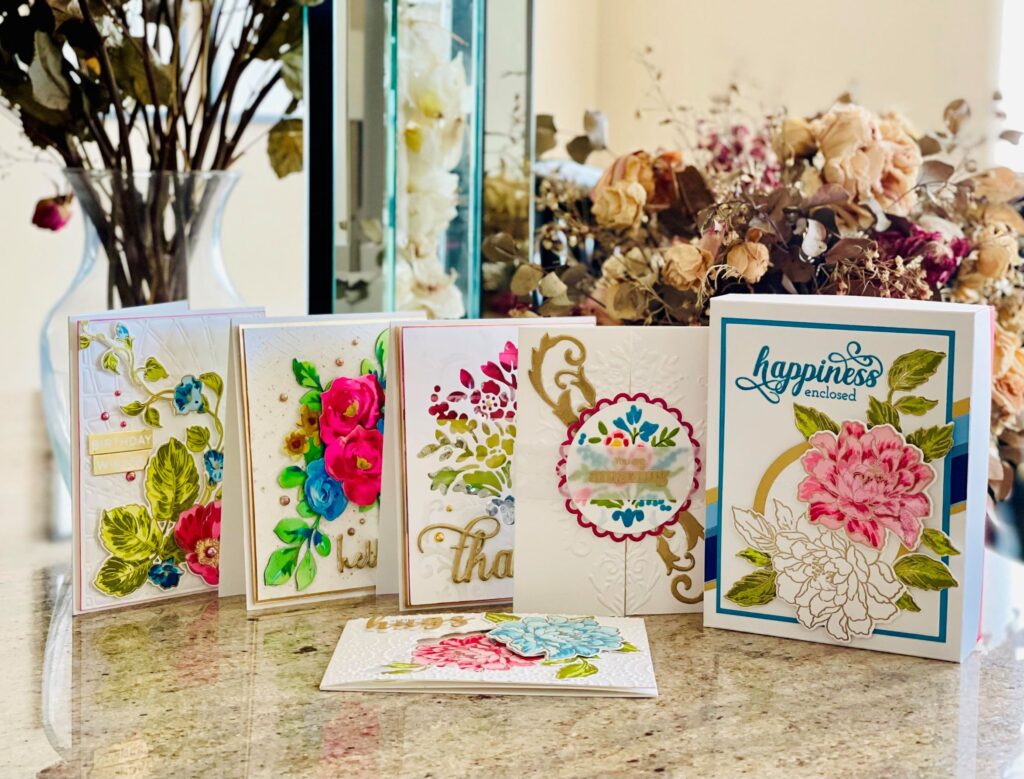
Gift Packaging
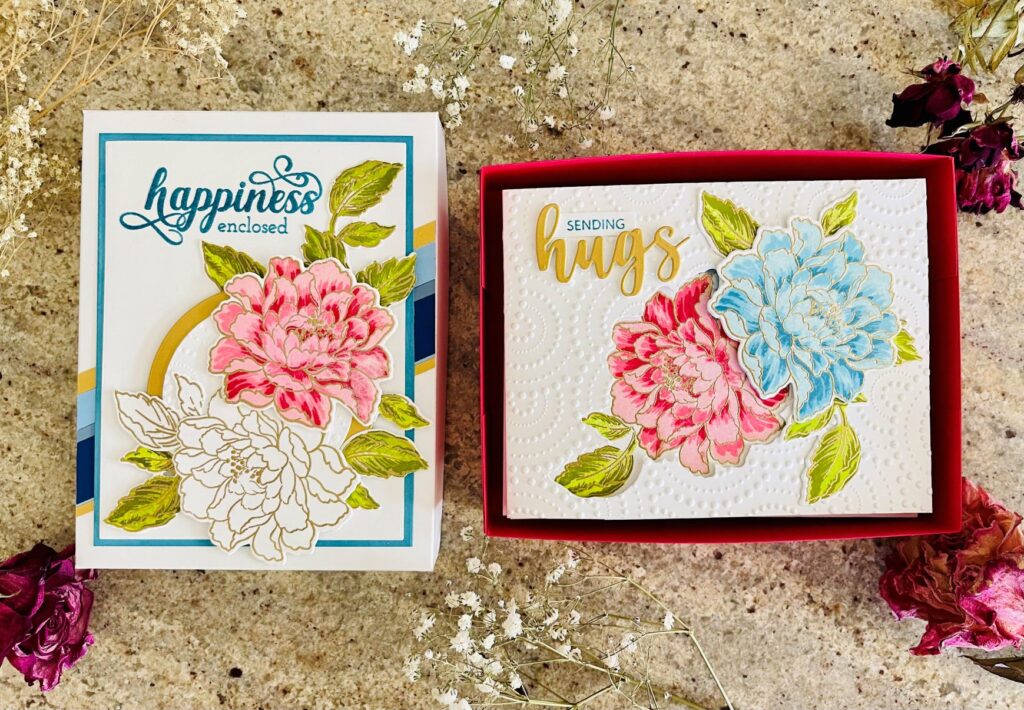
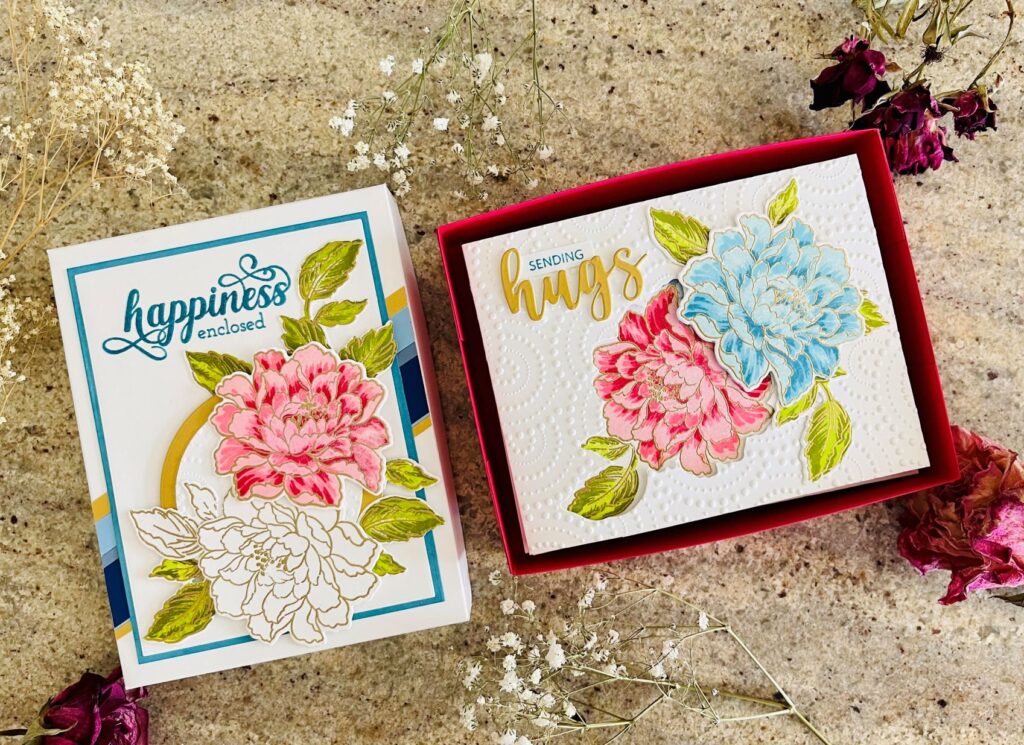
Like the masculine card set, I wanted to make a gift box that enhance and fit with the card series.
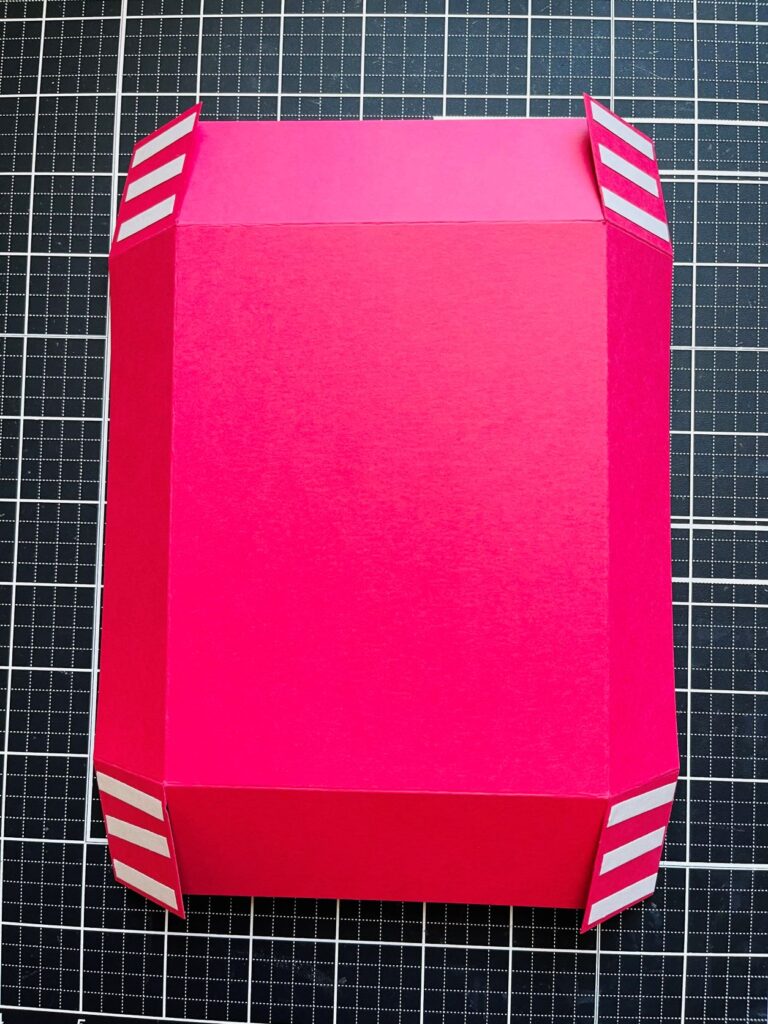
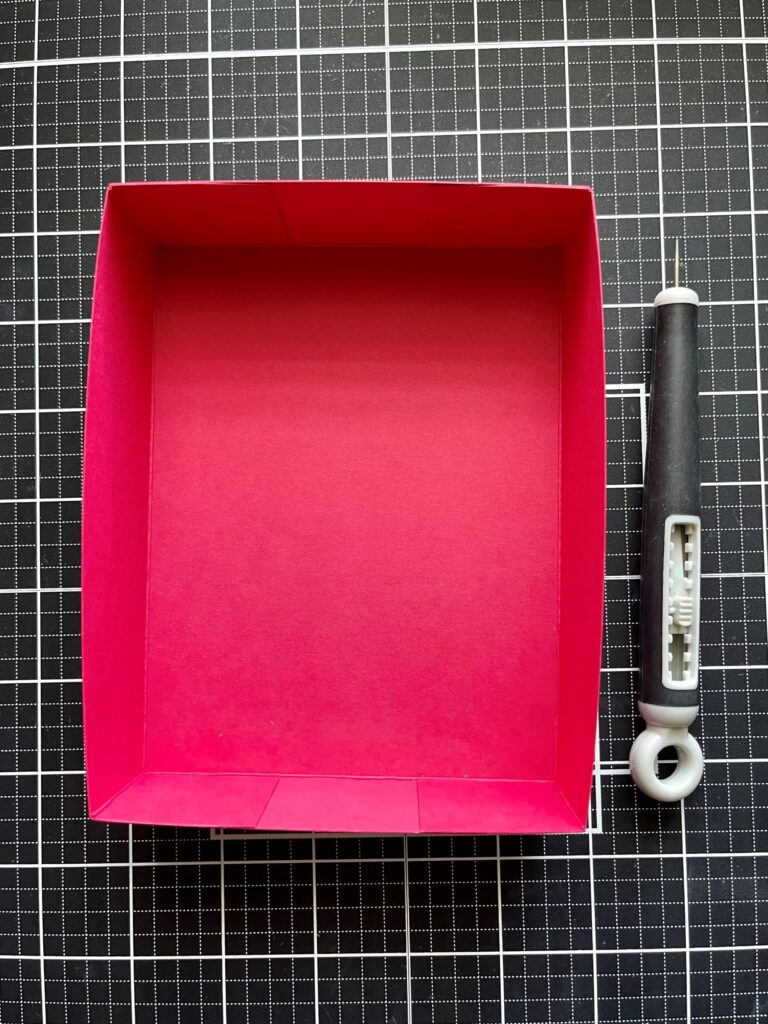
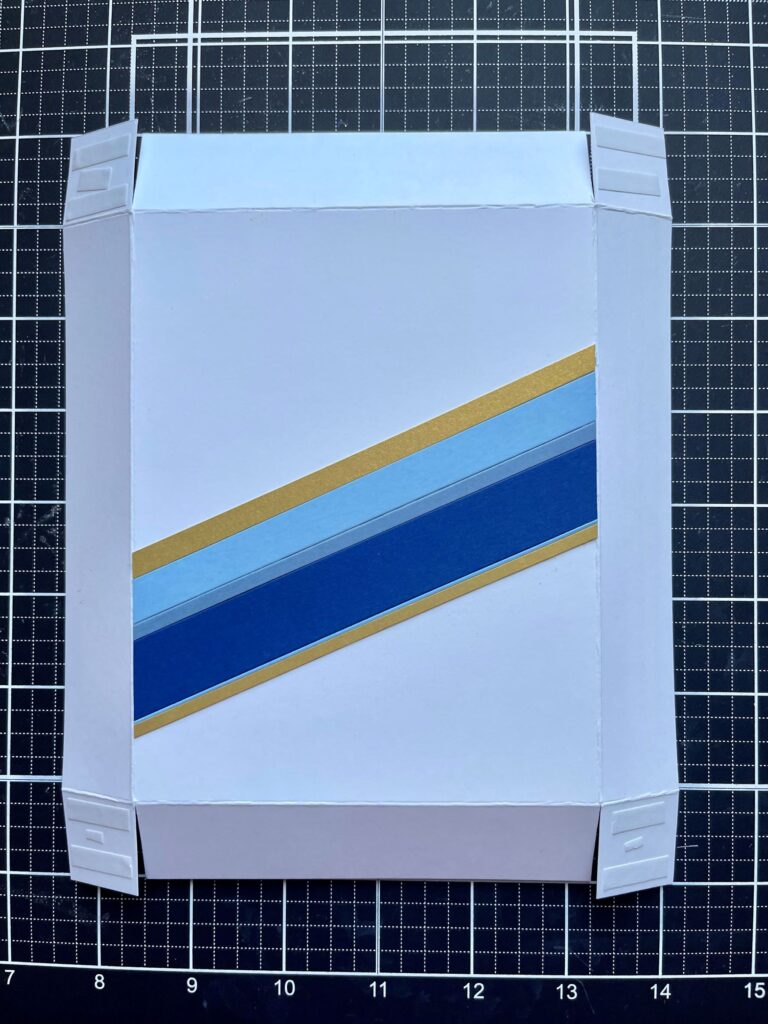
For the box bottom, I chose a red card stock to match the card color scheme. The box measurements are the same as the masculine set described in the previous post.
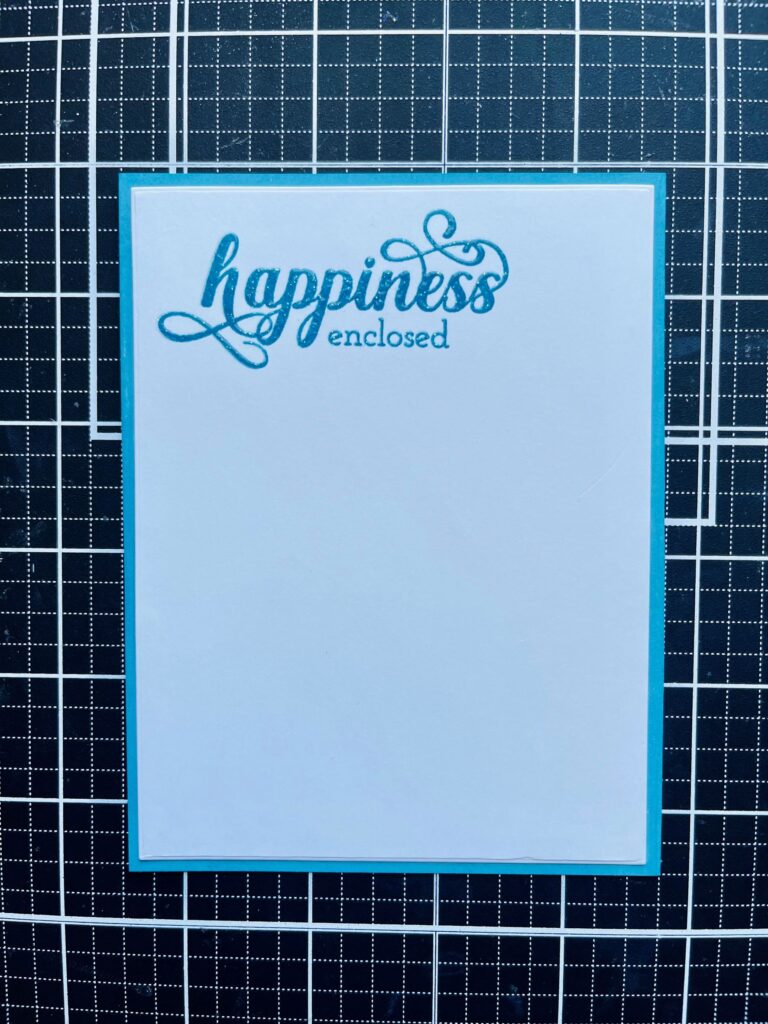
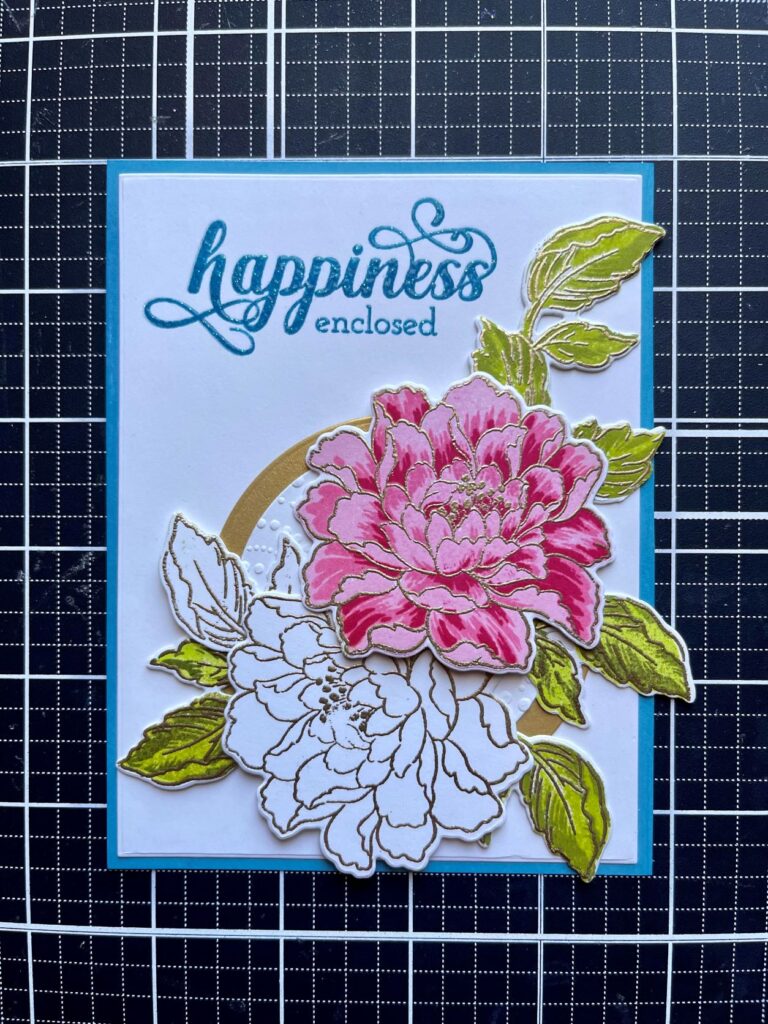
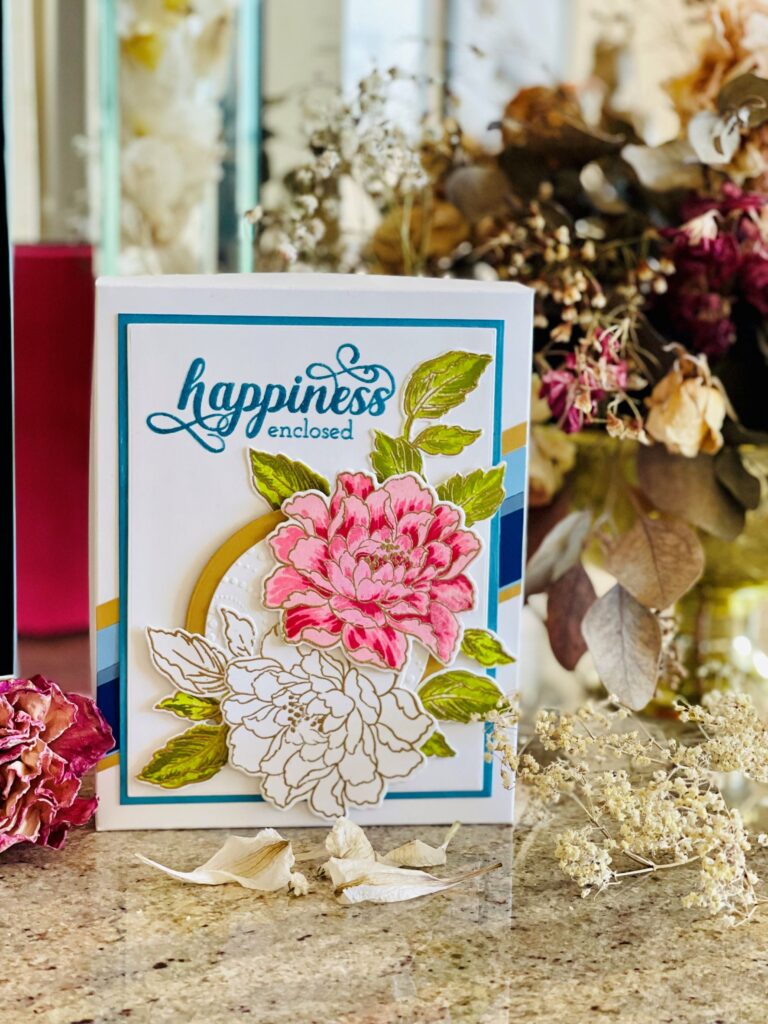
To complete the top box, I adhered some matte gold, and blue card strips to the front and trimmed off any excess. Next, I cut a 4” x 5.25” panel from heavy weight white card stock. I stamped “happiness enclosed” with Caribbean Sky crisp dye ink and heat embossed twice with Altenew translucent pearl embossing powder. Next, I cut 2 circles; a larger one from matte gold and another smaller one from the dotty circle embossed white panel left over from another project. I adhered them together and attached them on the panel as a landing spot for the floral cluster using the coral charm flowers and leaves die cuts made in card #5. After working out where to position the flowers and leaves, I glued them using foam tapes for varying dimension. Before adhering the panel to the box, I thought the panel needed a Caribbean Sky Blue matte to ground the design and contrast against the stripes. For additional finishing touches, I added some shimmer from Nuvo aqua shimmer glitter gloss pen on the flowers. Voila, I think the gift box tied this card series together.
This project took quite some time to complete. I had so much fun making it and as I reflect on the AECP journey so far, I have learned and grown so much as a crafter. I look forward to the next level of the AECP journey.
As always, thanks for stopping by and staying through a long post. I hope you have found some inspirations to make a gift card set. See you again soon.
Lillian

Incredibly gorgeous and stunning cards, Lilian! I knew your cards would be breathtakingly beautiful! Thank you so much for submitting your final challenge for Level 1. Well done!
Aw…Thank you so much Erum. This means a lot.