Hi Everyone,
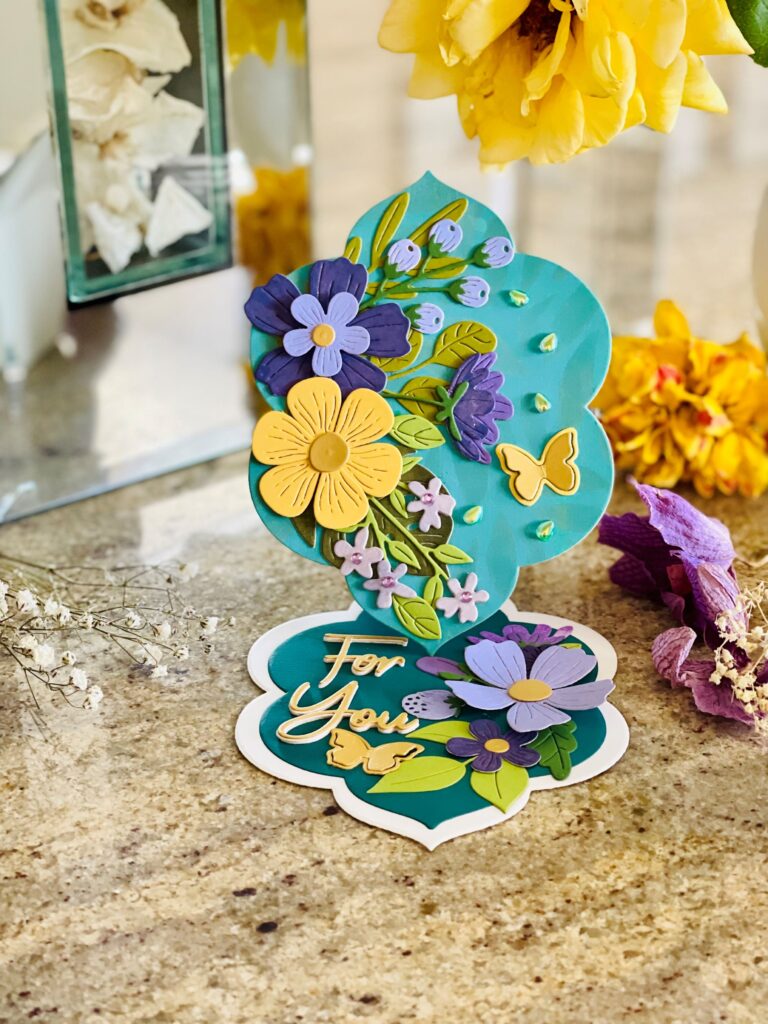
Easel cards appear complicated, but they are quite simple to make. I love making shape cards. Spellbinder’s latest Essential Floral Reflection die set is perfect shape for an easel card. Another fabulous feature is that this card stands as a display. Let’s look at how I made the card.
Steps:
I started with a heavy weight top folding A2 (4.25”x 5.5”) card base. I used the largest “Floral Reflection” die. I placed the top of the die a little bit off the folded part of the card base. This allowed the two pieces to remain in-tact and was the mechanism that allowed the card to stand as the easel.
Once die cut, I scored the top layer in the middle horizontally and folded it with Teflon folder.
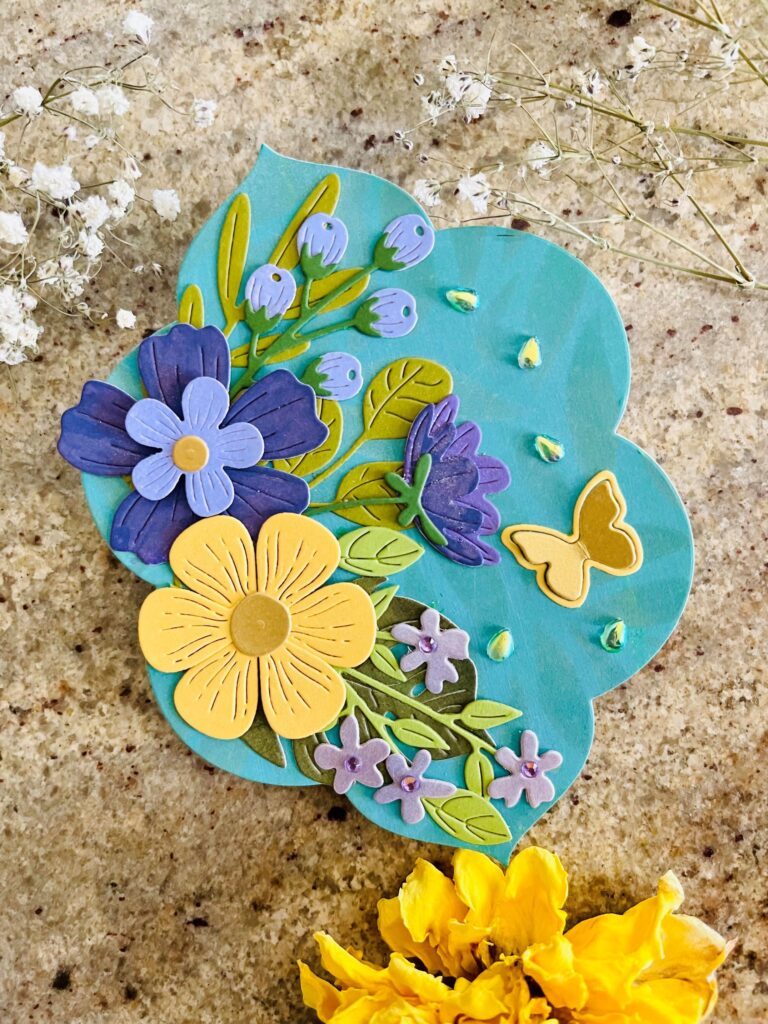
On a separate green-teal ink blended and stenciled panel, I die cut it with the largest size “Floral Reflection” shape. This was the front panel of the card.
Next, with the next smaller size “Floral Reflection”, I die cut it with Spellbinder’s Blue Spruce essential cardstock and adhered it to the bottom of the card base.
I decorated the front panel with different florals, leaves, stems and berry clusters from Spellbinder’s Be Bold Blooms, Sealed Wildflowers, and Typing Class die sets. Placing liquid glue to half top part of the easel card, I adhered the decorated Hi top panel.
Using the largest “Floral Reflection” die, I die cut another white heavy- weight card stock. Cut in half and trimmed off a smitch and adhered to the bottom of the front panel. Do not adhere / cover the folded part or the easel mechanism will not work. I prefer a clean look and it’s where I plan to write a personal note to the recipient. But this step is optional.
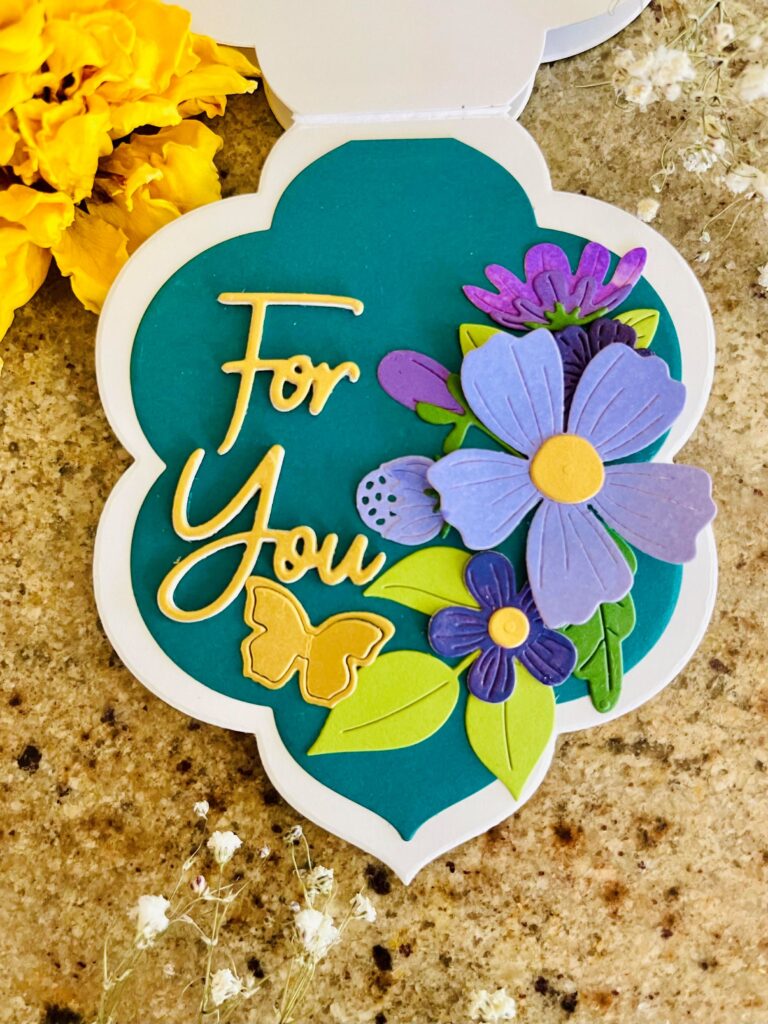
With left over florals, leaves, stems, and berry clusters, I decorated the bottom easel card base. I also die cut the “For You” dies three times with heavy weight cardstocks and once with brush gold card stock. I adhered them together for dimension. I glued the sentiment onto the bottom easel card base. These various die-cut elements are used as “stopper” for the front panel to stand.
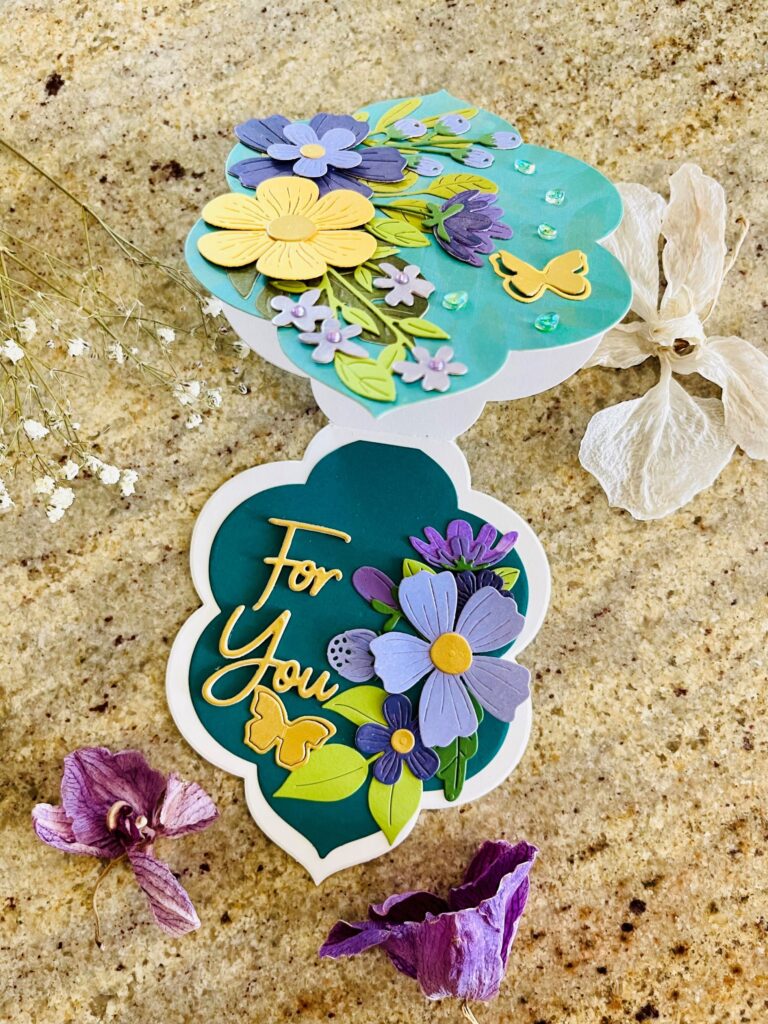
To finish the card, I added some gems and two small butterflies for added interests. I also added some aqua shimmer glitter gloss to all the flowers.
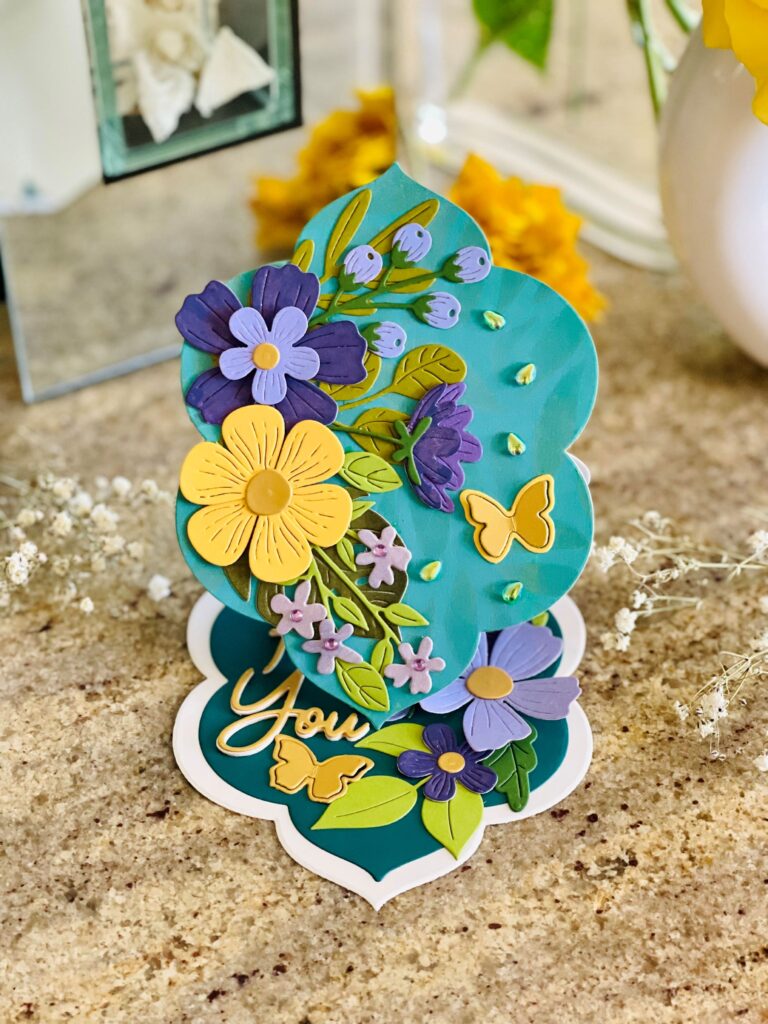
I love how the card turned out. The best part is it stands and folds flat to fit in an A2 envelope. Hope you give this easel card a try. Thanks for stopping by and happy crafting!
Lillian
Supplies Used:
Affiliated links below are at no additional costs to you. This will enable me to create more content. Thank you for your support.
Spellbinders Value Clubs (SPL)
Spellbinders Large Die Club of the Month (SPL)
Spellbinders Small Die Club of the Month (SPL)
Spellbinders Be Bold Blooms Etched Die Set (SPL | SCR)
Spellbinders Essential Floral Reflection Etched Dies (SPL | SCR)
Spellbinders Essential Floral Reflection Bundle Etched Dies (SPL | SCR)
Spellbinders Create Simply Perfect Mix & Match Sentiments Etched Dies (SPL | SCR)
Spellbinders Create a Slimline Border Etched Dies (SPL | SCR)
Cardstock – 8.5 x 11 – 80 lb. Neenah Solar White – 50 Pack (SCR)
Cardstock – 8.5 x 11 – Neenah Solar White – Ultra Thick – 25 Pack (SCR)
Spellbinders Blue Spruce Color Essentials Cardstock (SPL | SCR)
Spellbinders Fern Color Essentials Cardstock (SPL | SCR)
Spellbinders Rainforest Color Essentials Cardstock (SPL | SCR)
Spellbinders Brushed Gold Cardstock (SPL | SCR)
Spellbinders Royal Amethyst Color Essentials Cardstock (SPL | SCR)
Spellbinders Peridot Color Essentials Cardstock (SPL | SCR)
Spellbinders Lilac Blossoms Essentials Cardstock (SPL | SCR)
Spellbinders Chamomile Color Essentials Cardstock (SPL | SCR)
Honey Bee Gem Stickers – Rainbow (SCR)

Leave a Reply