Hi Everyone! It has been a little while since my last post. Along with a good friend, after several months of training, we completed a half marathon in Kauai. We used to live and work there many years ago (each at different time) and it was fantastic to be able to run on such a beautiful course on an island we love.
Anyway, who would love a little bling on handmade cards? If you like shine, this post is for you. I am excited to share a project inspired by Altenew’s Let It Shine class taught by Carissa Wiley. This class is part of the Altenew Educator Certification Program (AECP) that I am participating in, and it is my ninth submission. Yay! Just one more class to go for level 1!

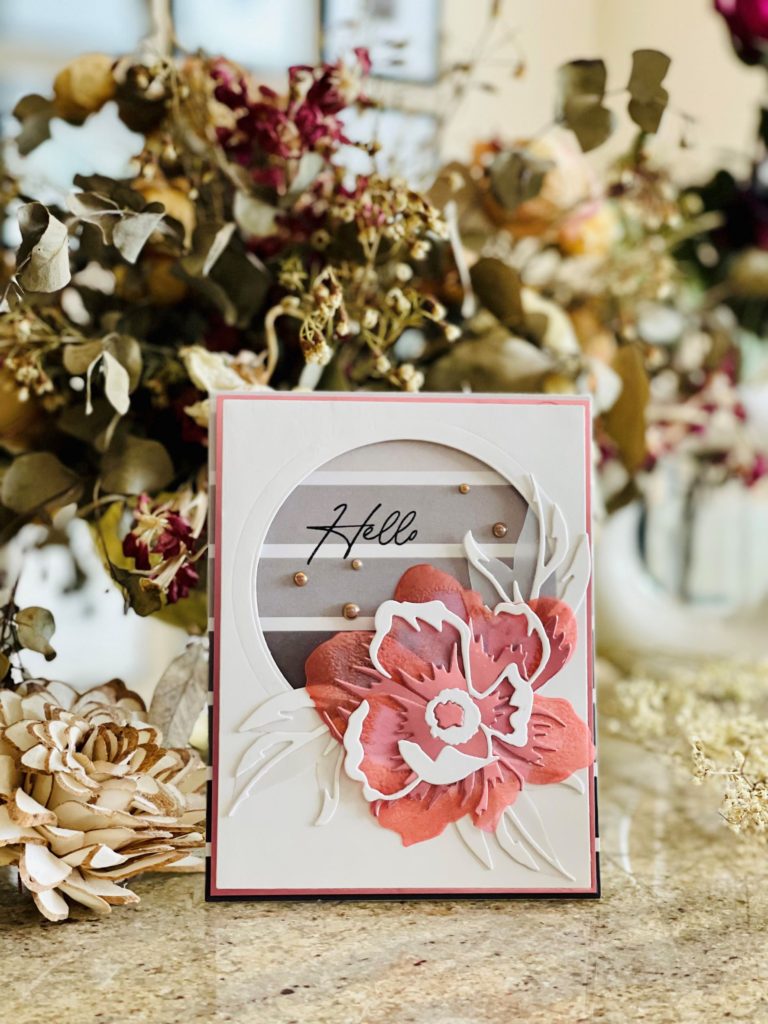
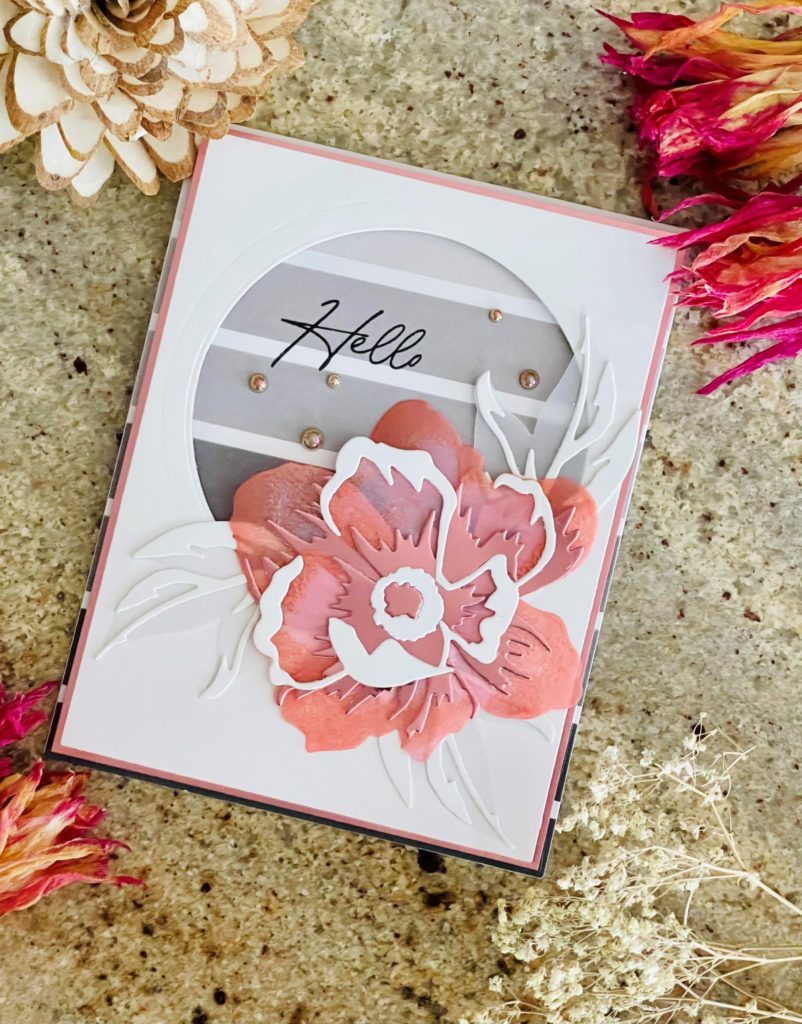
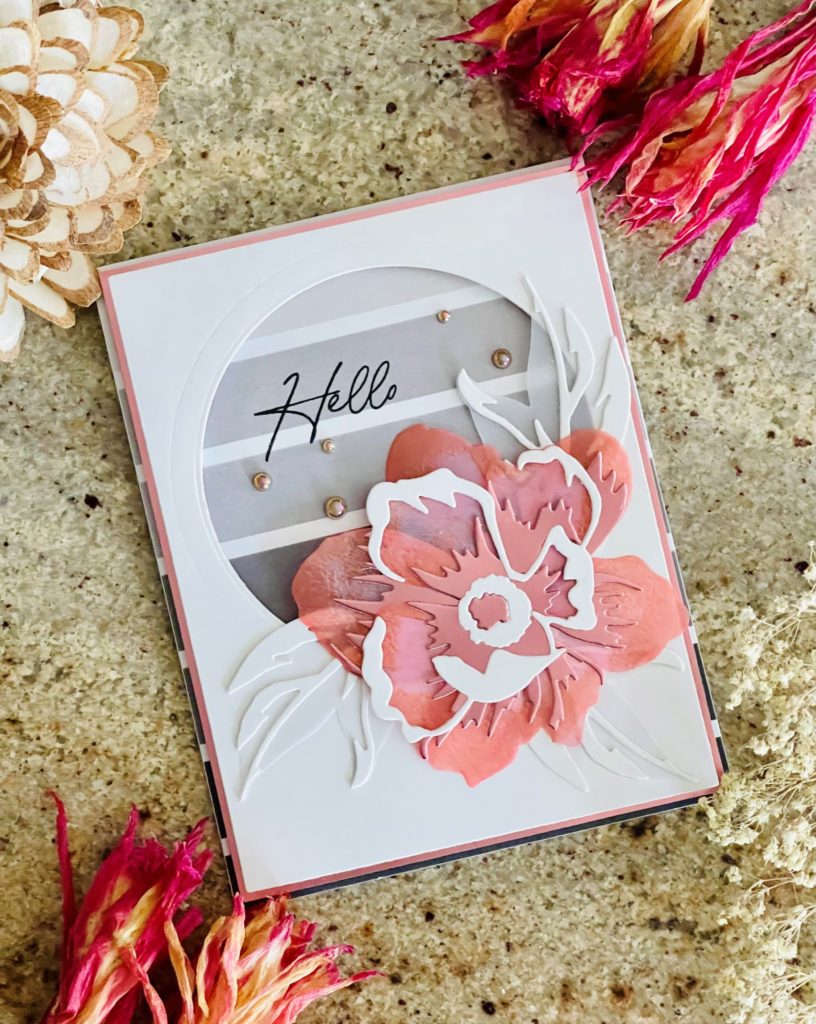
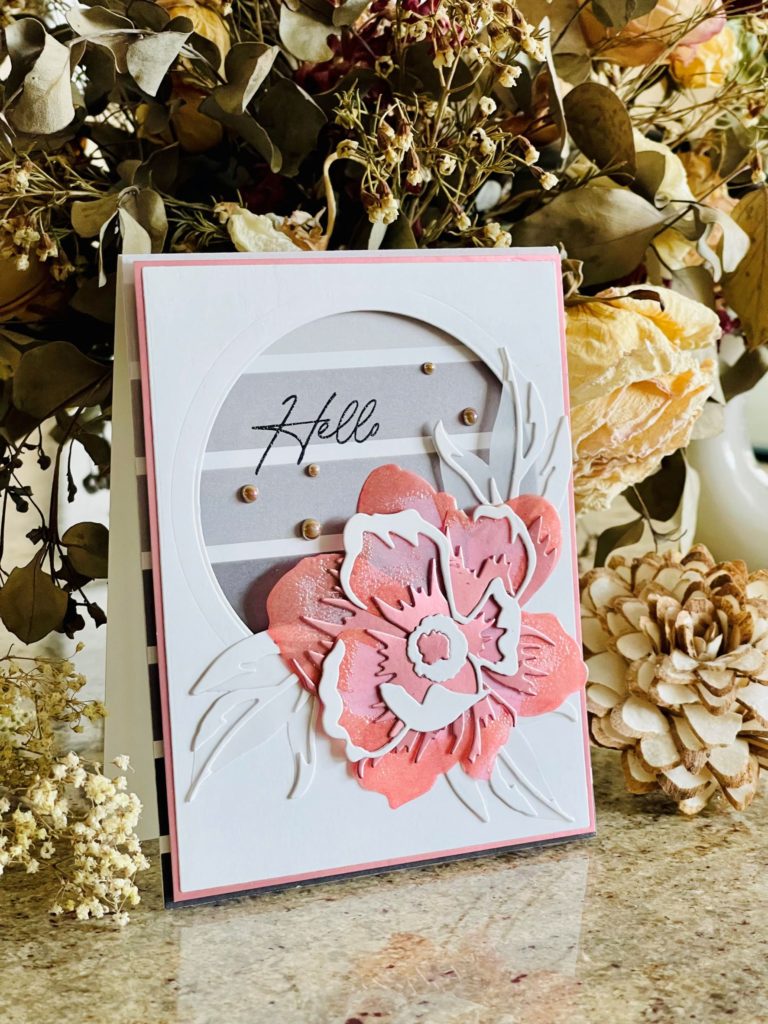
I have been following Carissa’s work for a while. I love her style and was looking forward to learning from her class. Carissa covered many ways to add shine to card projects. She is the queen of bling for sure! For my project, I incorporated the strategic use of heat embossing, and specialty papers (mirror card stock and vellum). This card features Altenew’s stunning Peony Dream 3D Die Set. It is one of my favorite die sets from Altenew.

I wanted a modern design for the card. To begin, I die cut the main flower and leaves with vellum. For the leaf layering die, I used white card stock. For the flower layering pieces, I used white card stock and mirror card stocks. Next, I applied some anti-static powder on the tips of flower pedals and heat embossed with Lindy’s Magic Cleopatra’s Copper embossing powder. Then, I attached the remaining floral layers. For the card design, on a A2 Neenah Solar white layering panel, I cut out a circle aperture. At first, I debated to add some texture to the panel but opted to leave the panel plain to achieve the clean look. I also cut a circle aperture on a slightly larger rose gold mirror cardstock.

Separately, I wanted to enhance the modern feel behind the circle. Hence, I used an A2 gray strip pattern paper from Altenew’s Rock Collection 6×6 Paper pack. Before adhering it behind the aperture, I stamped the “Hello” sentiment with VersaFine Clair nocturne ink and heat embossed it with clear embossing powder. By the way, did you know that since VersaFine Clair nocturne is a pigment ink, embossing powder will stick to it for heat embossing? There’s no need to use a clear sticky ink separately. This saves a step! Then, I added some foam tape behind the circle panel for some dimension before adhering to the pattern paper panel.

To complete the card, I affixed the flower to the bottom of the circle and tucked the leaves underneath. Finally, I added some Pink Fresh Studio sparkling champagne metallic pearls for extra bling.

I love the modern and clean look of this card. I hope you like it too. Thanks for stopping by and I wish you a beautiful day.
See you soon.
Lillian

Exceptional!!!!
Thank you so much Erum.
Wonderfully creative, what a beautiful card!! I love the techniques you used.
Thank you so much Ruth.
Your progress has been wonderful to follow – absolutely stunning cards and artistry.
Thank you so much Teri.