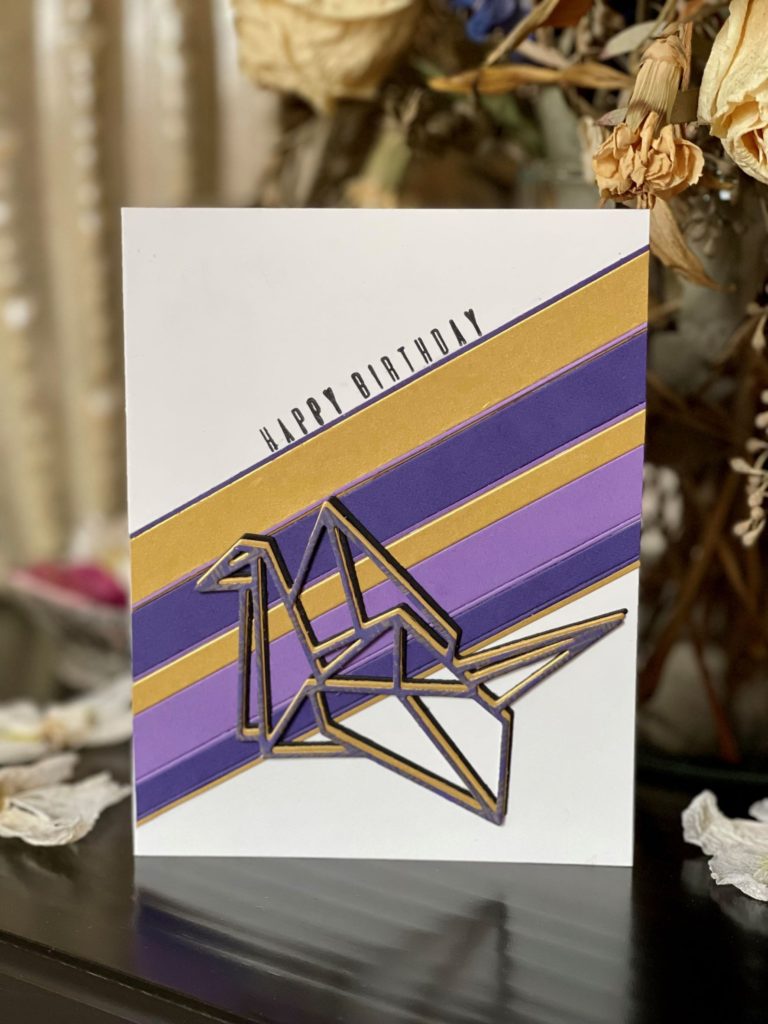
Hello! Welcome back. Do you struggle with masculine cards as much as I do? Today, I am sharing a requested card. The specifications: (1) Birthday card for a guy, (2) Minnesota Vikings football team colors (gold and purple) and (3) Asian inspired. Oh boy (pun intended), now that’s a challenge!

Well, I thought it would be perfect opportunity not only to rise to the challenge, but it would also be an awesome project for my seventh submission to level 1 For the Guys class as part of the Altenew’s Educator Certification Program (AECP). I was inspired by Jennifer Rzasa’s lesson with using geometric shapes for this project.
What would be more fitting for the Asian theme than origami, right? To step it up, I thought an origami theme spinner card would be super cool. Who wouldn’t like an interactive birthday card?
To begin, I needed two vertical side folding heavy note cards. The outside card base was measured: 5 ½” x 8 ½” scored at 4 ¼’. The inside notecard was measured 5 ¼” x 8 ½” scored at 2 ½” from both ends. The inside note card, once folded, should look like a “M”.
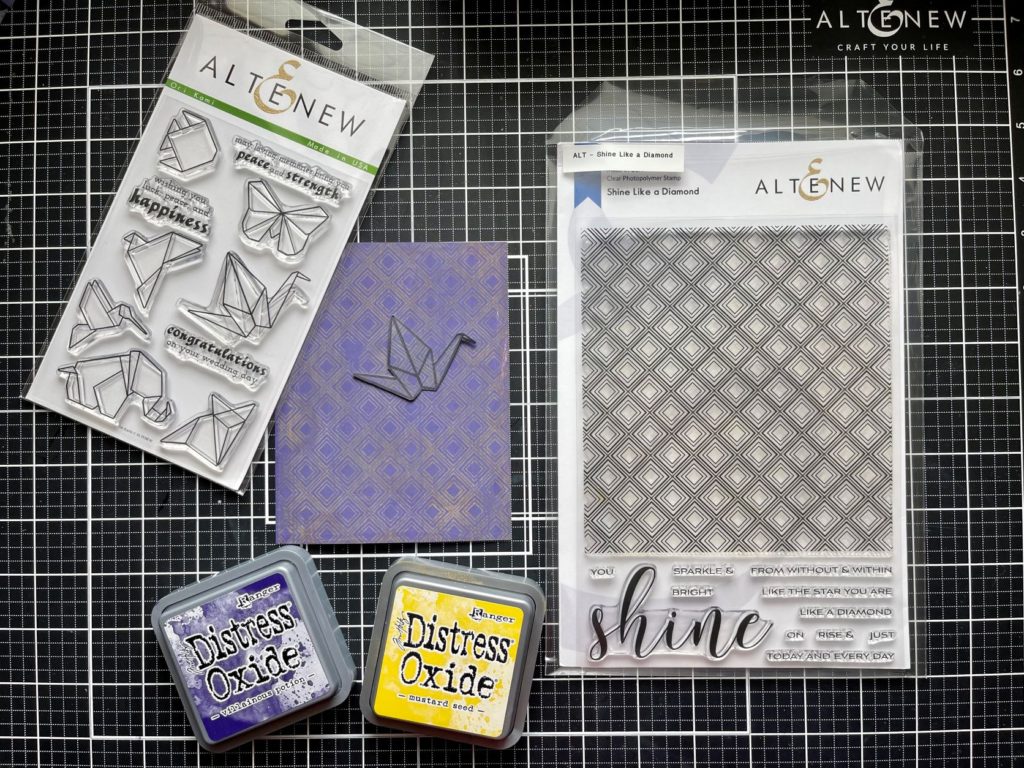
Next, I need to make a background with purple and gold inks. I used Tim Holtz’s Villainous Potion distress oxide and inked direct to a heavy weight white card panel. I inked this multiple times to ensure the cardstock is well covered. Then, with the card in my Misti tool, I inked Altenew’s Shine Like a Diamond background stamp with Mustard Seed distress oxide. After I misted the stamp, I inked it onto the purple panel. I made sure not to spray too much water and dabbed any excess water with a paper towel. I repeated this twice so the diamond patterns are visible. I set the panel aside to dry. I learned this ink lift technique from the amazing Jennifer McGuire. Here’s the link to her tutorial in case you would like to learn more.
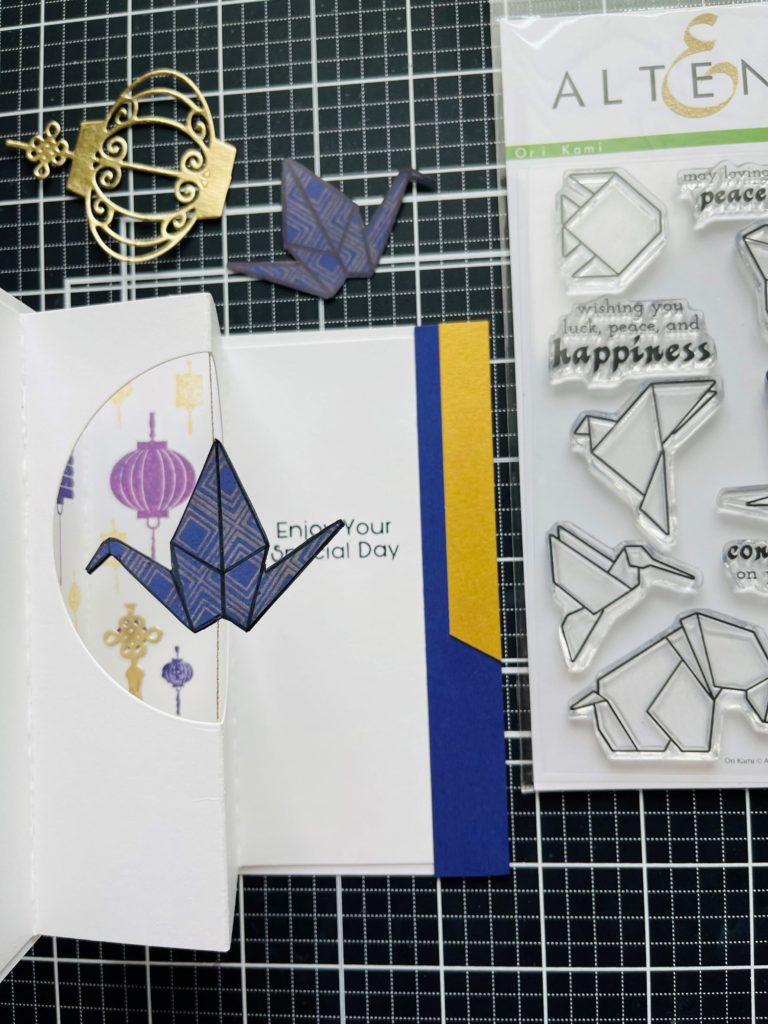
Once dried, I stamped the crane image from Altenew’s Ori Kami stamp set with VersaFine Clair nocturne ink. I made two of them as the spinning element. Since I don’t have the matching die set, I fussy cut them. I quickly realized that I needed a mirror image of the crane. The two cranes were opposite. Yikes! To create the mirror image, I traced the crane element onto the purple pattern background, fussy cut it and use Altenew’s fine liner pen to draw the lines. Voila! Crane spinning element done! Next, I attached Altenew’s gold thread in between the two mirrored-image cranes; making sure it was glued right in the middle.
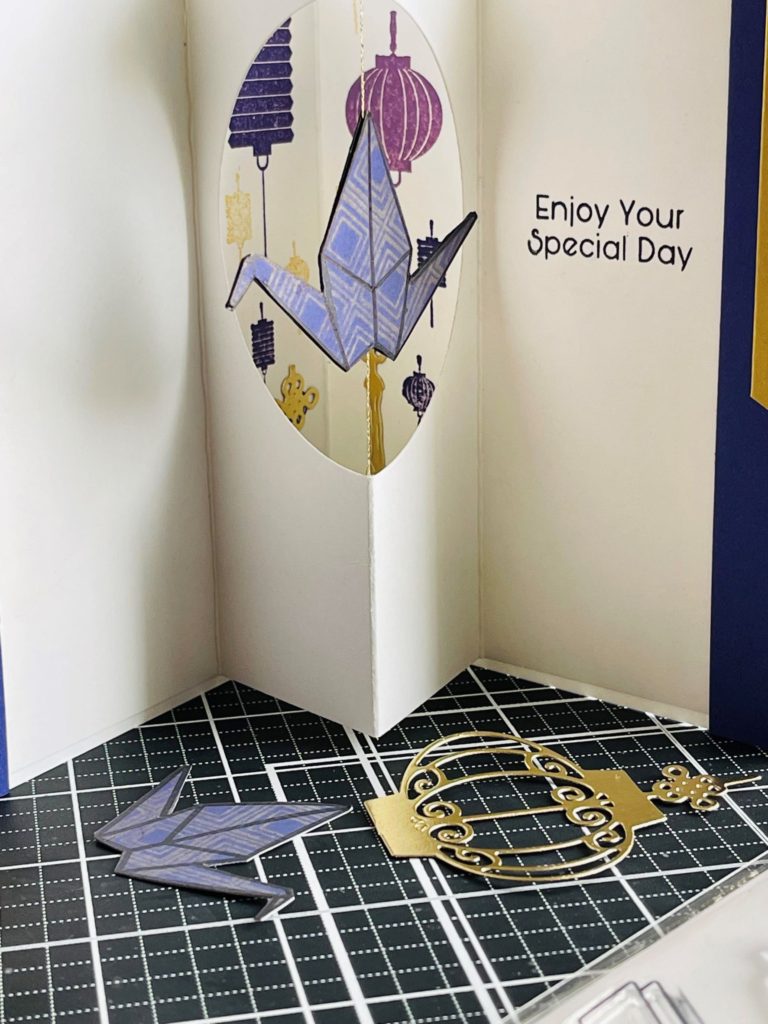
On the inside notecard, I used a circle die to create the aperture from which the spinning element would hang. You can use any shape you would like; just make sure it is centered between the two folds / scored lines. Next, I flipped it over and adhered the gold thread on the top and bottom while ensuring the crane was centered. I made sure there was no slack with the string so that the element can spin.
Before attaching the inside notecard to the base, for the scene behind the aperture, I stamped several lanterns for added interest. For texture, I also adhered a couple of gold tassels I cut off from extra lanterns in my stash.
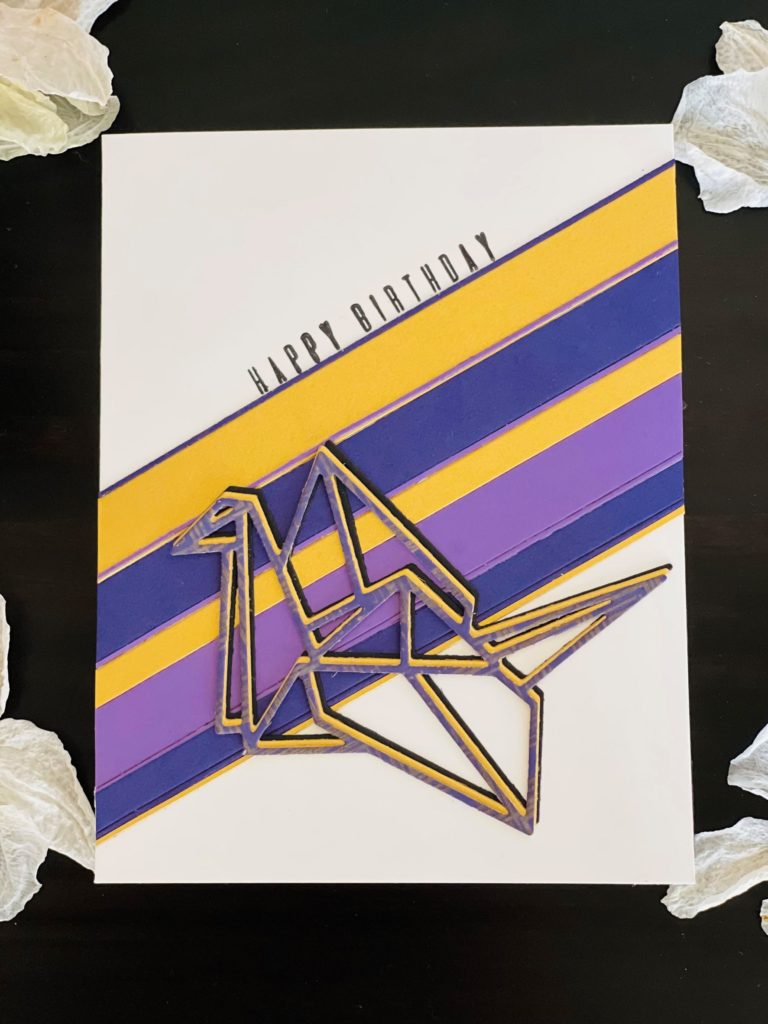
For the front of the card, I cut several size strips from gold and purple cardstock scraps. I adhered them diagonally on the card. Separately, I die cut origami crane from Spellbinders 3 times in black, gold, and purple background I made (described above). I staggered the die cuts so that the gold and black can be seen as shadow layers and adhered the main focal partially on the strips and the other half onto the card base. I stamped “Happy Birthday” sentiment from Altenew’s Sohcahtoa’s stamp set.
Once the front was completed, it was time adhere the inside card to the front. For a more finished look on the inside the card, I glued a couple of left-over purple and gold strips. I stamped “enjoy your special day” on the right.
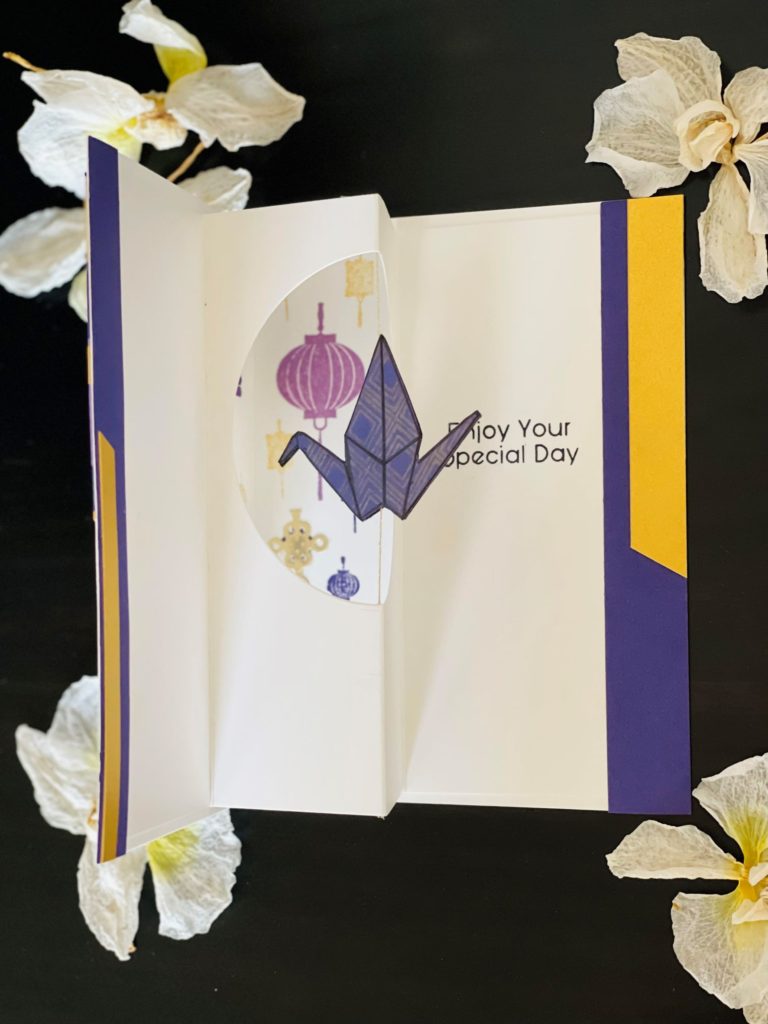
I wish you could see this card in person. Below is a short clip showing the spinning element. Thanks for stopping by and have a wonderful day!
See you soon.
Lillian
Tips and Tricks:
- Use the invisible thread for more dramatic effect for the spinning element. I used gold here because it fit the theme.
- It’s easier to create the scene behind the spinning element before adhering the inside card to the card base.
- Use a black marker or pen to darken all around die cuts that were cut from white cardstocks for a finished look (especially for die cuts with dark outlines / color).

CLASSY!!!
Thank you Erum.