Hello! I am back sharing a couple of projects inspired by Altenew’s Irresistible Inking Techniques class taught by Sarah Naumann. This is my third submission for the Altenew Educator Certification Program (AECP) that I am participating in. Sarah is a great teacher, and her instructions are clear and meticulous.
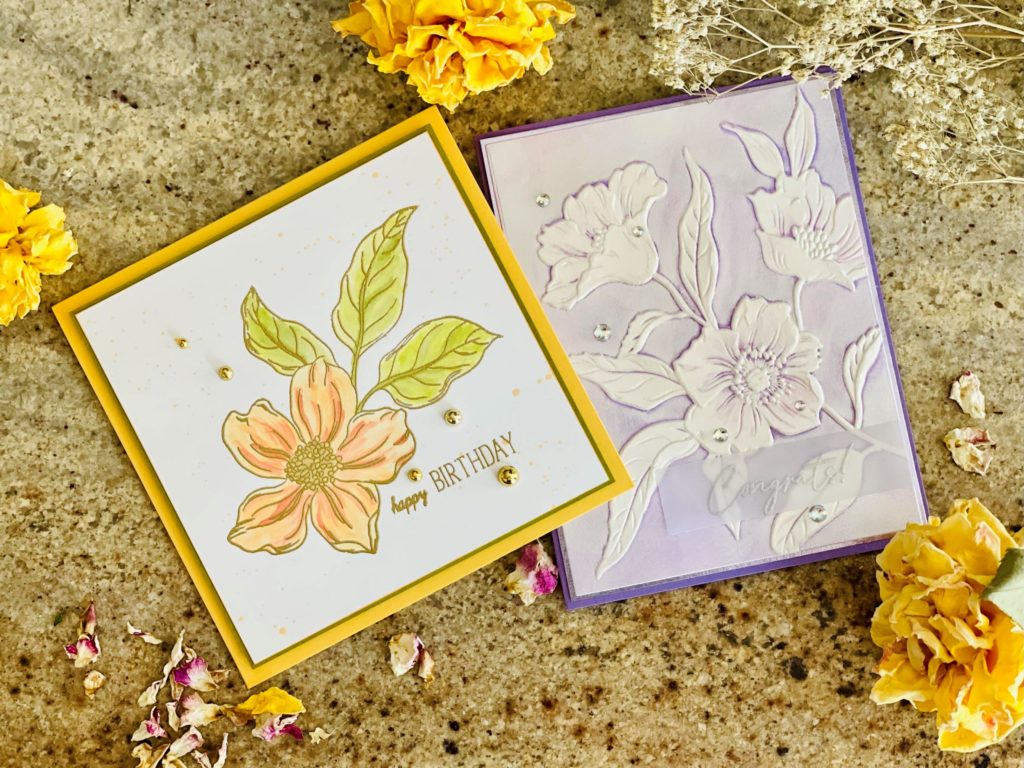
For my assignment, I am featuring two cards using Altenew’s Craft Your Life Project Kit – Hello Beautiful. I am a subscriber of Altenew’s Craft Your Life Projects kits. I think they are stunning and versatile. For an amazing value, the kit comes with a stamp set, coordinating die set, stencil and embossing folder. I encourage you to check out the kits if you are interested.

Card #1
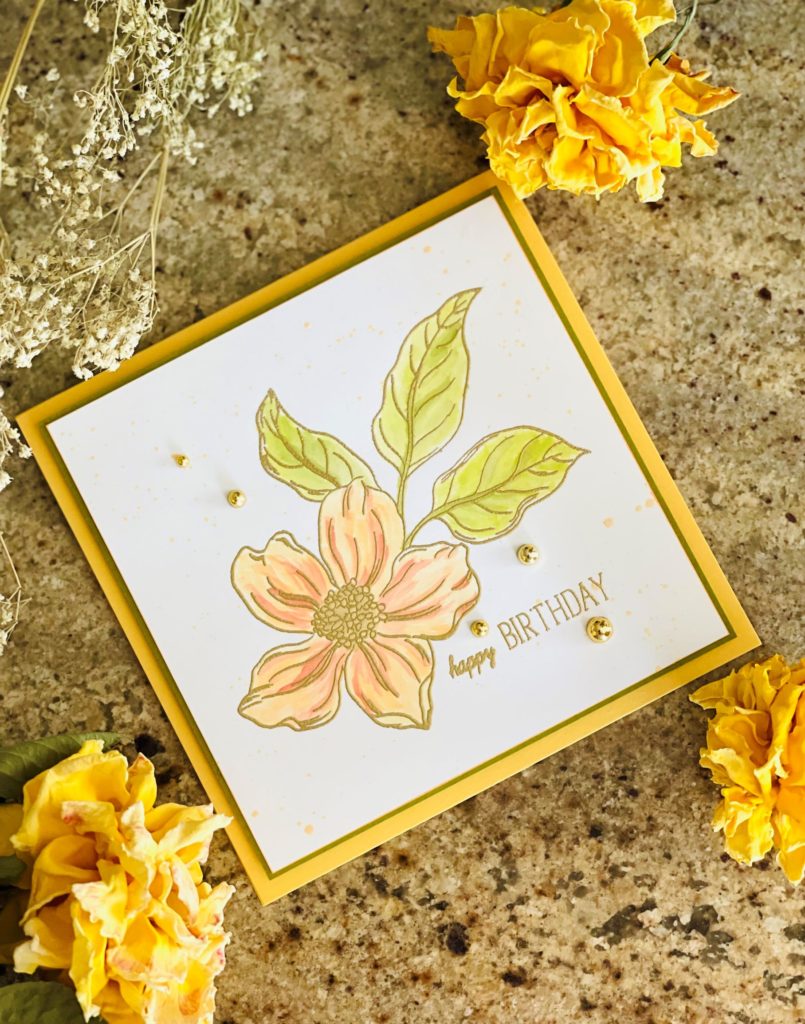
The first card incorporated two concepts from the class: Using inkpads as paint and direct to paper inking technique. Before we begin, let’s talk card size. Although I generally make the traditional A2 top folding cards, I enjoy making cards in different sizes (refer to my handmade card portfolio). For me, card size is an integral part of the design process. Card size selection depends on the focal image and how it is enhanced. Anyway, since my focal is the single flower, I think a square card is the perfect size for the overall design.
Now, to the card. First, I applied some anti-static powder on a 4.5” x 4.5” 110lb Neenah Solar White card panel. I stamped the outline image with VersaMark watermark ink and heat embossed it with Brutus Monroe gilded gold embossing powder. Next, on a glass mat, I smooshed some water reactive inks. I used the Altenew watercolor brush to paint the flower petals with Altenew Warm Sunshine crisp dye ink and Brush Corduroy distress oxide ink for the flower center. For the leaves, I used Altenew Moss and Olive crisp dye inks. After completing “faux water coloring” the imagine, I noticed that the flower appeared flat. So, I used a darker yellow, Pink Fresh Studio Persimmon ink, to add some depths. By the way, since I used very little water for this technique, I found that the heavy card stock worked well. I did not need to use a watercolor paper.

Once the panel was dried, I heat embossed “Happy Birthday” sentiment from Altenew’s Trigonometry stamp set. I splattered the panel with the Persimmon ink that I mixed with some Ranger Perfect Pearl for added shimmer. Before adhering to the card base, for highlight, I applied the Persimmon inkpad direct to paper around all corners of the panel. To enhance the overall look, I added a slightly larger gold foil cardstock paper behind the main panel. Then, I adhered the entire panel to a yellow card base with some foam tape for dimension. Finally, I finished the card with some gold pearls.

Card #2
Sarah challenged us to explore different inking methods including using a brayer to soften the ink blending. For the second card, I used the Hello Beautiful 3D embossing folder. I love embossing folders especially those from Altenew. Their impressions are amazingly deep with a lot of details.

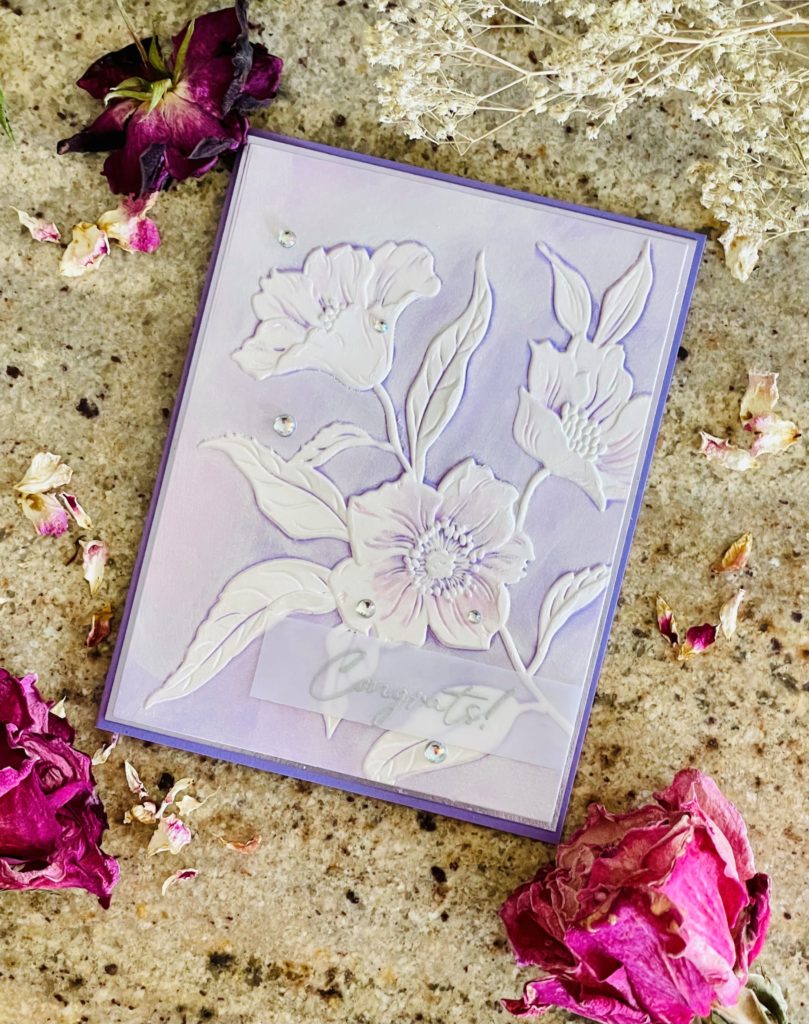
To begin, on a glass mat, I smooshed some Altenew Deep Iris, Ultraviolet and Andromeda crisp dye inks. I rolled the brayer over the inks several times. Then, I applied the inked brayer to the embossed side of the folder. Note that either side of the folder works; it depends on the effect you want to achieve. Next, to prevent cracking, I sprayed a 4” x 5.25” heavy weight Neenah Solar white card panel with a light mist of water. I placed panel inside the embossing folder and ran through die cutting machine. Be sure to follow manufacturer’s instructions for embossing folders as each machine requires different pressure.
Then, with some Deep Iris ink on the glass mat, I used a watercolor pen to add some highlights the flowers and set it aside to dry. Once dried, I applied some Creative Expressions Metallic Gilding Polish Pearl Luster all over the panel. I used even motion on the raised areas and pressed slighter harder to apply the polish on the sunken areas. Also, I made sure to wash to polish applicator with warm water immediately after each use.
Once again, I set the panel aside to dry (gilding polish didn’t take long to dry). In the meantime, on a small strip of vellum, after applying some anti-static powder, I heat embossed the “Congrats!” sentiment from the Feathered Lilies Craft Your Life Project Kit. I used silver embossing powder to compliment the lilac color scheme. When heating embossing vellum, be sure to move the heat run around to avoid excessive warping.

Once the panel was dried, I adhered the sentiment and the entire panel to a slightly bigger lilac foil cardstock paper before securing the entire panel to a A2 (4.25” x 5.5”) side folding purple card base. I finished the project with some magic pearls for added sparkle.

I love how these two projects turned out, particularly the Congrats card with the pearly subtle shimmer from the gilding polish. It would make a great wedding or anniversary card, don’t you think? I hope you like the cards too. Thanks for stopping by and happy crafting.
See you soon.
Lillian

These cards are absolutely stunning in their own right!! So beautiful! Thank you for sharing your gorgeous work and submitting it to the AECP assignment gallery.
Thank you so much Erum.