
Hello! I have some great news to share! I am honored and humbled to be accepted in the Altenew’s Educator Certification Program (AECP). The program has multiple levels and within each level, there are classes to take. I am required to submit a project inspired by each course. At the completion of each level, there will be a challenge assignment in order to proceed to the next level. I am so excited to begin this journey and looking forward to learning from very talented artists. Incidentally, Altenew has a few free classes online if you are interested.

This is my first submission to level 1 All About Layering 1 class. I am sharing a couple of projects inspired by the layering 1 class taught by Nicole Picadura. Nicole showed us many tips and tricks about the layering stamps. In particular, masking and multi generation stamp techniques resonate with me. Both of my projects feature the beautiful Altenew’s Build-A-Flower Japanese Mum stamp set. The set comes with coordinating die set which makes it convenient for my projects.
Card #1 – Happy Birthday, Hope Your Day is Fab
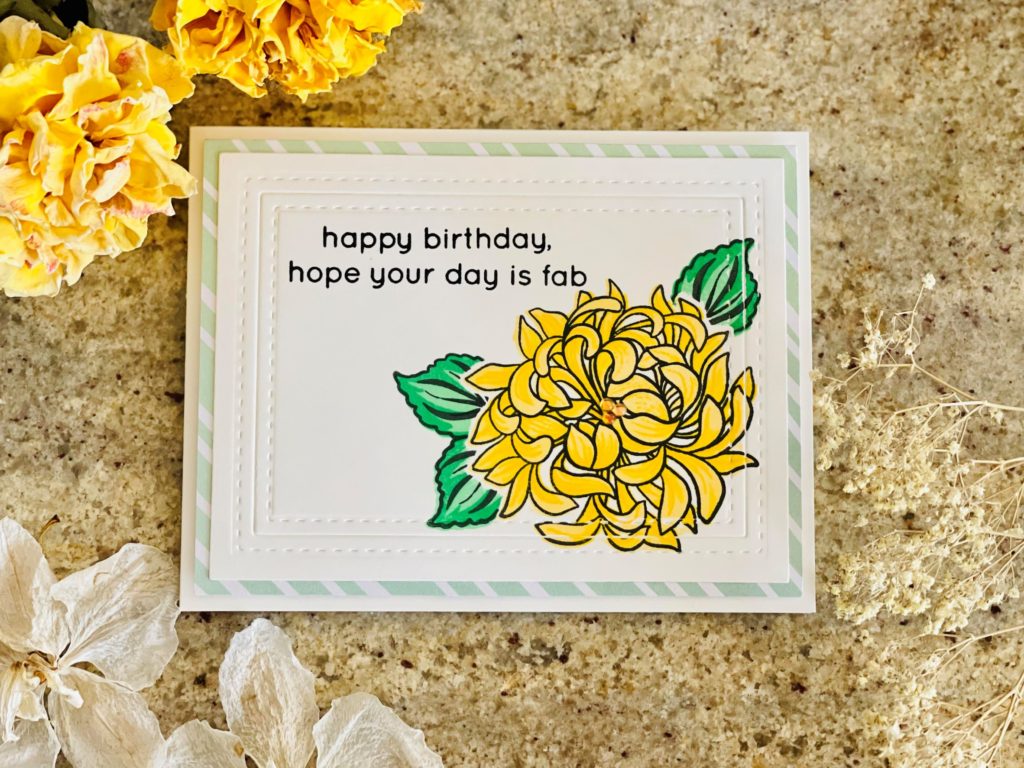
The first card utilizes masking to create depth and make the floral focal image look more natural. The key to working with layering stamps is finding two or three match points. Altenew does a great job with their layering guide, and I found it to be most helpful. My original plan was to use a stamping block (figured I could use the practice). Well, I soon found that because I don’t apply the consistent pressure, I often needed to re-stamp! Without a stamping platform, getting a good clean, crisp image was impossible for me. It became much easier once I used the Misti stamping tool.
First, I stamped the outline flower with VersaFine Clair nocturne ink on a piece of Altenew’s Masking paper. I die cut it with the coordinating die. Next, on a separate A2 Neenah solar white 80lb. panel, I stamped the outline flower with VersaFine Clair nocturne ink. For the subsequent layers, I used Altenew’s Buttercream and Warm Sunshine crisp dye inks. Matching up the key corners took patience and practice. After messing up several times, I finally got the hang of it (I think).
I wanted to include three leaves with the focal image. Before stamping the leaves, I used the flower mask created earlier. For the leaves, I used Altenew’s Sweet Leaf and Just Green crisp dye inks. The leaf layers were easy to follow. Once I removed the mask, the image turned out beautifully. There was so much depth and the flower looked natural with the leaves stamped underneath.
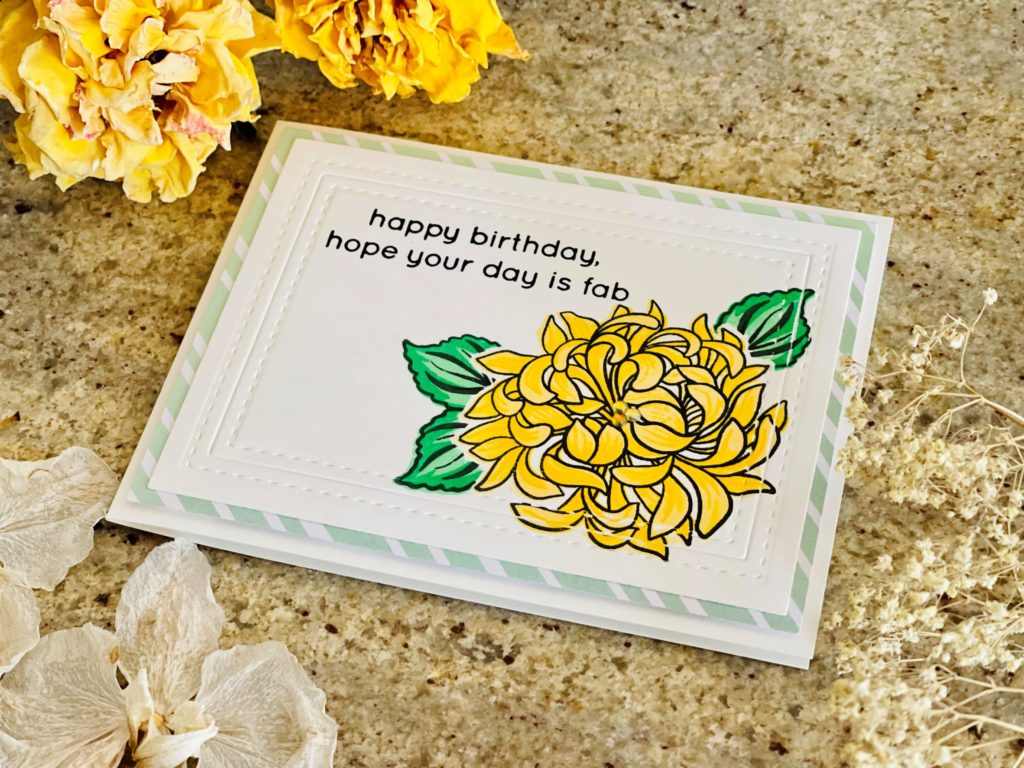
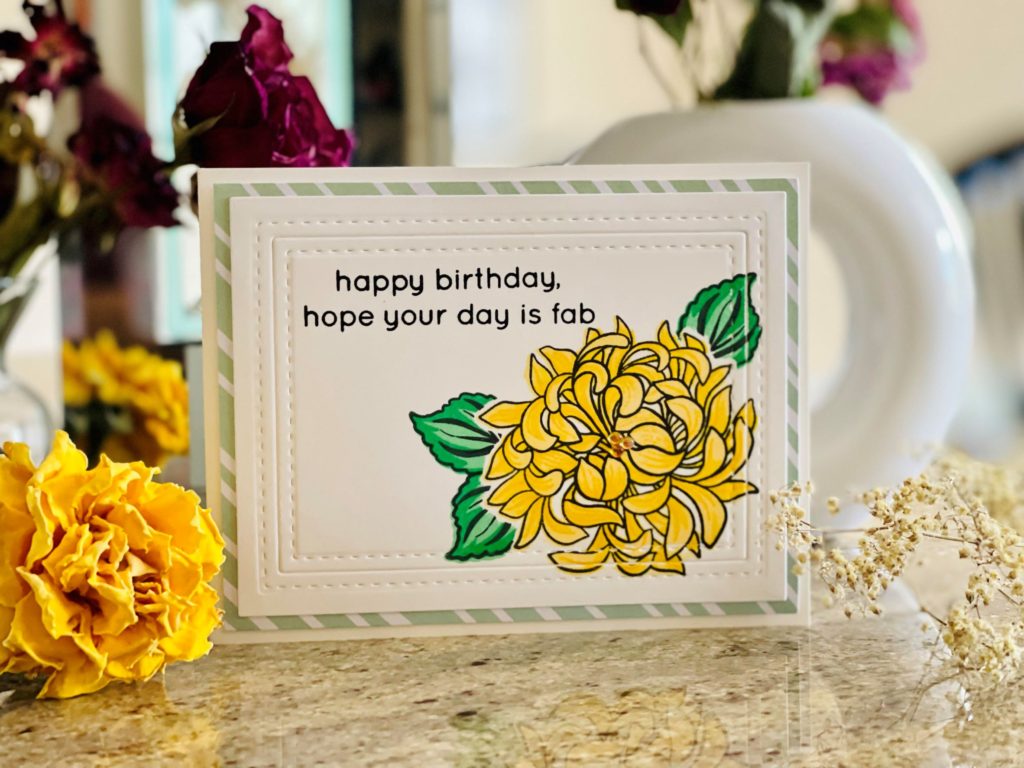
I used the sentiments from Altenew’s Craft Your Life Project Kit – Garden Rose. I applied some anti-static powder on the panel before stamping the sentiments. Afterwards, I heat embossed with clear embossing powder for a subtle shine. Next, I trimmed the panel to approximately 3.75″ x 5″. For some texture and interest, I used Waffle Flower stitched rectangle die to dry emboss the panel with a stitched frame. Be sure to follow your die cut machine’s sandwich instructions for dry emboss with a die. I felt that the card was too plain and needed something else to tie everything together. From my stash, I found just the right paper from Altenew’s Our Family 12×12 patterned paper. I adhered the panel to the green stripe pattern paper and added foam tape behind the entire panel for dimension and glued it to an A2 landscape side folding heavy weight notecard. To finish the card, I added some small pearls to the flower center for some bling.
Card #2 – Thanks For Everything Slimline Card
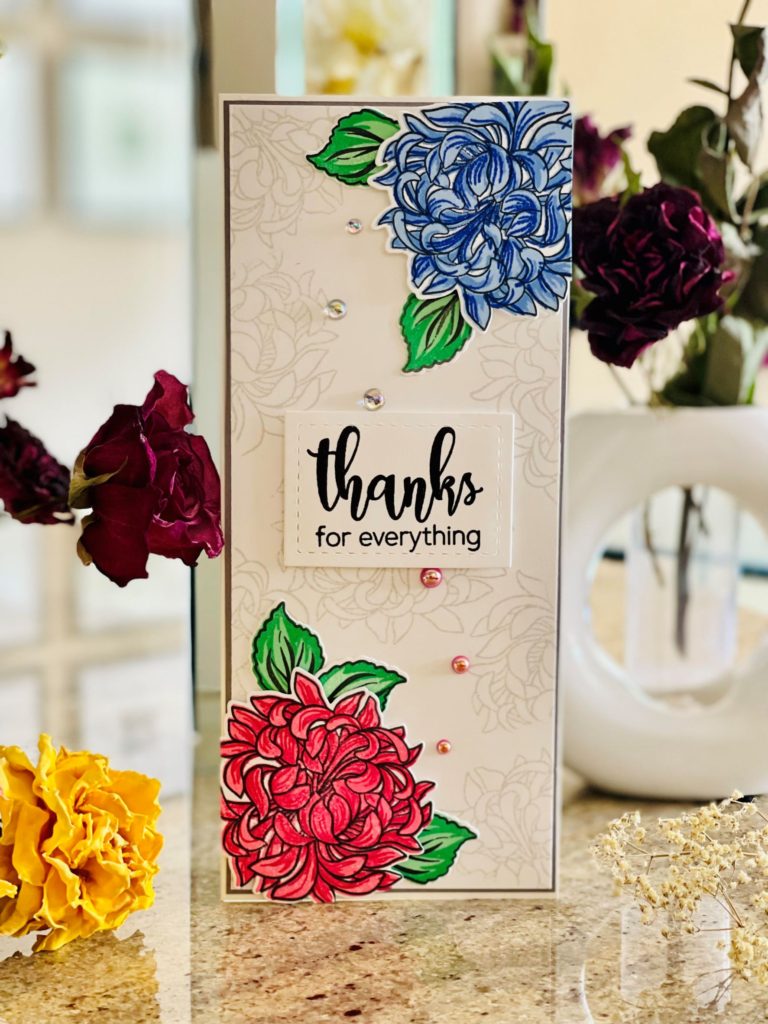
For the second card, I used multi-generation stamping technique to achieve the light grey background. I don’t yet have Altenew’s grey ink family, this technique is useful for me to stretch the Jet Black ink that I have.
For this card, following the same procedures mentioned in card one, I stamped two flowers. I used Persian Blue and Sapphire inks for one flower and Ruby Red and Coral Berry inks for the other. I stamped several leaves with Sweet Leaf and Just Green inks. Once all the stamping was complete, I die cut the components with the coordinating dies.
For the card design, since the two flowers were large, I decided that a slimline card would be the perfect size. I cut 3.45” x 8.45” Nenaah solar white 80 lb. panel. I wanted to use the outline floral image as the background. To achieve the grey tone, after inking Jet Black ink, I stamped off the ink twice on a scratch paper. I used the third generation stamping to achieve the tone I needed. The process took a while, but I think the subtle background gave so much interest to the overall design. Next, I adhered the blue flower on the top right corner with two leaves and the ruby one on the opposite side with the remaining leaves. I decided to add some foam tape to the flowers for dimension.
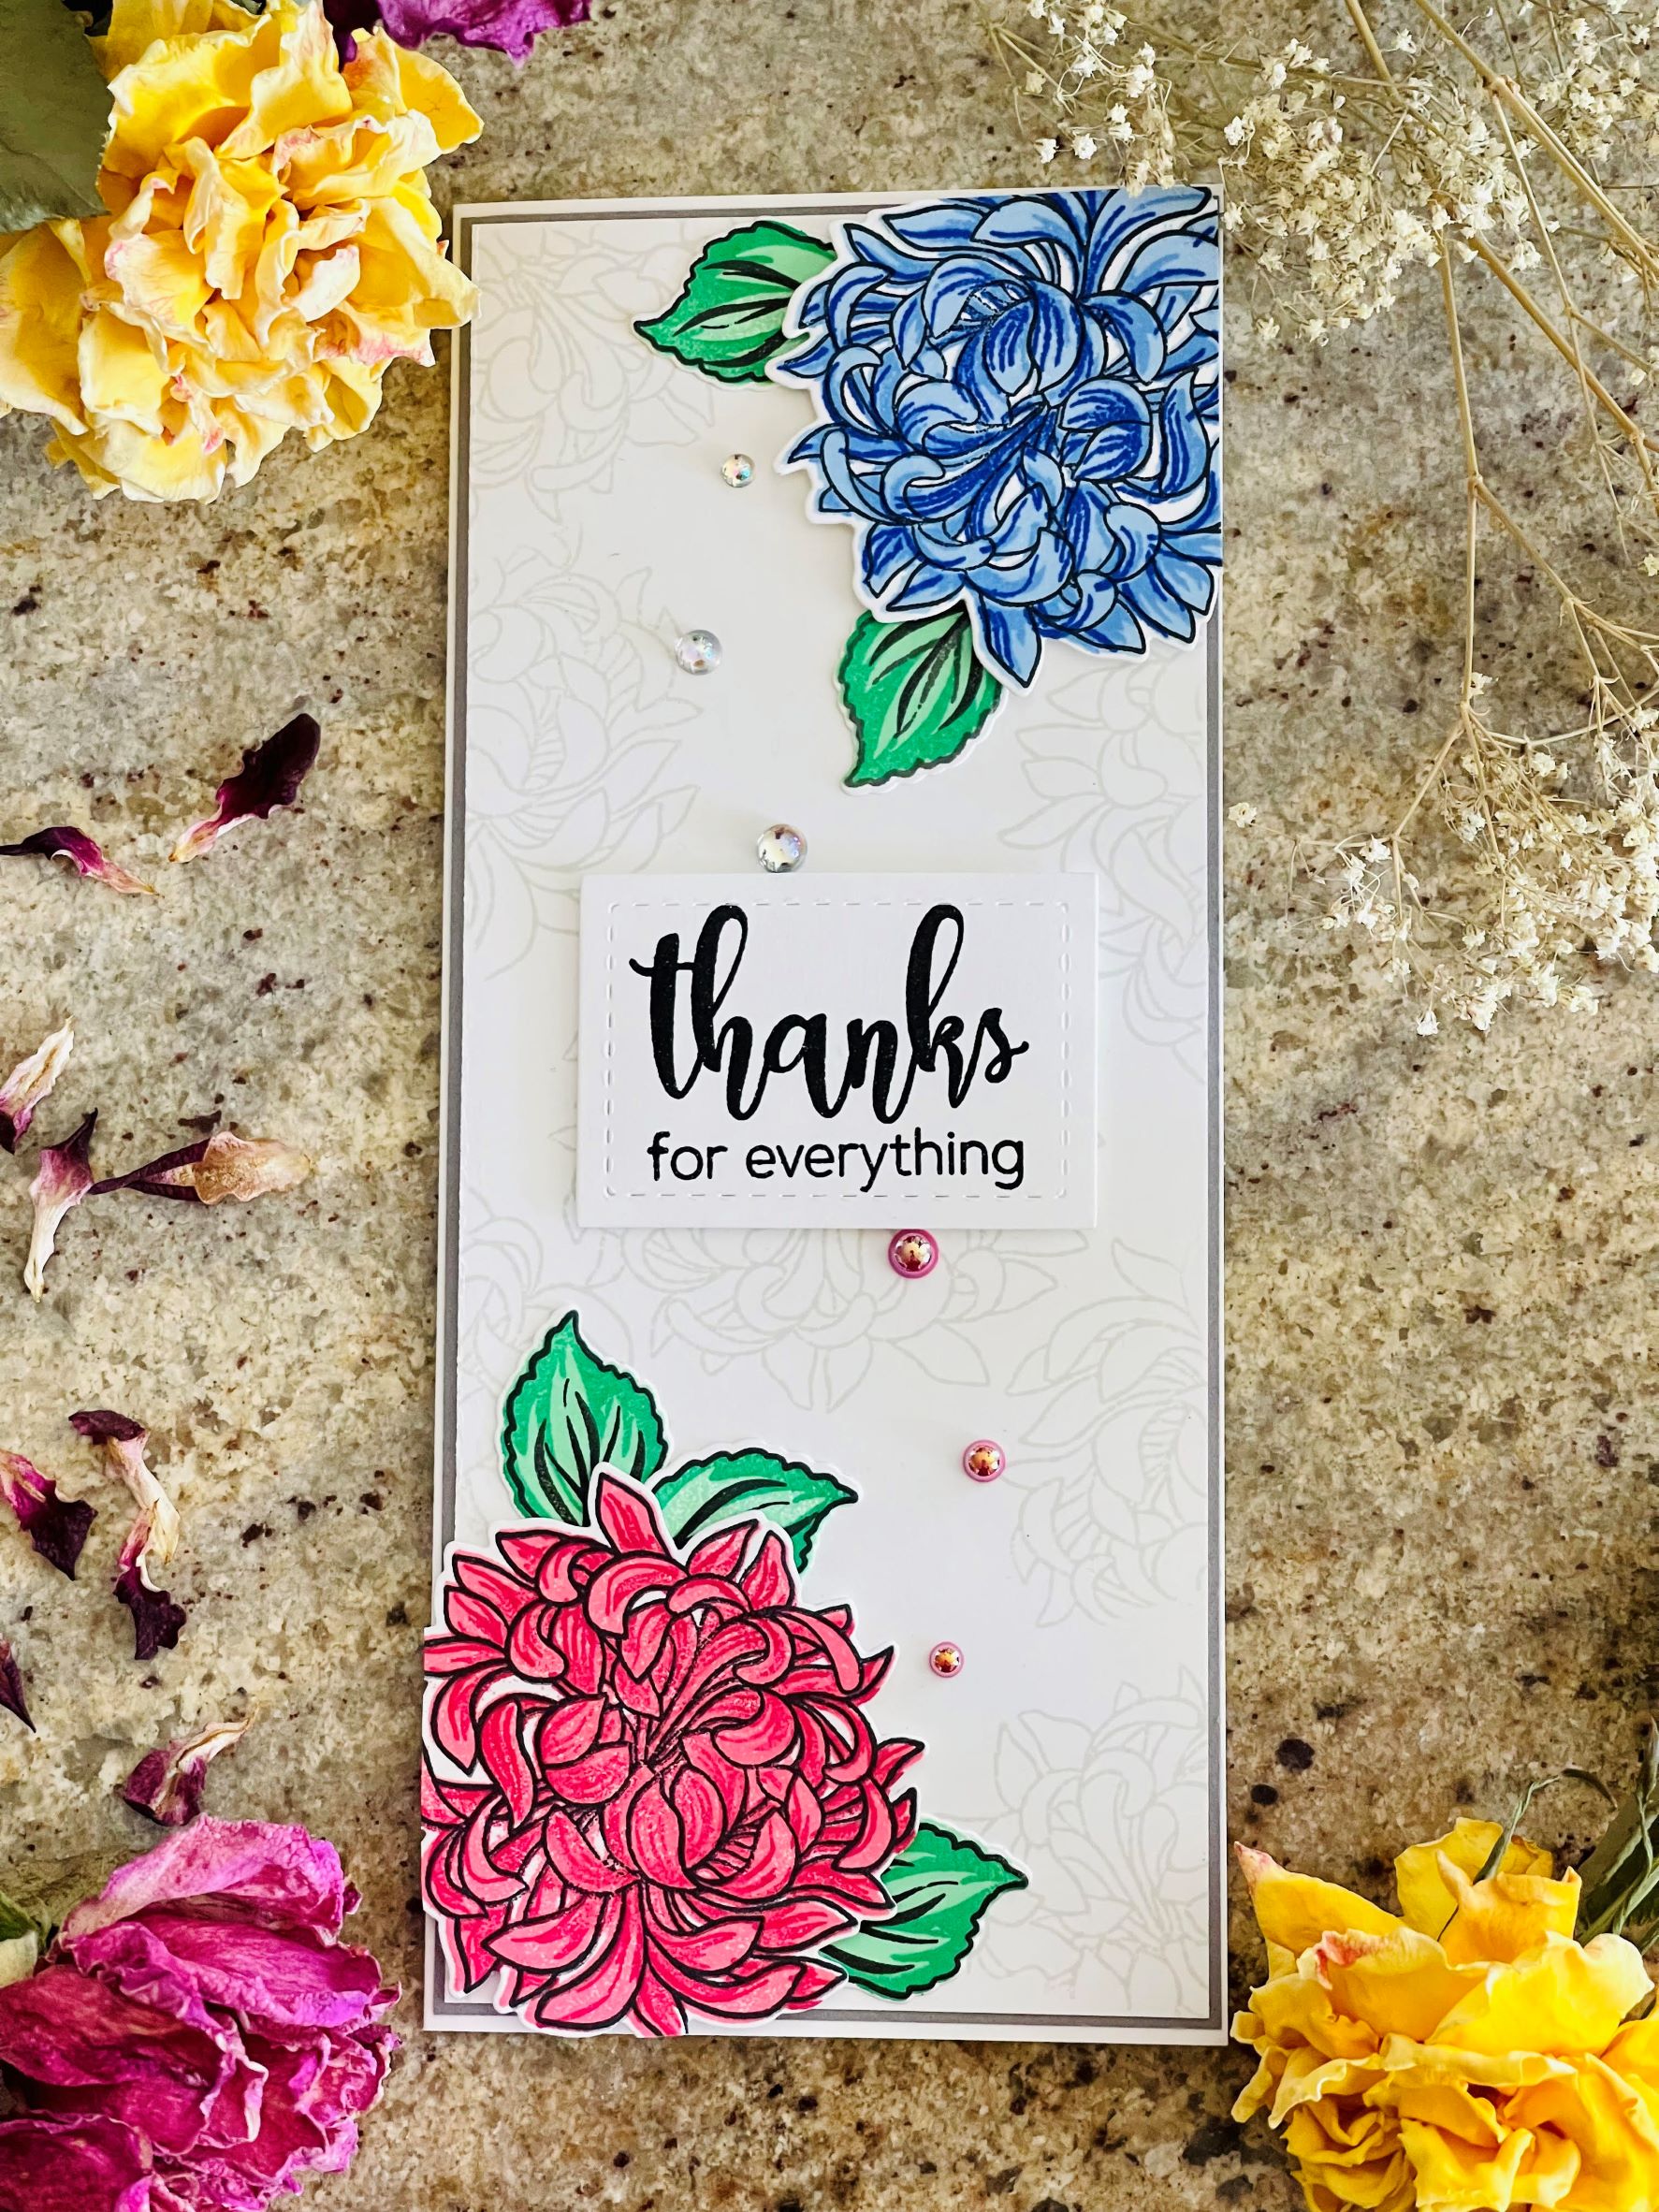
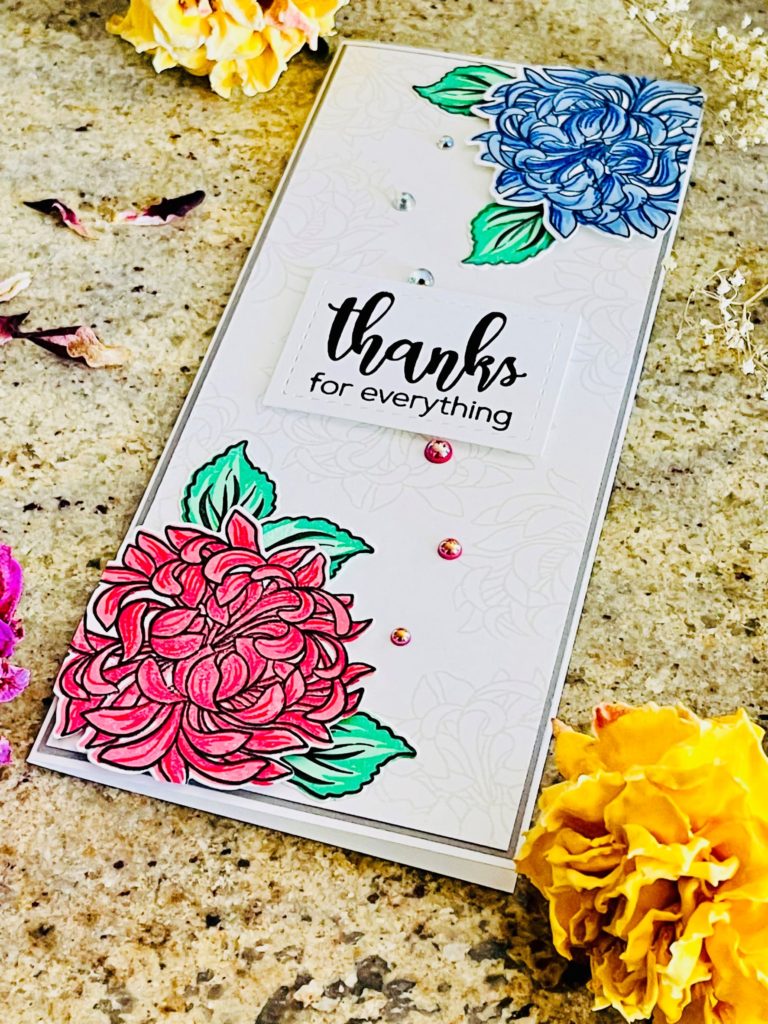
Meanwhile, on a separate white card scrap, I applied some anti-static powder and stamped the sentiment in VersaFine Clair nocturne ink and heat embossed it with clear embossing powder for a subtle shine. I cut it with the stitched rectangle die, put some foam tape behind and glued it to the panel. To ensure I glue it straight, I used a T ruler. Next, I adhered the main panel to another slightly larger grey panel to pull the grey background together. Then, I glued the entire panel to a 3.5” x 8.5” vertical side folding heavy weight card base. To finish, I added some Studio Katia hibiscus pearls at the bottom of the sentiment and magic pearls at the top to match the flowers.

I hope you like the cards. Thanks for stopping by and have a wonderful day! See you soon.
Lillian

Oh my gosh Lillian! These are beautiful and so delicate. Each one is a work of art!
Thank you so much Kathie.
WOW, Lilian. Your cards and most of these photos made me so happy! Gorgeous work and a well-written post! Thank you for sharing your wonderful work with us!
Aw…Thank you so much Erum!