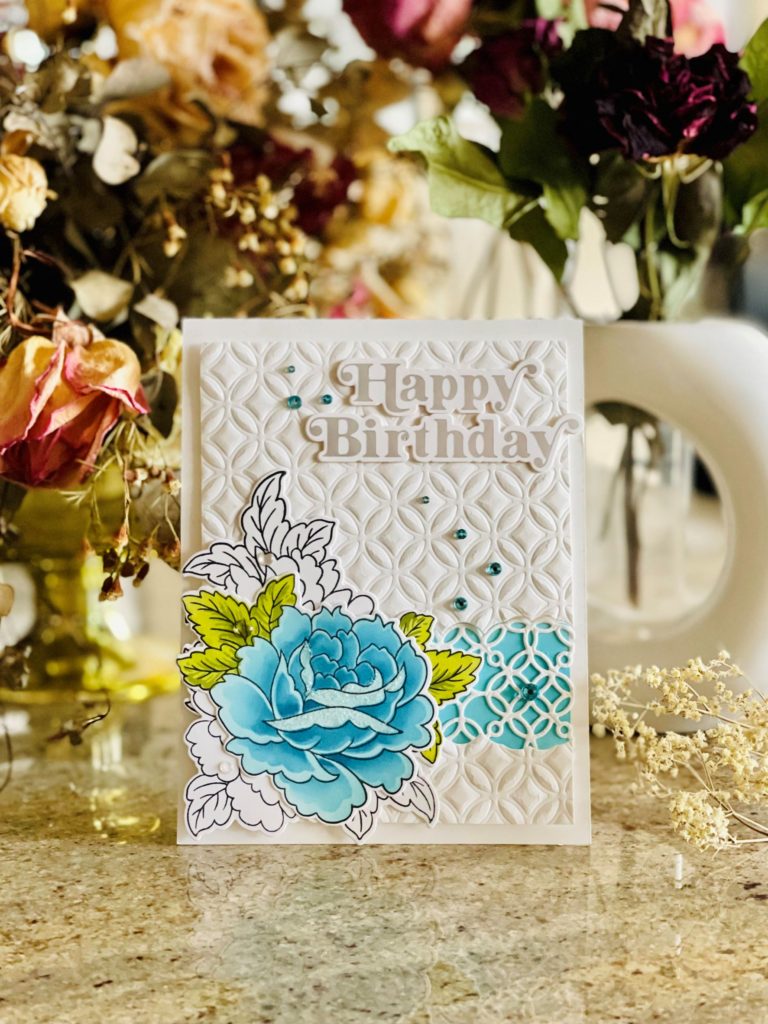
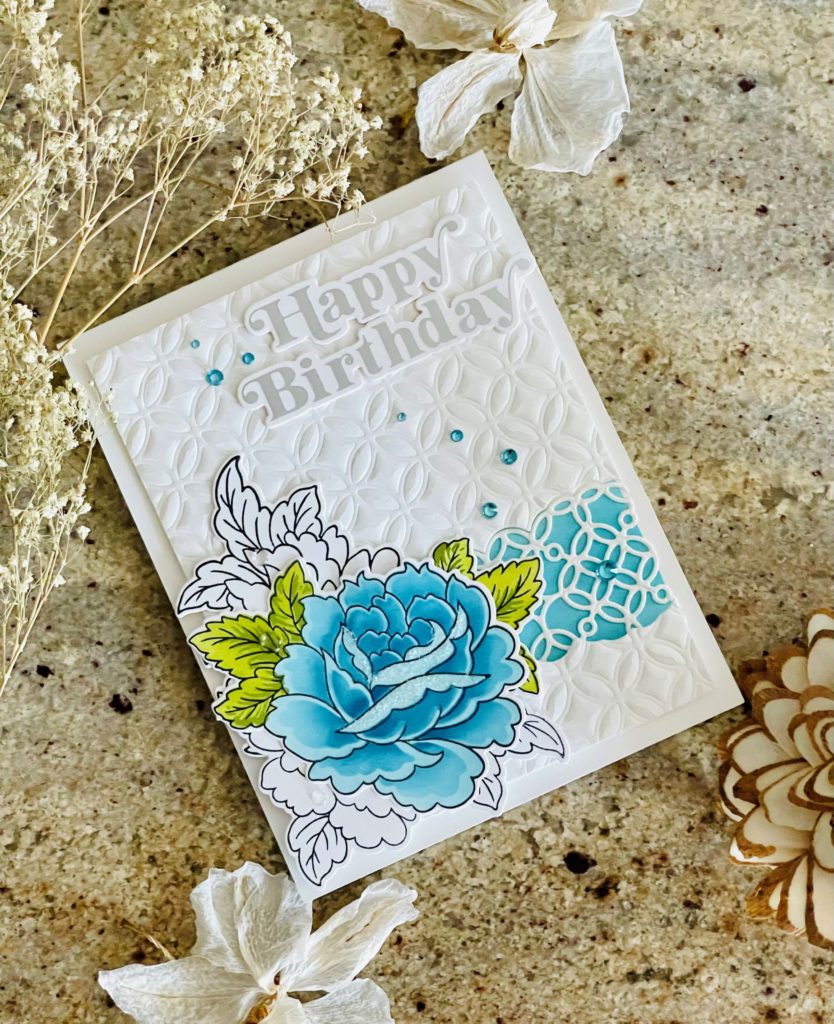
Hello! Did you know that you can use dies to make impressions or dry emboss? I am sharing a project using this technique. This is my eighth submission to level 1 courses, part of Altenew’s Educator Certification Program (AECP) I am participating in.

The card was inspired by the Easy Die Cutting Techniques class taught by Yana Smakula. I am a longtime fan of Yana’s art, and the class didn’t disappoint. Wow! I learned so many die cutting tips and tricks I didn’t know. Let’s look at the project.
The card features the gorgeous Altenew Craft Your Life Project Kit – Elegant Motifs.

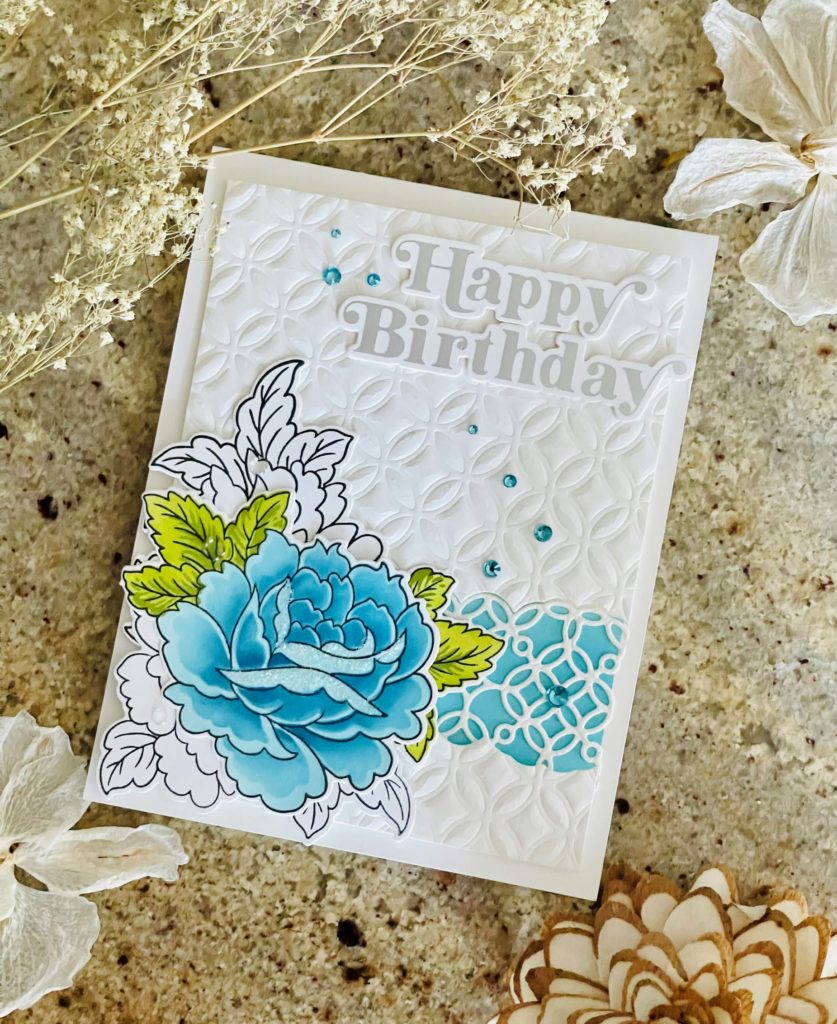
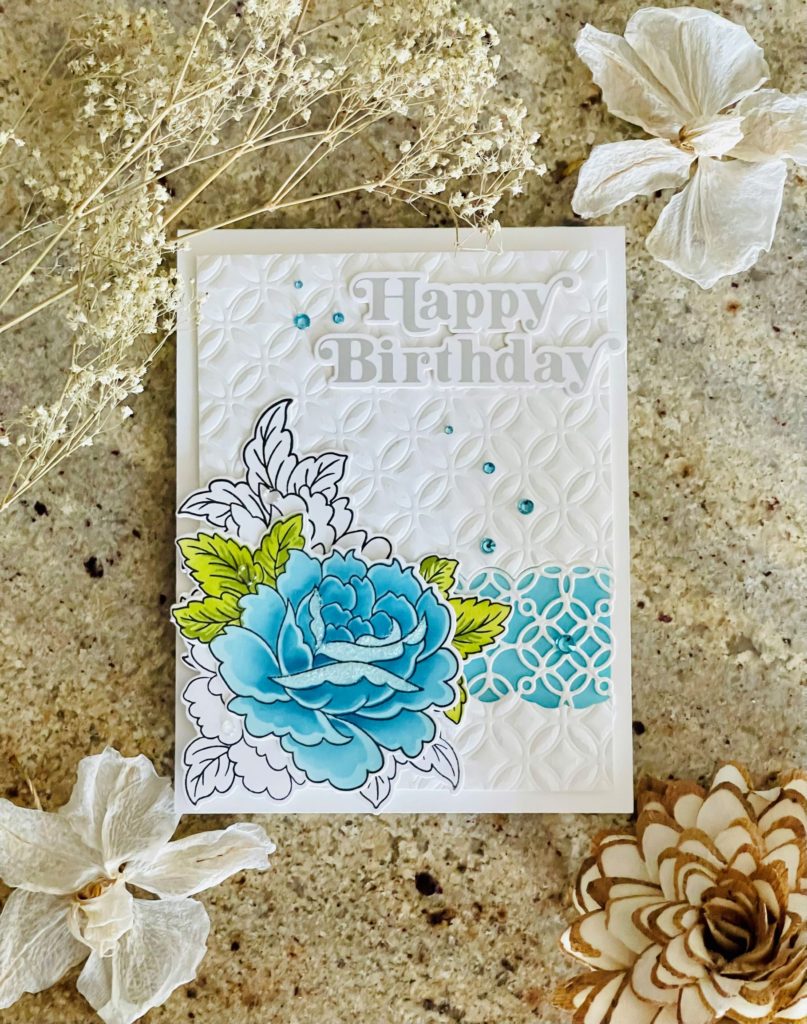
To begin, on a Neenah Solar white layering card panel, I stamped the two images from the set with VersaFine Clair nocturne ink before ink blending. For one of the flowers, I only stamped the outline and chose not to color it. For the other, I used Altenew’s Sea Glass, Caribbean Sky and Dusk crisp dye inks for the flower, Olive, and Moss inks for the leaves. The matching stencils made the ink blending process easy. The project kit came with a layering guide with clear instructions to match the layers. I found it very helpful.
Separately, on a heavy weight card panel, I dry embossed Altenew’s Circle Quilt Cover Die for the background. Be sure to follow your die cut machine’s instructions to dry emboss. I found that heavy card stock resulted in deeper impression. Also, it was very helpful to mist the panel with some water to prevent cracking. Next, I die cut another 1¾” heavy weight white card strip using one of Spellbinder’s Stylized Border Trio dies. This die has a similar design as the Circle Quilt Cover die and I thought it would complement the background well.

To highlight the die element, on a separate 1¾” card strip, I ink blended it with Dusk ink to match the focal image. Next, I adhered the border element over the ink blended strip. For the card design, I cut out a 1¾” strip from the embossed Circle Quilt background to create a gap so that I can “faux inlay” the border element for added interest. I affixed some foam tapes to the back for dimension and glued the background panel to an A2 heavy weight card base. Then, I adhered the stamped focal elements, making sure to add foam tape where needed. Also, to give the flower a little sparkle, I added some Ranger Star Dust Stickles glitter gel. Finally, to complete the card, I glued a matte silver “Happy Birthday” from my stash along with some gems and clear droplets.

I love using dies embossed backgrounds to enhance the card designs without taking away from the focal image. There is so much added texture especially for clean and simple cards. I hope you like the card and found some inspirations to give this technique a try. Thanks for stopping by and have a wonderful day!

See you soon.
Lillian

OH MY WORD! This is beyond beautiful!!
Thank you so much Erum.