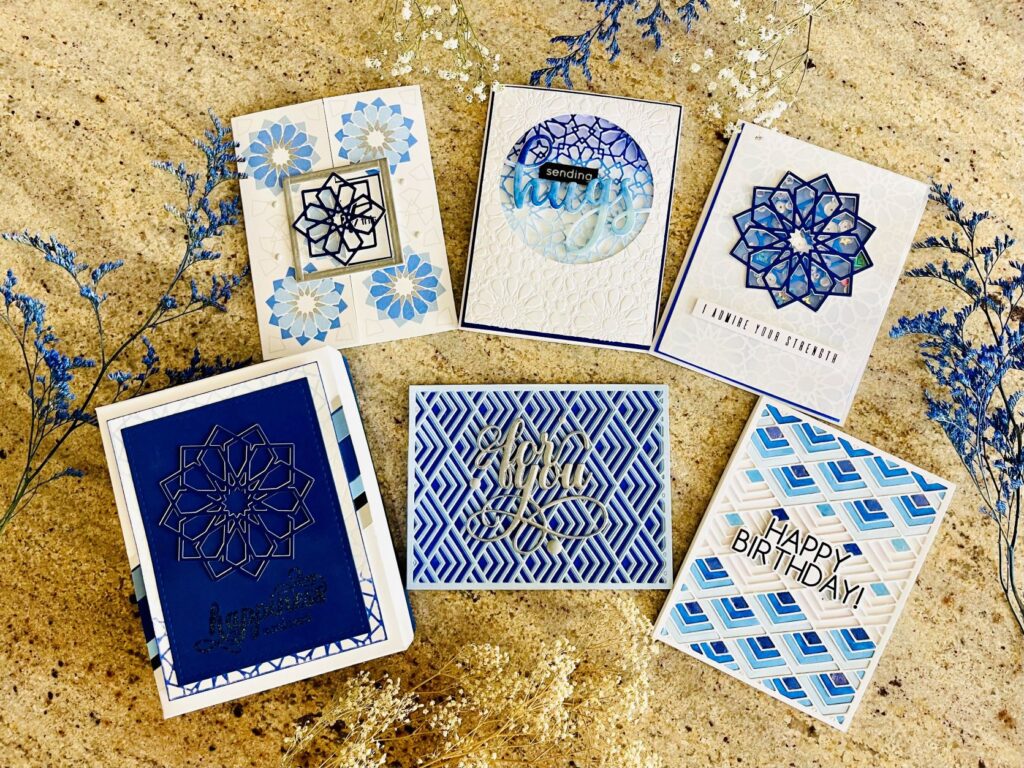
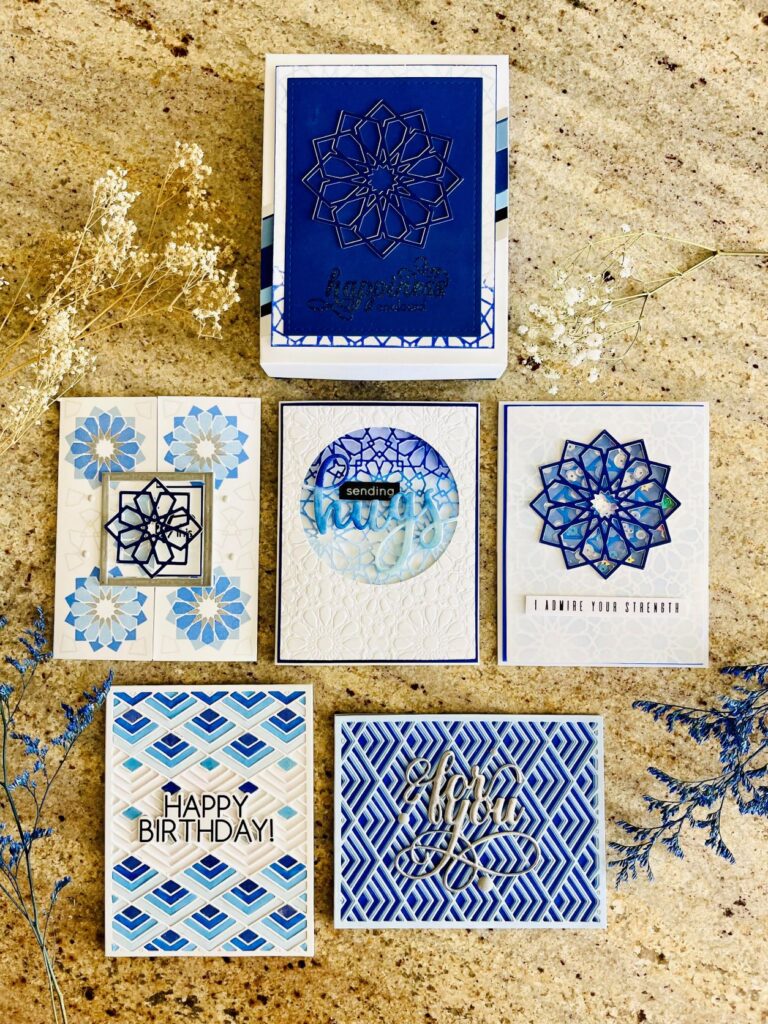
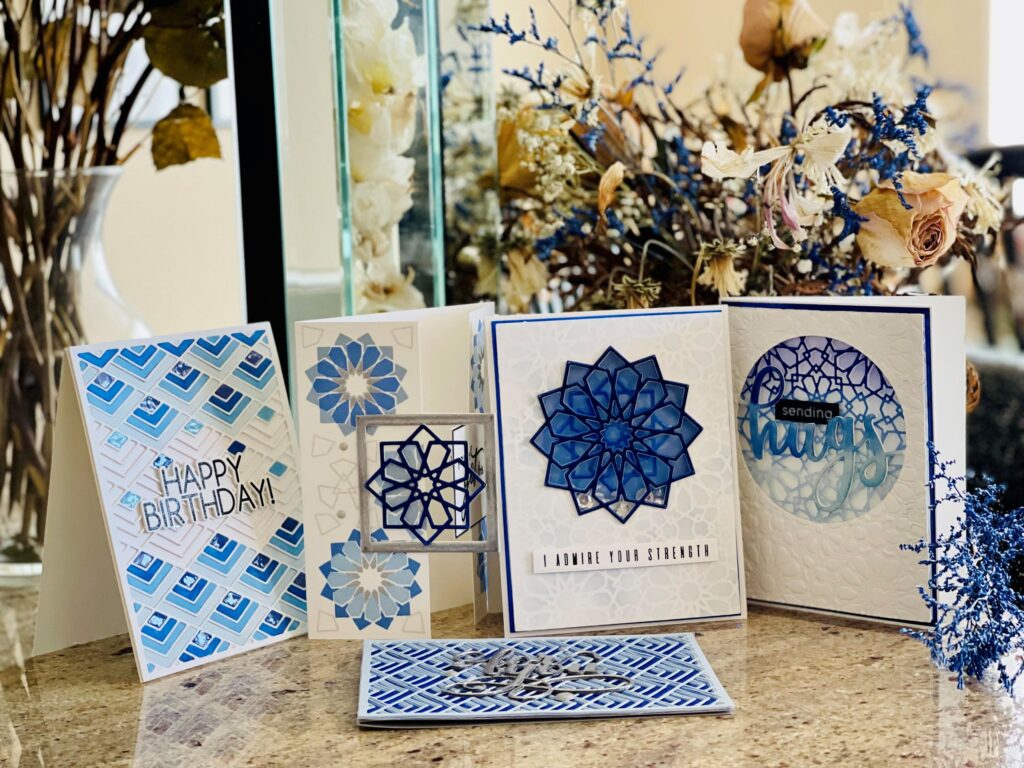
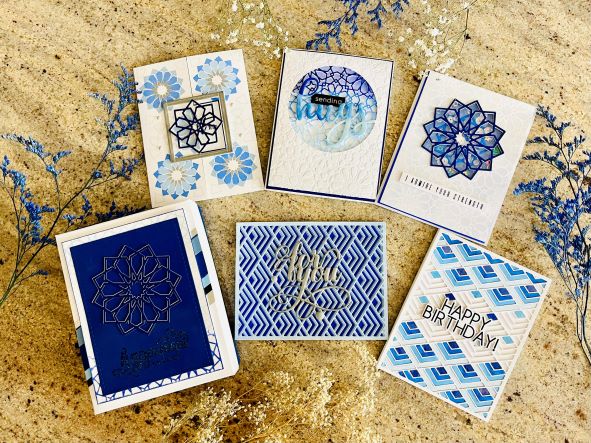
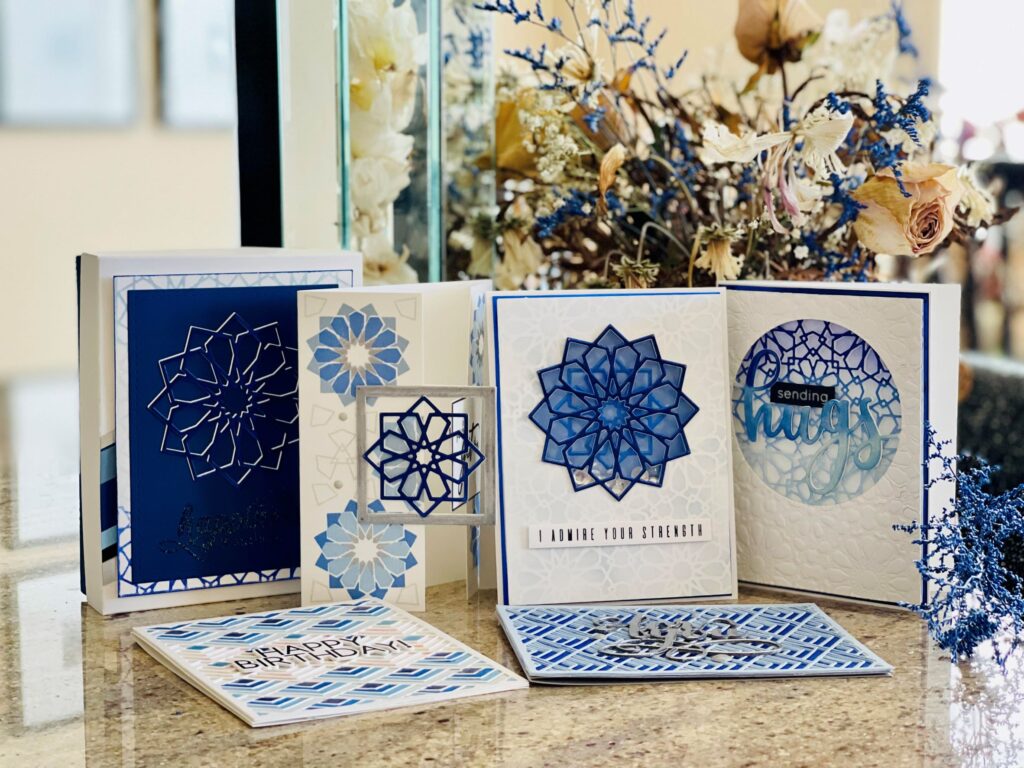
Hello! Thanks for joining me. Today, I am thrilled to showcase my final Altenew Educator Certification Program (AECP) Level 1 assessment. With this project, I am challenged to create two gift sets – one masculine and one feminine. Each set must have a gift packaging, must be cohesive and include a recycled item in the card set or the packaging. Finally, I must use at least three techniques from Level 1 courses in the designs.
Since masculine cards are more challenging for me, I thought it would be good to tackle it first in this post. I will share the feminine card set in a separate post. My approach to this 5-card gift set is to bring elegance to the designs and still be masculine. In addition to techniques from the “For the Guys” course, I also applied take aways and techniques from the following Level 1 courses in this gift set:
- Easy Die Cutting Techniques
- All About Layering
- Easy Ink Blending
- Clean and Simple Boutique Cards
All throughout the set, components from “Let it Shine” class will be used as well. For the set to be cohesive, I chose shades of blue and compliment with black, silver, and gray tones. I used the recycle item in one of the cards. Additionally, I featured the following Atlenew die and stamp sets:
- Stacked Diamonds Cover
- Dodec Cover Die
- Dodec Star Die
- Fancy For You Die
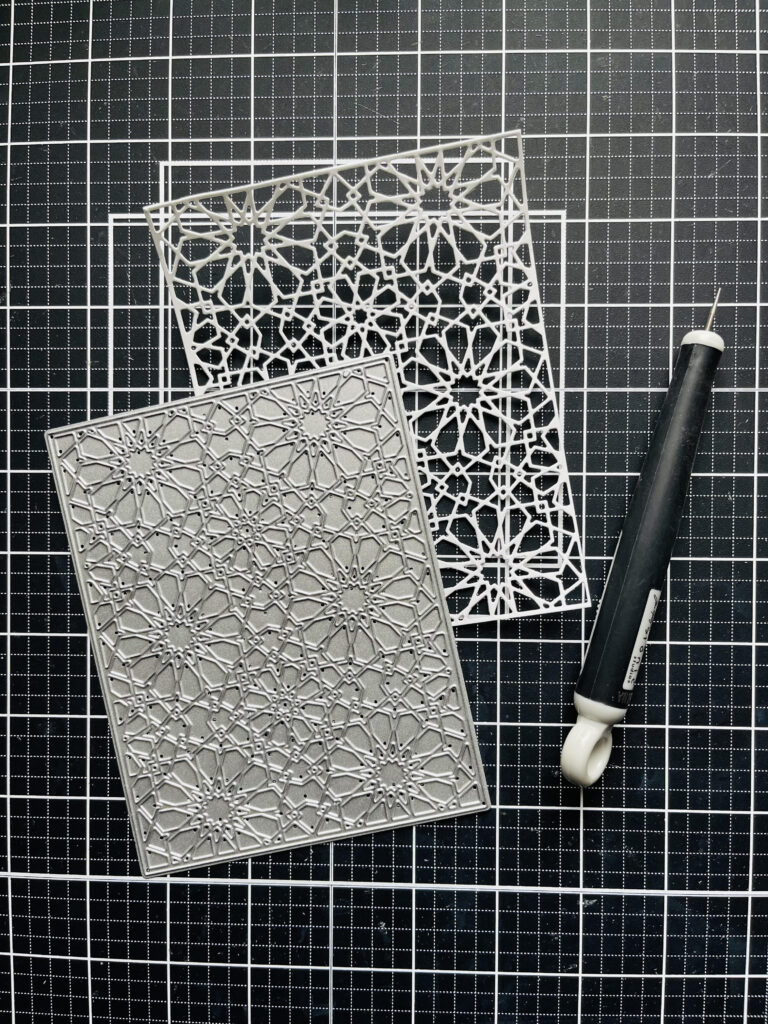
- Circled Greetings: Hugs Die
- Dodecagram Stamp Set
- Crafty Greetings Stamp Set
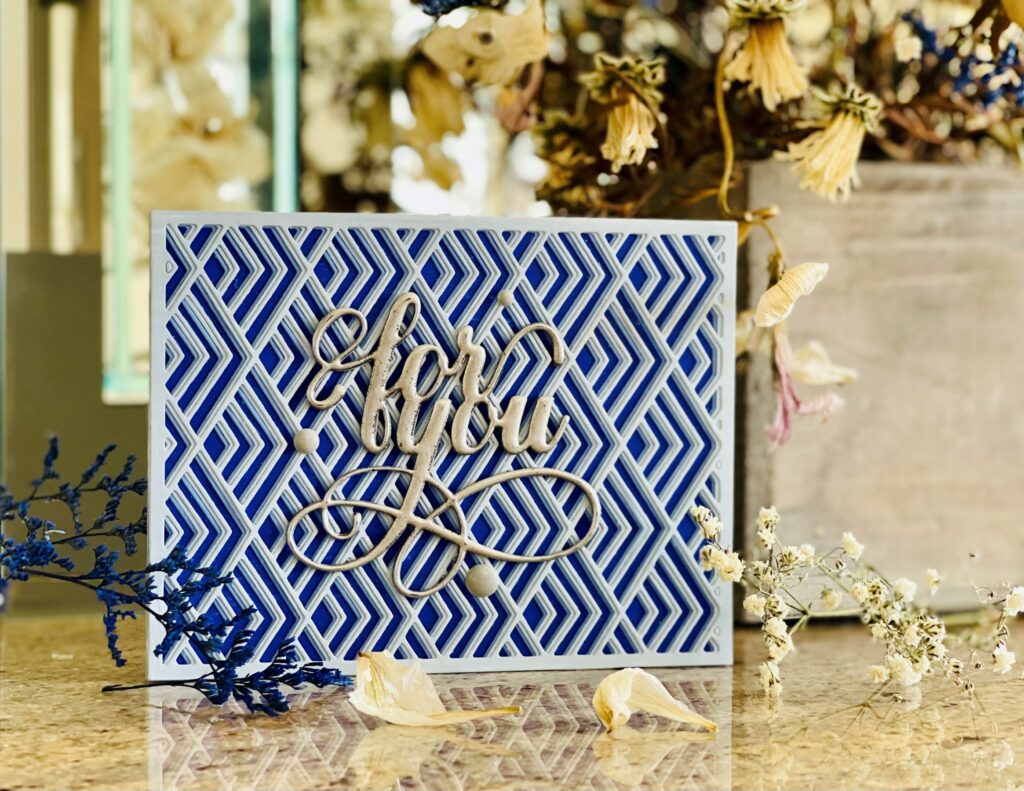
Card #1 – For You
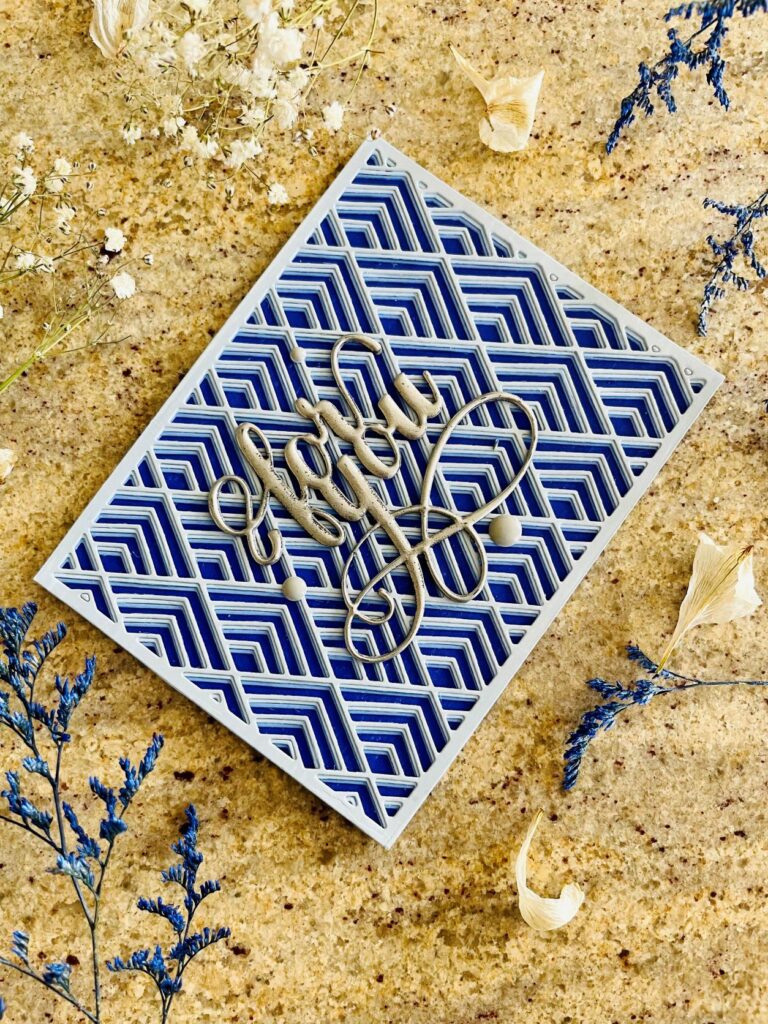
In For the Guys class, we learned to use geometric shapes to make cards for the guys. Applying lessons from Easy Die Cutting class, I thought that the Stacked Diamonds Cover die would make an elegant and yet masculine card.
Steps:
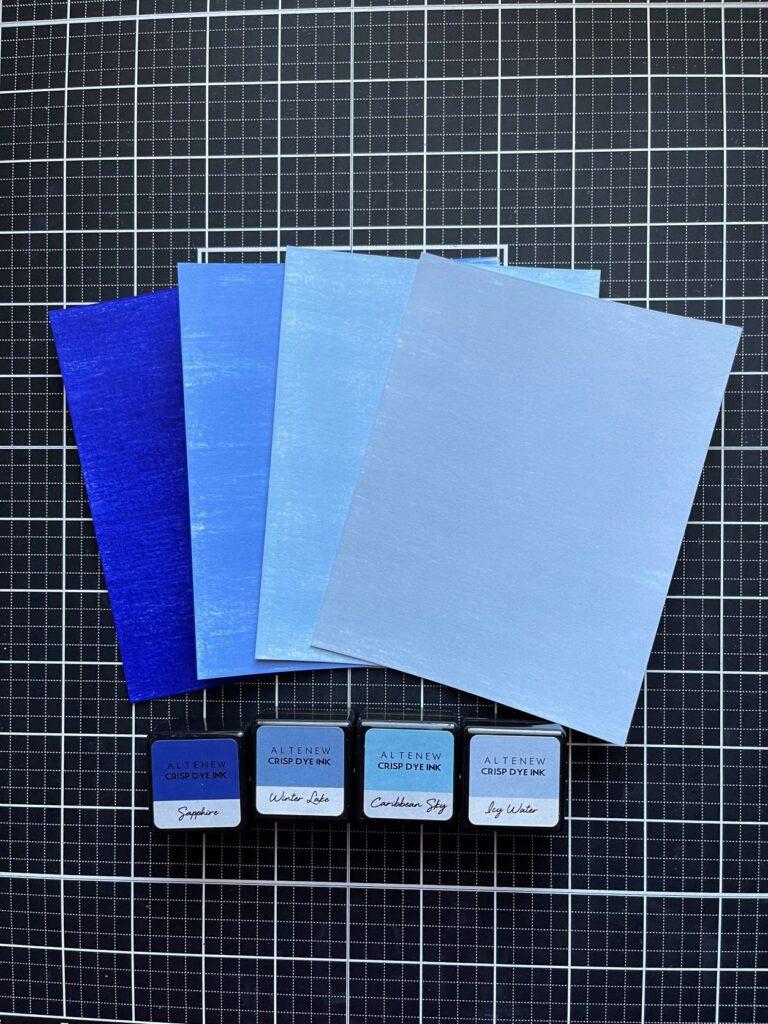
- Since I don’t have card stocks that match the Altenew inks (Sapphire, Persian Blue, Winter Lake and Icy Water), I ink blended four A2 80 lb. Neenah solar white panels. Set them aside to dry before die-cutting.
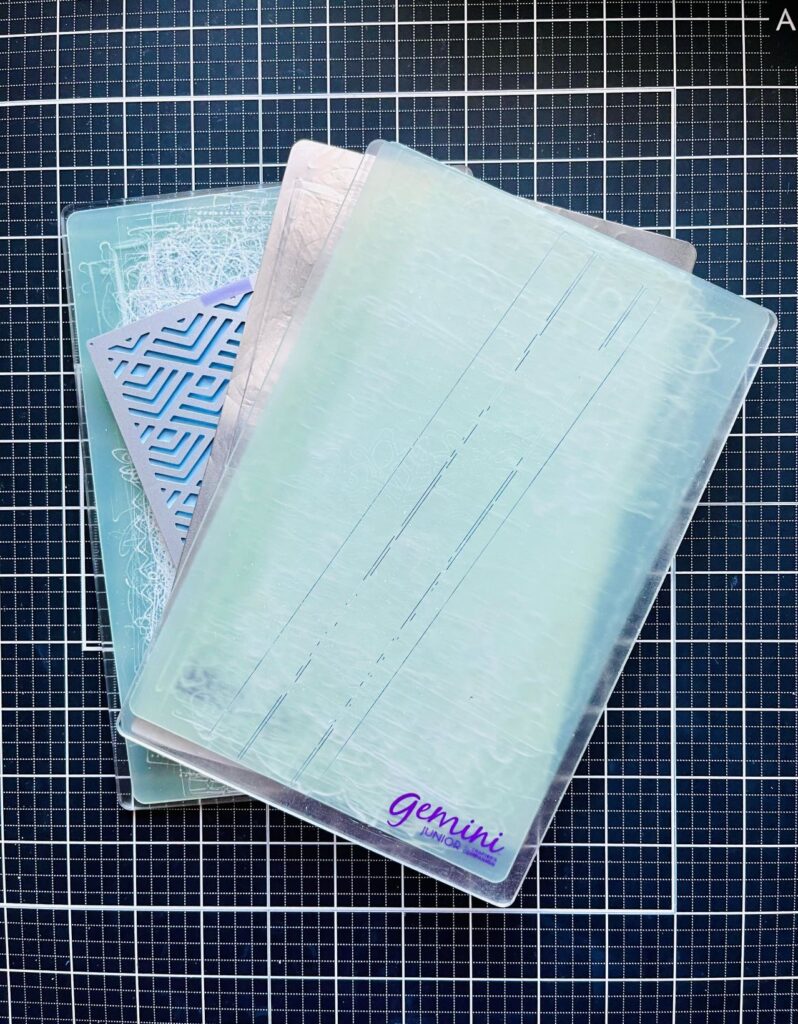
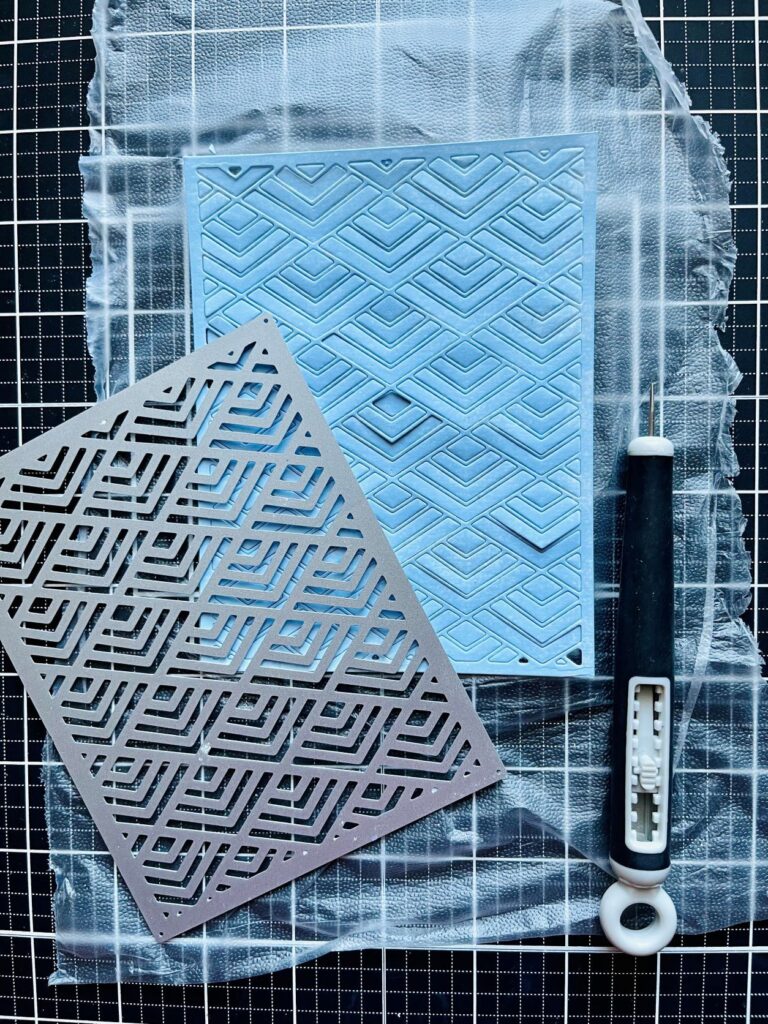
- Once dried, I die cut three panels with the Stacked Diamond cover die. Since this was an intricate die, I used the Gemini Jr machine and added a metal shim to ensure a clean cut. I reserved the sapphire panel as the background to enhance the stacked diamond design.
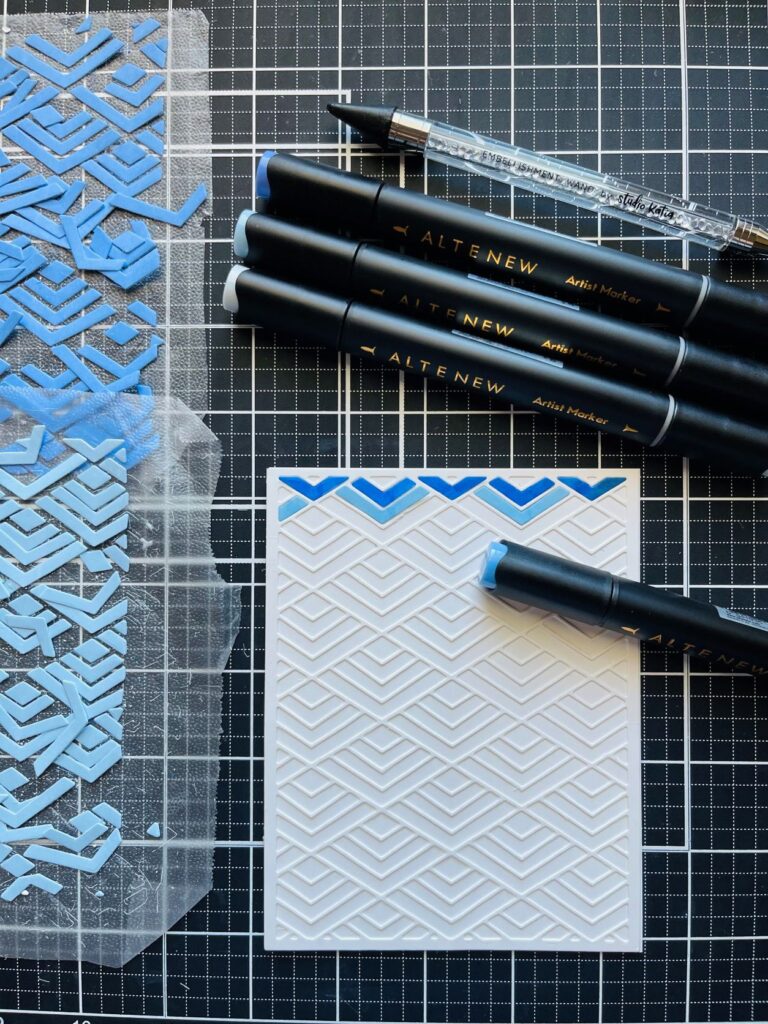
- Once cut, before removing the negative pieces, I placed a sheet of Press ’n Seal underneath. That way, they stay in order as I plan to use some of these pieces for my second card.
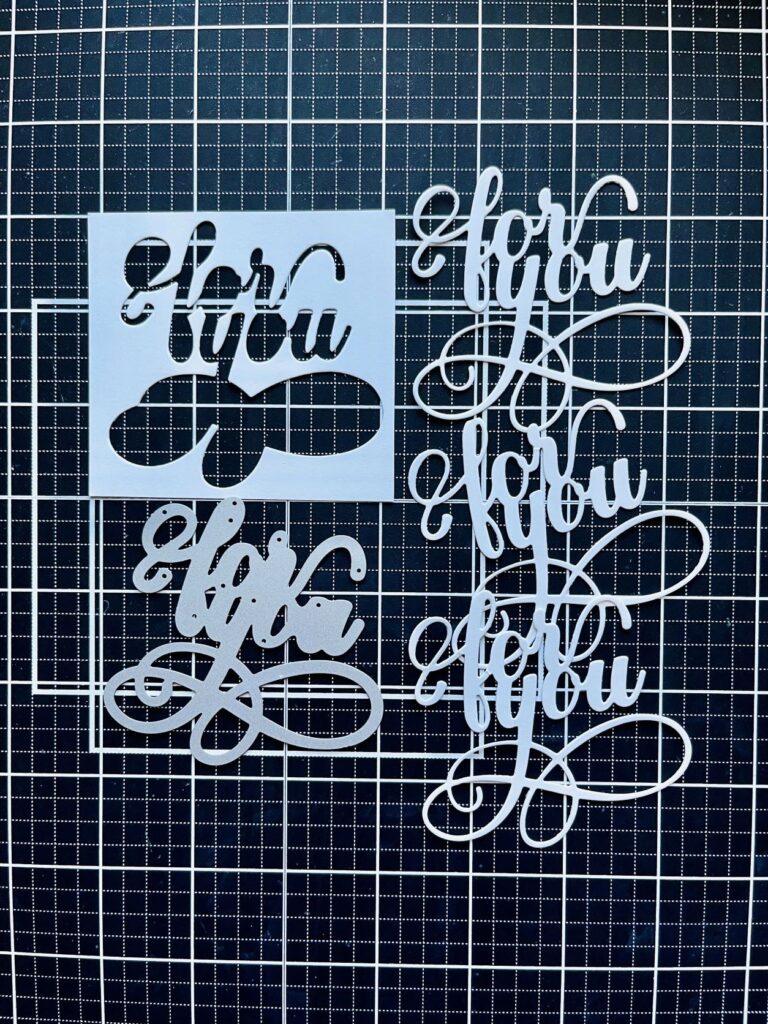
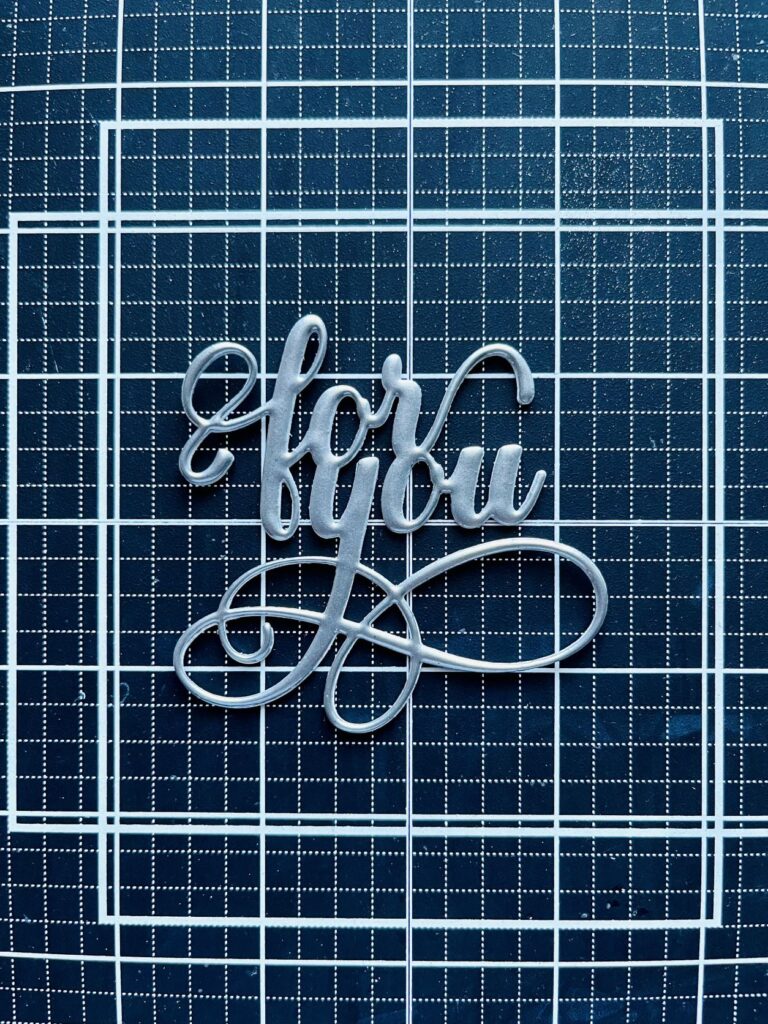
- For the sentiment, I die cut the “For You” fancy die 3 times on heavy weight (110 lb.) Neenah solar white card stock and glued them together for dimension. Once adhered, I applied some Versamark ink and heat embossed it with silver embossing powder. To achieve the faux metal look, I heat embossed the sentiment three times.
- To assemble the card, I cut an 8.5”x 11” gray card stock in half to make a landscape 4.25” x 5.5” note card. Using liquid glue (Tip: liquid glue allows time to maneuver), I adhered the four stacked diamond die cut panels. I slightly offset these panels to achieve a layered die-set look. So cool!
- Lastly, I adhered the silver sentiment in the middle and finished the card with some Altenew Rock Collection enamel dots.
Card #2 – Happy Birthday
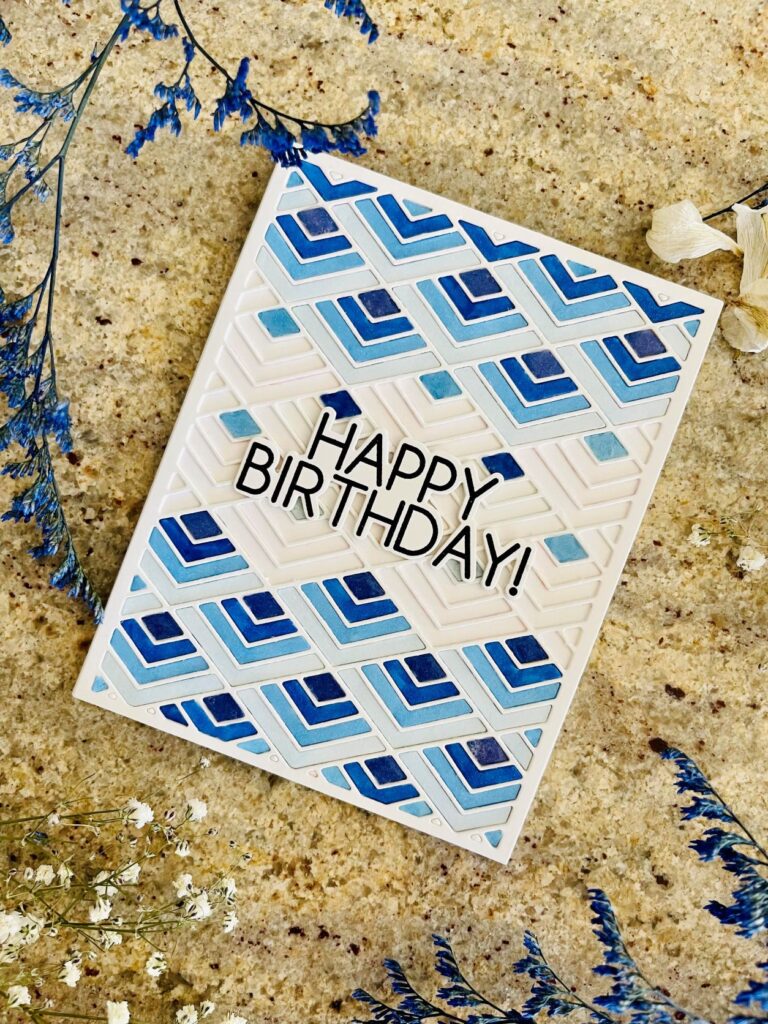
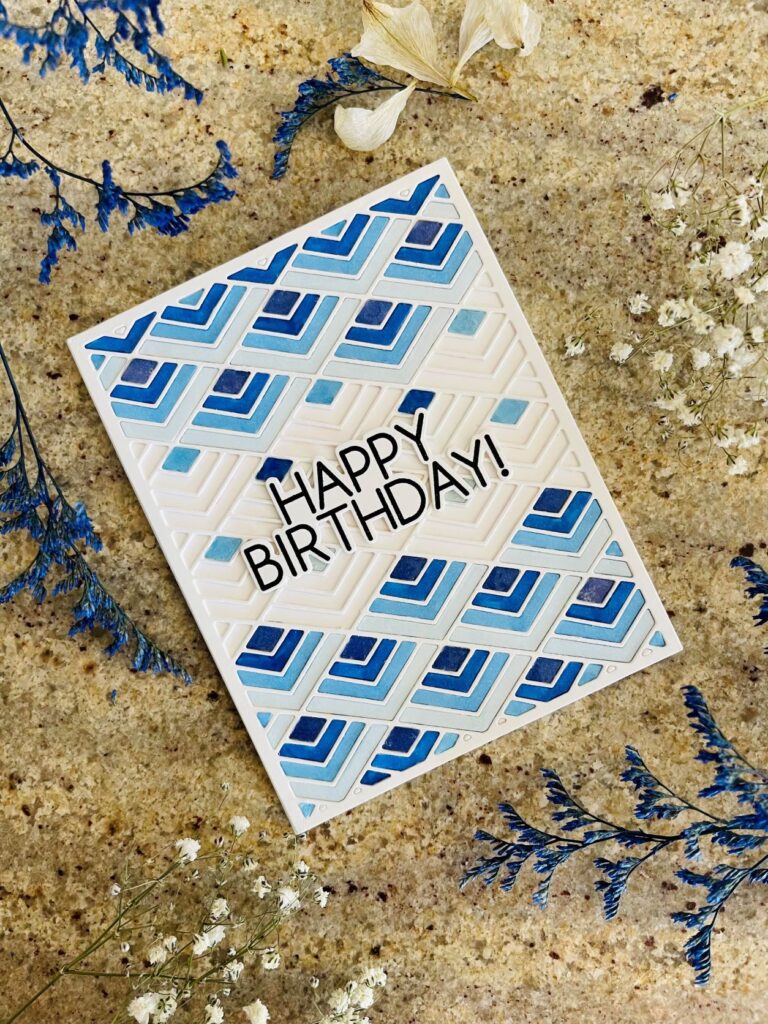
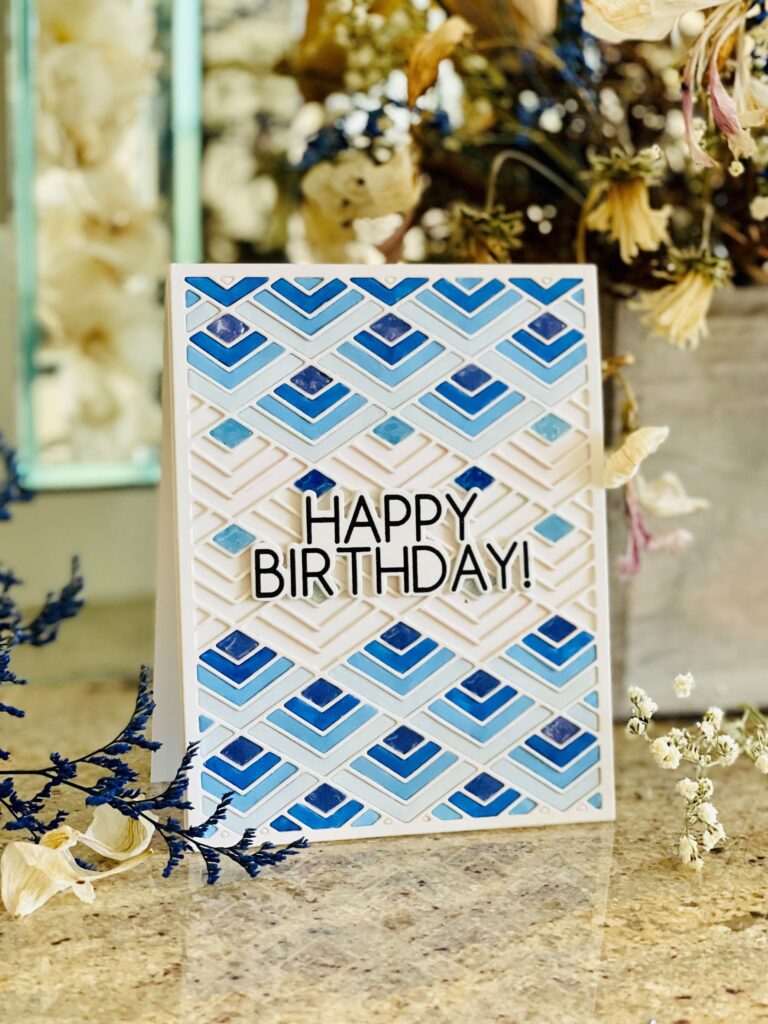
I always try to utilize every little scrap as much as possible and not let them go to waste. I learned from the Easy Die Cutting class, to use the die cut inlay technique. The left-over pieces from the first card would make a fabulous die cut inlay design.
Steps:
- To start, I die cut the Stacked Diamond cover die 2 panels of heavy weight white card stock.
- I glued them together for dimension and adhered the stacked die cut onto a plain white layering panel.
- Since I kept the left-over negative pieces from card #1 in good order, it was easy to inlay the pieces into the spaces. I alternated the colors for design variation. Since I wanted the color to stand out more, I used Altenew alcohol markers (Artic, Caribbean Sky, Persian, and Sapphire) to color the pieces for more depth.
- For the middle of the panel, I opted to only inlay the little diamonds and left everything else white. For some shine and texture, I applied Ranger’s Glossy Accents on all the little inlaid diamonds.
- I adhered the panel to a top folding A2 heavy weight white note card.
- To finish the card, I attached a premade “Happy Birthday” sentiment from my stash. This sentiment was stamped with VersaFine Clair Nocturne ink and heat embossed with clear embossing powder for subtle shine.
Card #3 – You’ve Got This
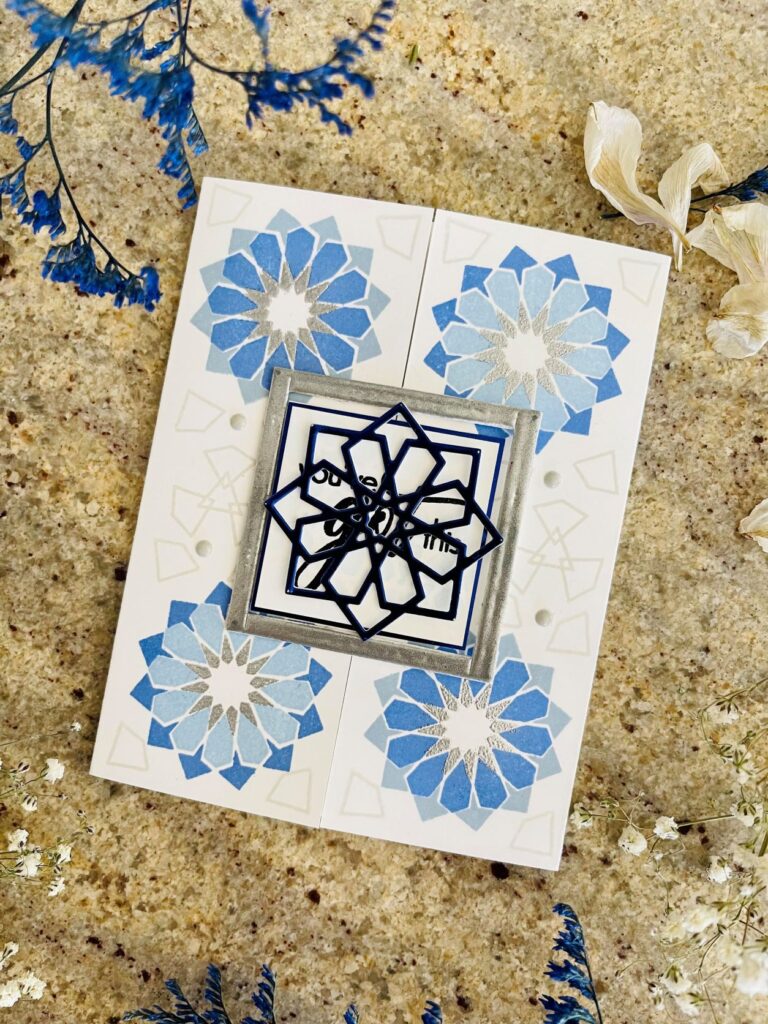
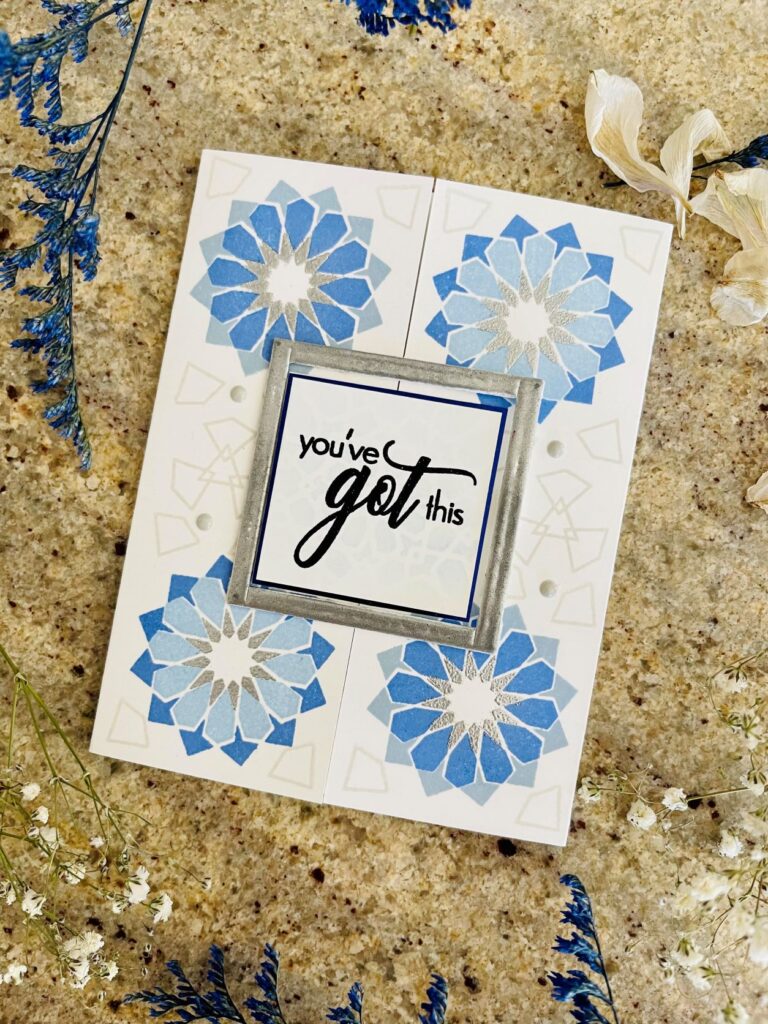
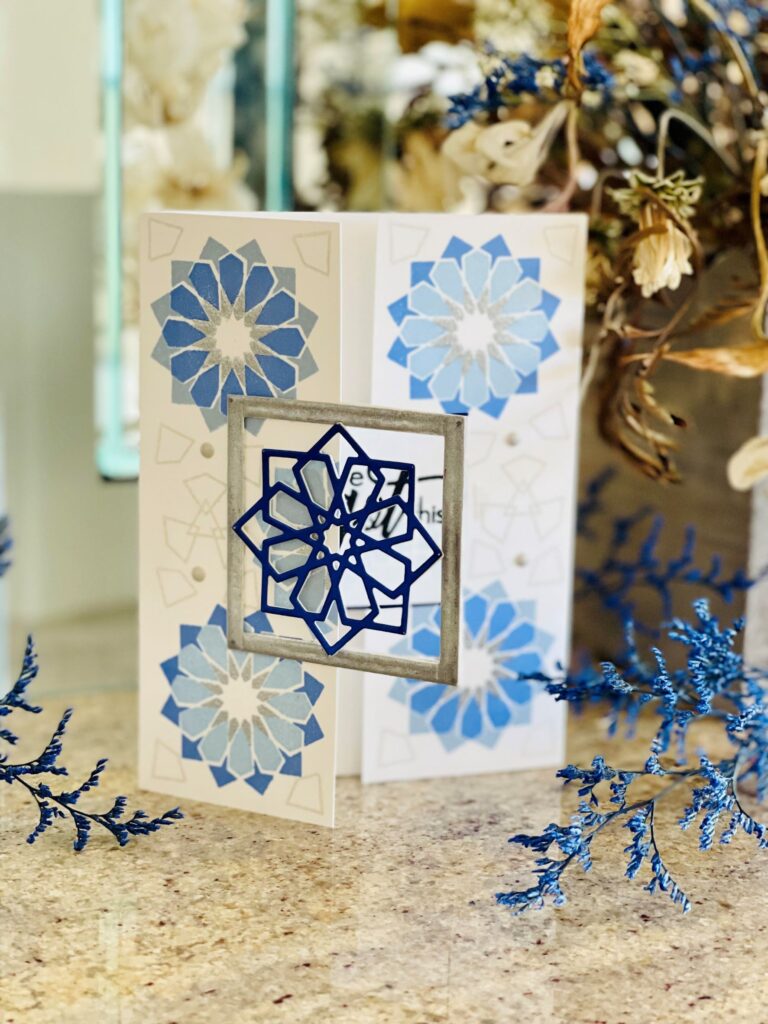
I wanted to make a gate fold card for this gift set. The Dodecagram stamp set was a perfect match to compliment this entire card series. Here, the techniques learned from All About Layering classes came in handy. In addition, from the Clean and Simple Boutique Cards class, I learned to repeat stamping to achieve boutique design.
Steps:
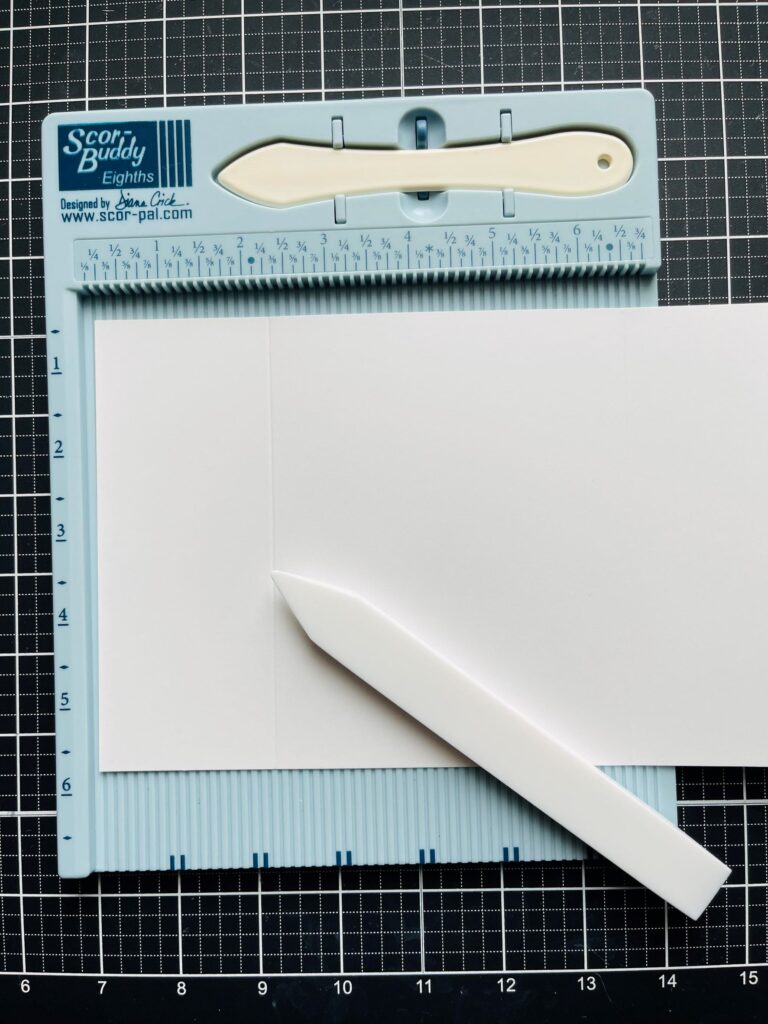
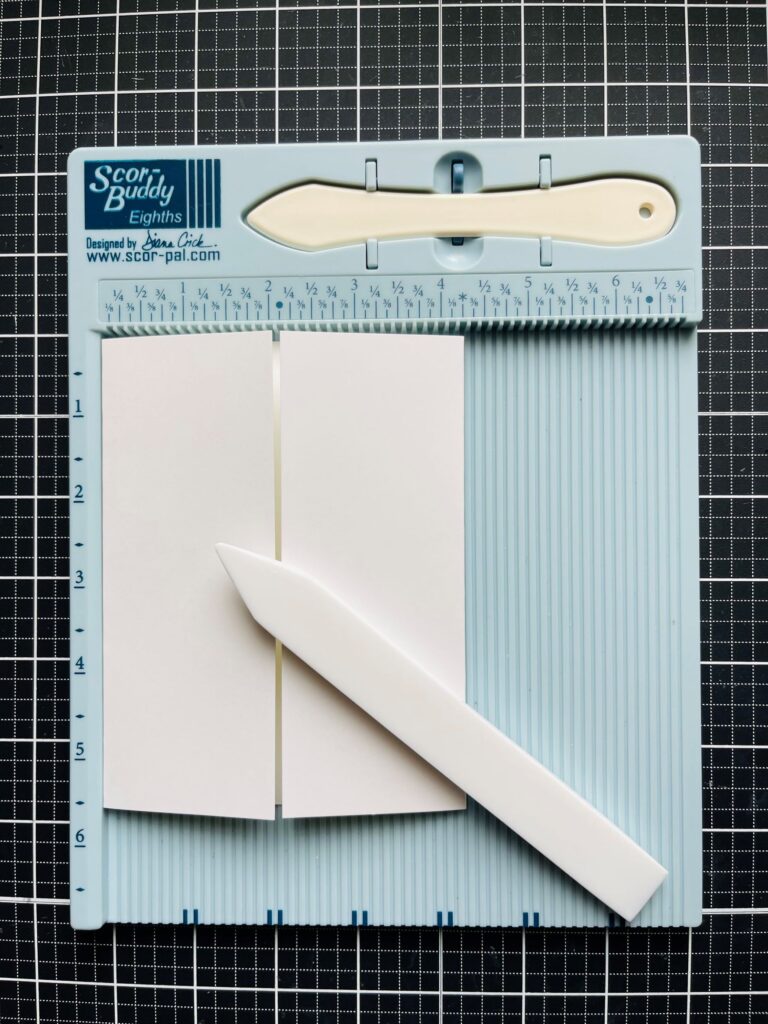
- I cut a 5.5” x 8.5” heavy weight white note card and scored at 2 1/8” on both ends. I folded at the scored lines to make the gate fold.
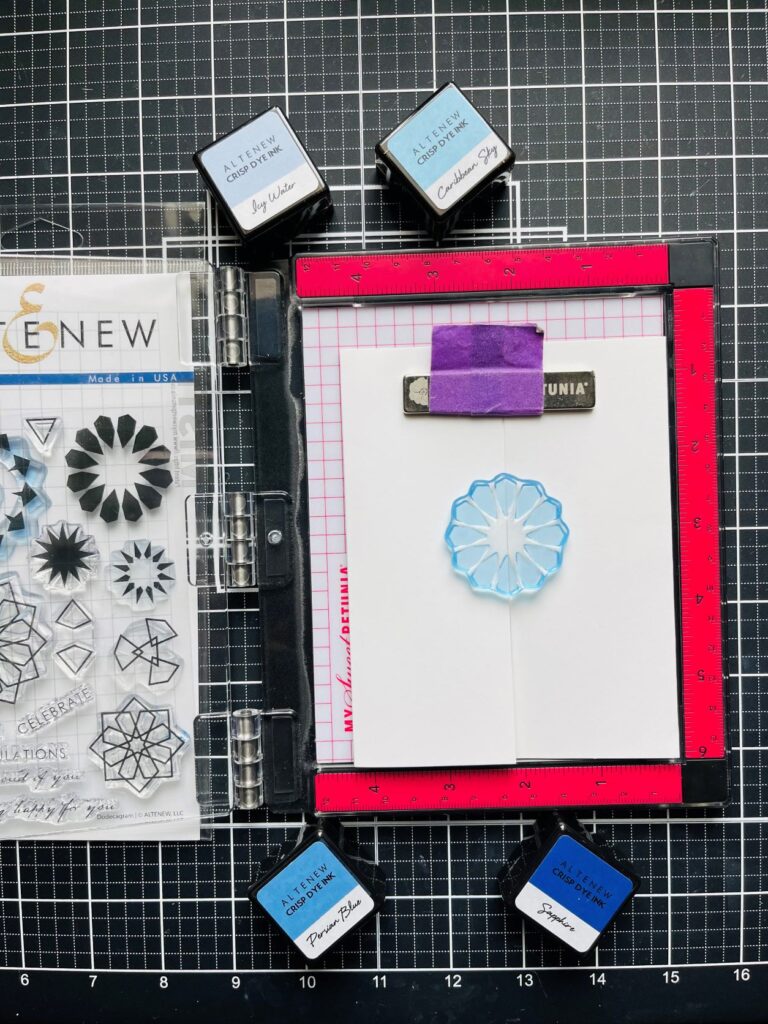
- Next, to make the stamping easy, I put temporary tape on the inside of the card to keep it flat for ease of stamping. Tip: Misti tool was handy with stamping in case re-stamping was necessary.
- Following the layering guide, I stamped five dodecagram images using Persian Blue, Winter Lake and Icy Water crisp dye inks. For varying interest, I switched up the colors with different layers. For the last layer, for added shine, I heat embossed with silver instead of using a dye ink.
- Using second generation stamping technique, I stamped with the little diamond images around to fill out the card.
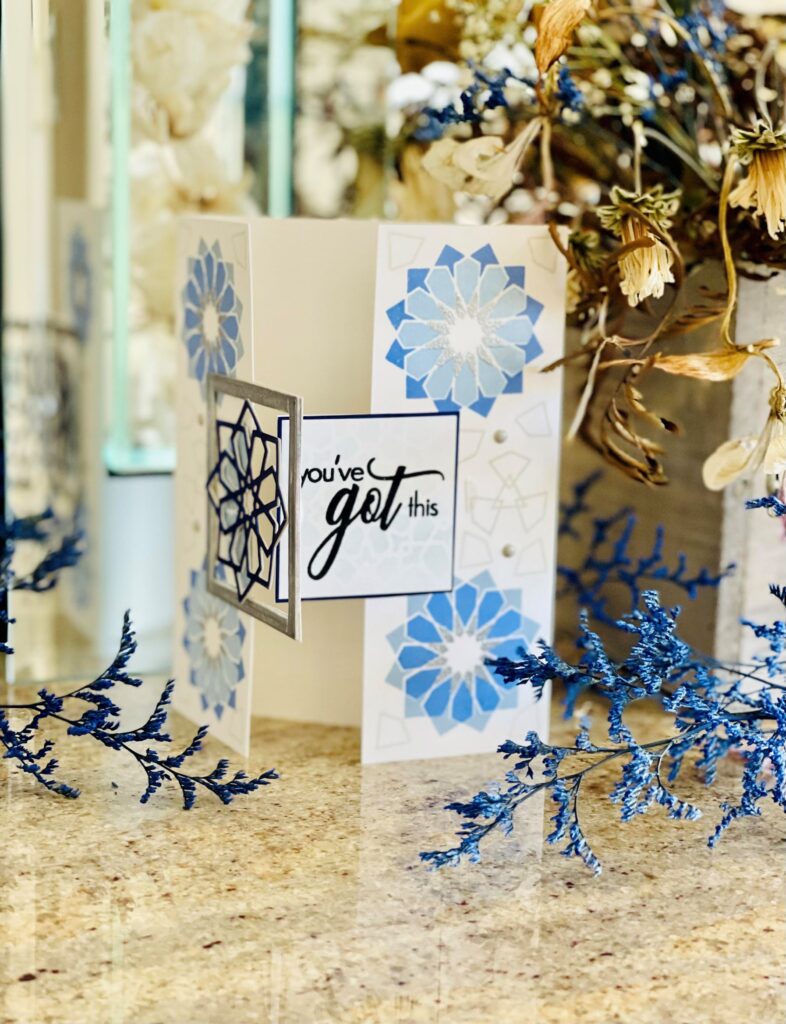
- Instead of a belly band, I opted for an element to keep the card close. I cut a 1.5” x 1.5” square white card and ink blended over it with Icy Water dye ink using the Dodec Cover Die cut as stencil. I stamped “You’ve Got This” with VersaFine Clair Nocturne ink and heat embossed with clear embossing powder. For some contrast, I adhered it to a slightly bigger blue foil paper matte. Next, I glued the sentiment square element only on the right panel.
- For the left panel, I made a 2.5”x 2.5” square frame. To match the silver embossing Dodecagram design, I heat embossed the frame twice with silver embossing powder.
- I die cut the smaller Dodec Star with the same blue foil paper and a white heavy weight card stock for the dimension. After gluing them together, I attached it to the frame. This provided a focal point to the card and enhanced the stamped images on the card. To keep the card closed, I attached a small Velcro.
- To finish the card, I scattered some Altenew Rock Collection enamel dots.
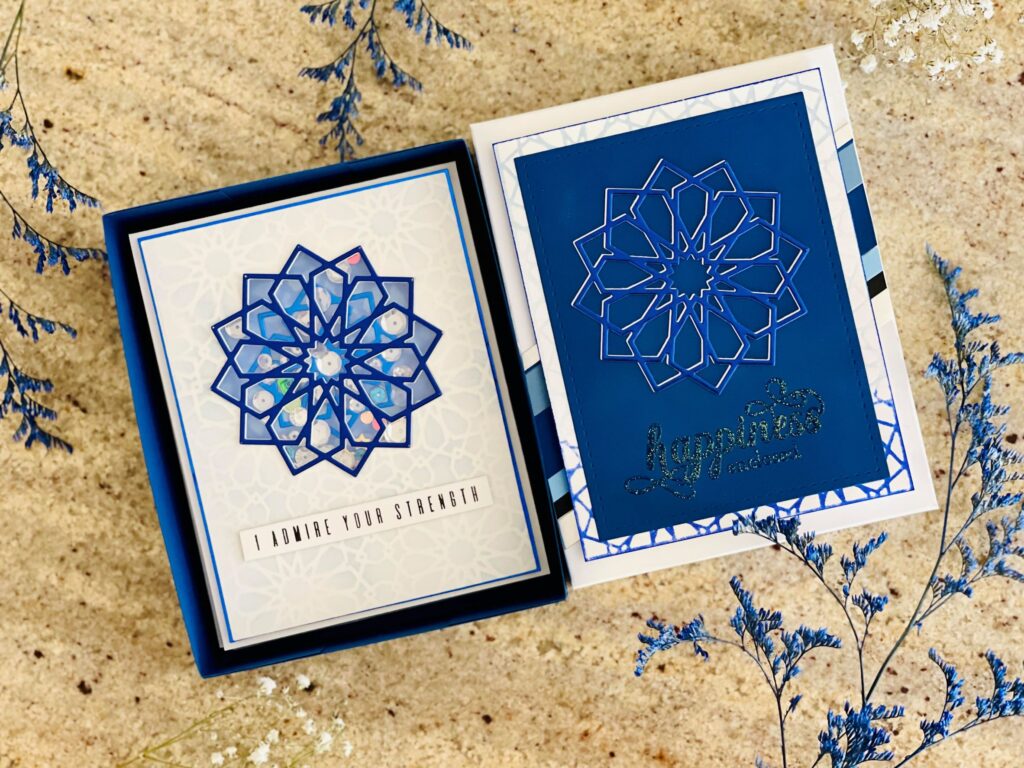
Card #4 – I Admire Your Strength
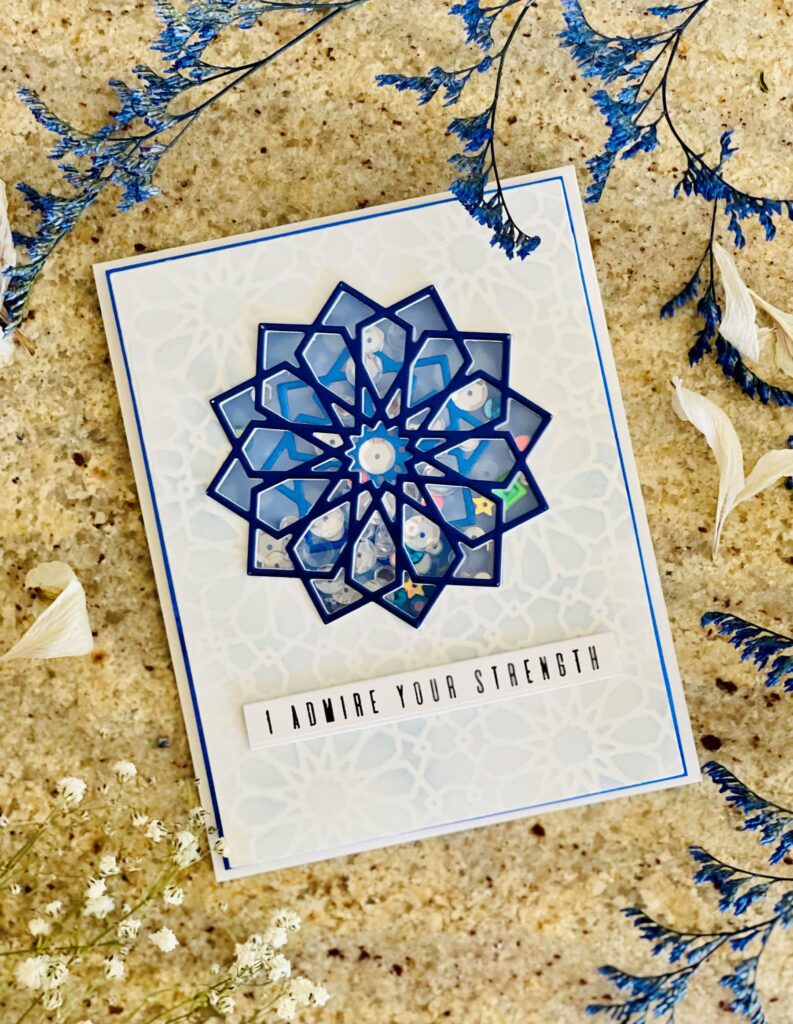
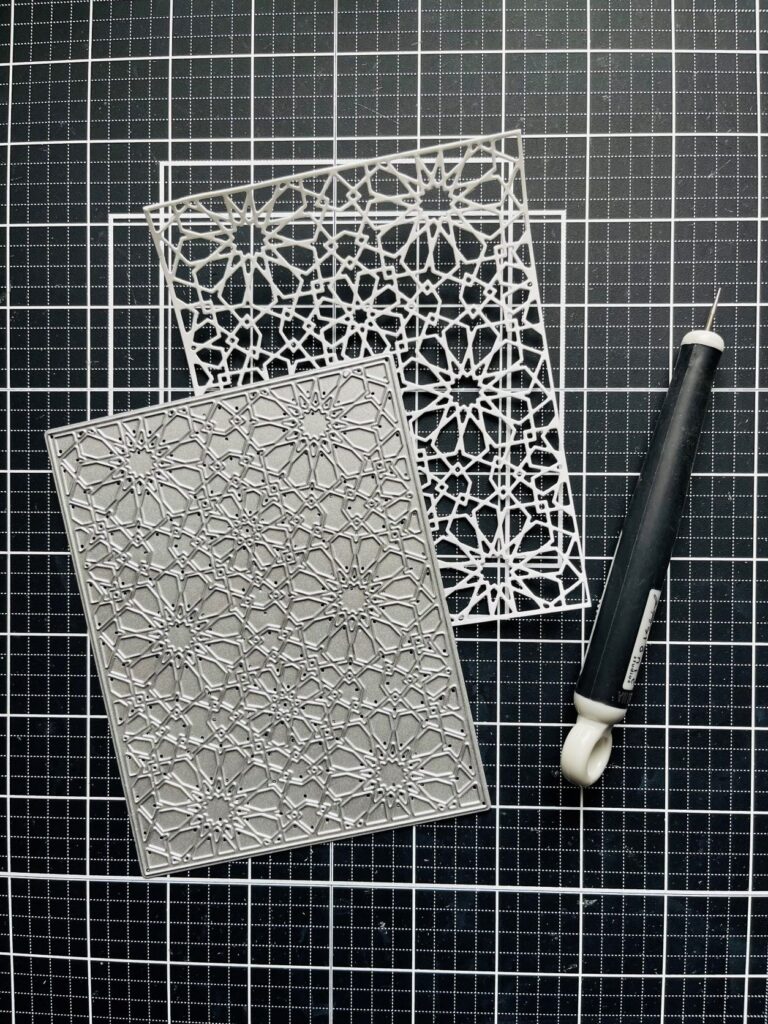
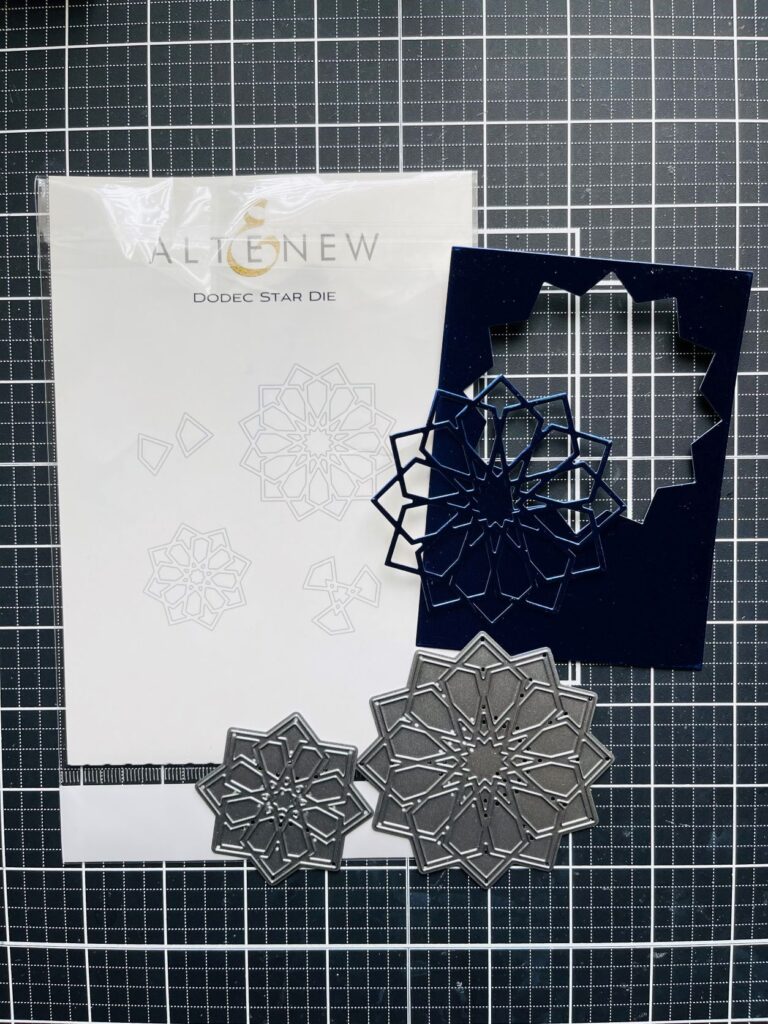
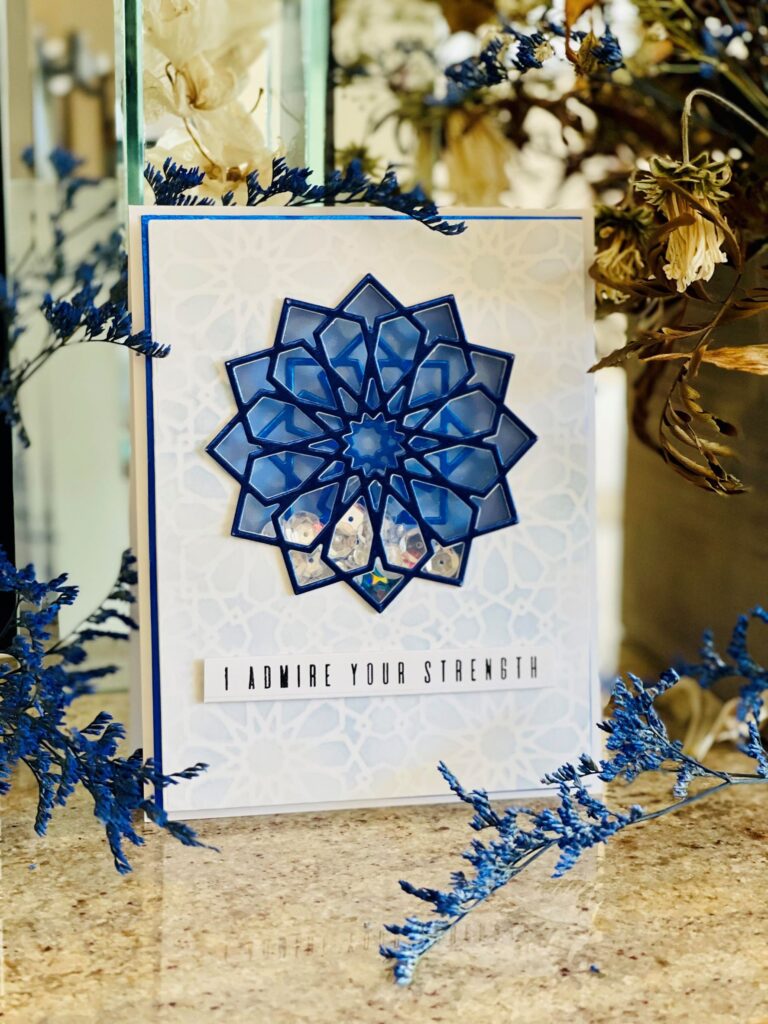
For this card, I chose the Dodec Cover Die, Dodec Star Die and Dodecagram Stamp Set. I wanted to make a shaker card using a recycled acetate as the shaker element. From the Easy die cutting class, we learned to find alternative ways to use our dies. Here, I used the Dodec Cover die cut as a stencil. Since this card design was more involved, it was important to have all the components planned out.
Steps:
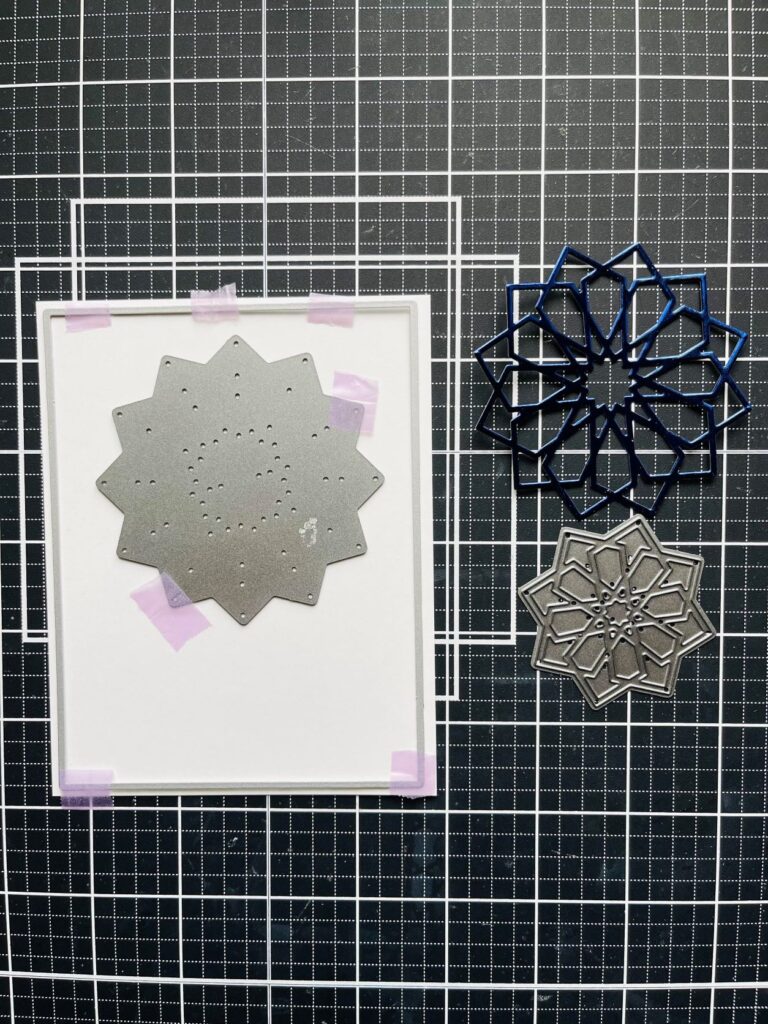
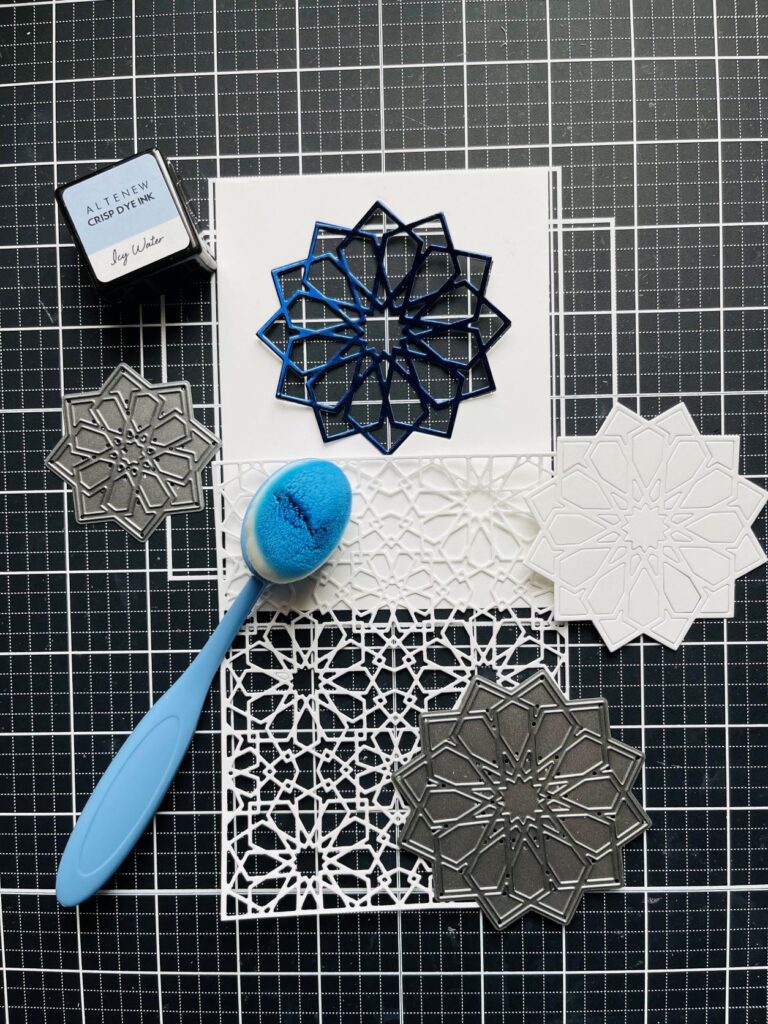
- First, I die cut the Dodec Cover Die using a heavy weight white card stock to be used as a stencil. Again, since this is an intricate die, I used the metal shim as part of the sandwich to ensure a clean cut.
- Using an 80 lb. Neenah solar white 4” x 5.25” panel, I die cut the large Dodec Star. I aligned the die towards the top third of the panel to ensure I have enough room for the sentiment.
- I also die cut the same large Dodec Star from dark blue foil specialty paper and the smaller Dodec star from another blue tune foil paper for variation.
- Using the Dodec cover die cut as stencil, with very light touch, I ink blended the white panel with Icy Water dye ink and added some Winter Lake dye ink here and there for contrast.
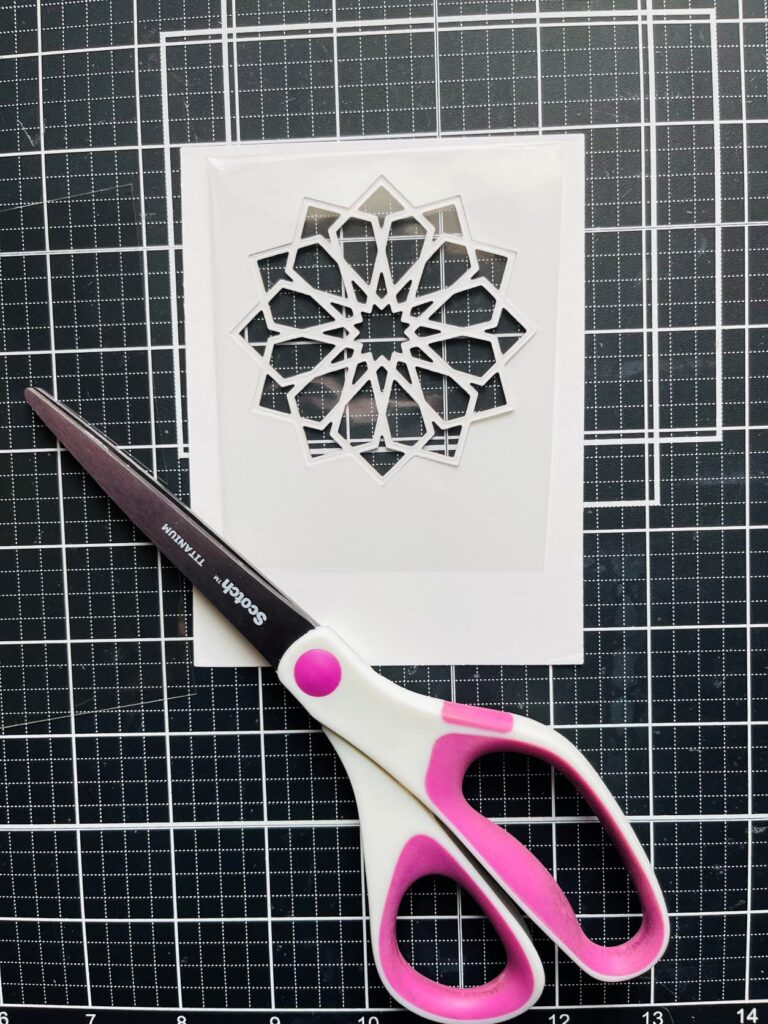
- Next, I glued the recycled plastic to the back of the panel. Separately, I adhered the two large Dodec cover die cuts together for dimension and glued it to the front as the focal point. In the back of this panel, I used foam tape around the Dodec star to hold the sequins and shaker bits.
- I had an extra Winter Lake ink-blended background. I adhered the smaller Dodec die cut element to it. This served as the background for our see-through shaker card.
- Once I placed different sequins in the middle, I adhered the shaker top panel on top.
- For the sentiment, I stamped “I admire your strength” from the Trigonometry stamp set with VersaFine Clair Nocturne ink and heat embossed with clear embossing powder.
- To finish the card, I added a blue foil specialty paper matte to enhance the card design.
Card #5 – Sending Hugs
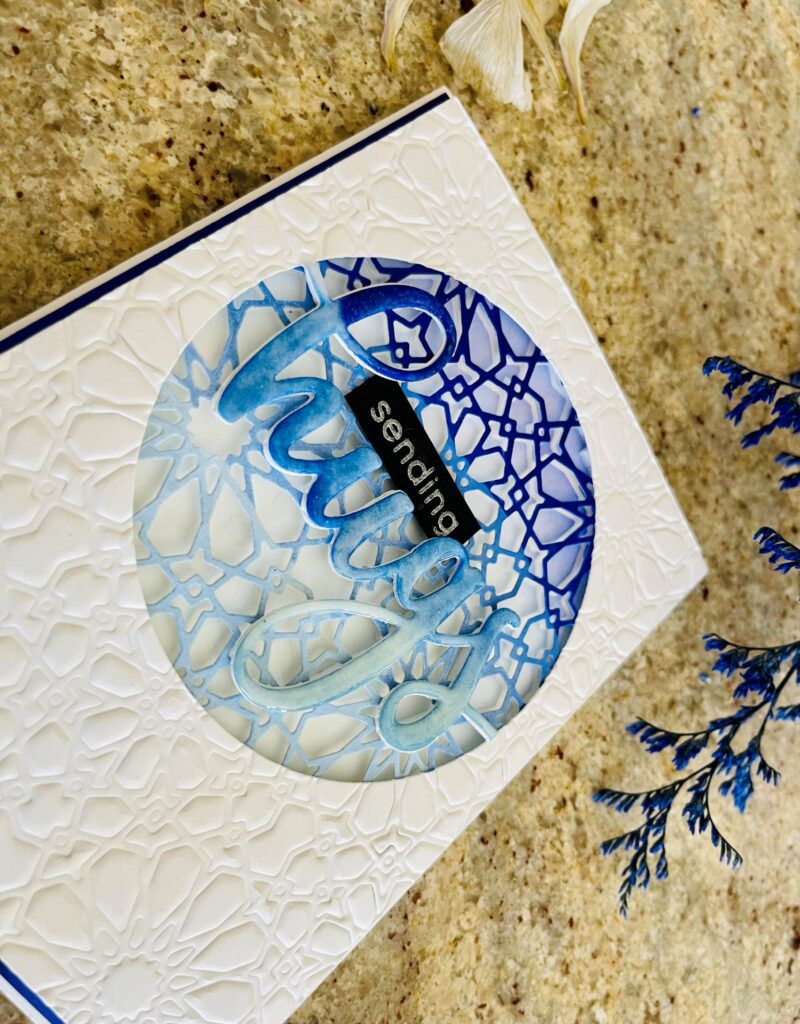
This card featured the Dodec Cover die in conjunction with the Circle Greetings Hugs die. Again, from the Easy Die Cutting class, I learned to use dies in different ways. Here, I used the Dodec Cover die to dry emboss as added texture element as part of the circle “sending hugs” focal point. Using Easy Ink Blending class lessons, I also ink blended the panel behind the circle for added interest.
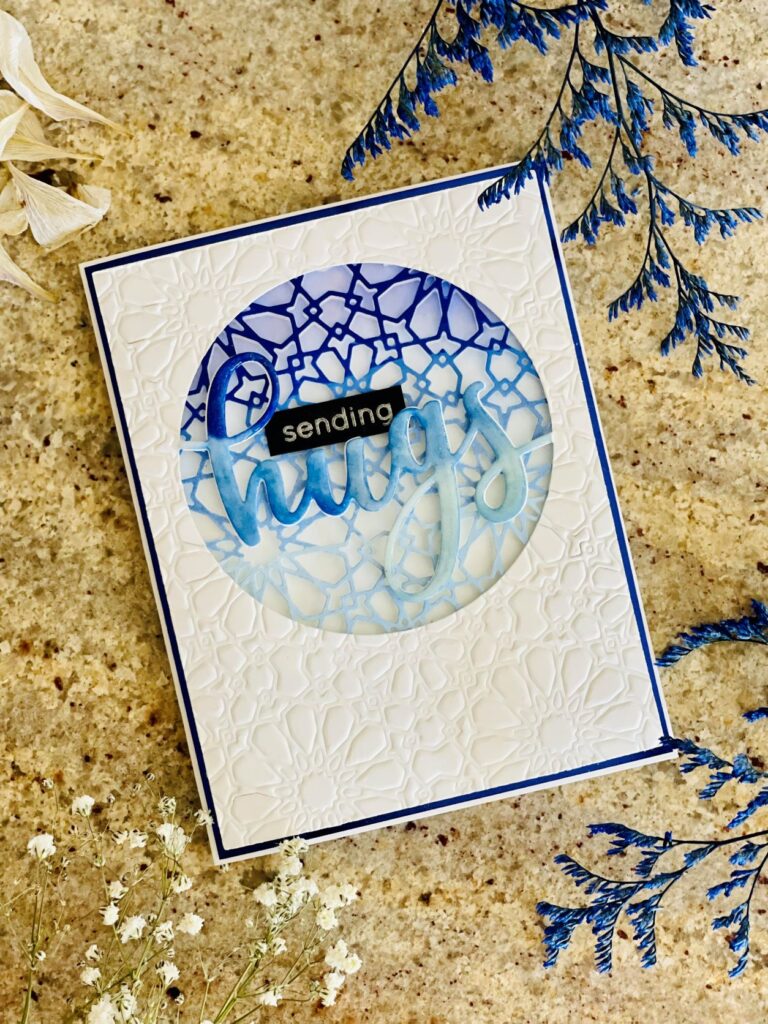
Steps:
- To begin, using heavy weight white card stock, I die cut the Circle Greetings Hugs die three times.
- Using one of the Hugs die cut, I dry embossed the Dodec Cover die on a 4” x 5.25” heavy weight white card stock. I found it easier to dry emboss using my Spellbinders Platinum Six die cut machine with the appropriate sandwich.
- For the other two Circle Greetings Hugs die cut panels, I cut out the word Hugs and adhered them together. Then, I applied Sapphire, Persian Blue and Caribbean Sky crisp dye inks to achieve an ombre look. I set it aside to dry before embossing it twice with clear embossing powder. For extra sheen, I added Ranger glossy accent on the sentiment.
- On another A2 panel, I ink blended a background using the Sapphire, Persian Blue, Caribbean Sky and Icy Water dye inks.
- With the Dodec Cover die stencil I made for the previous card; I glued it to back of the front panel making sure I align with the circle. But before doing so, I sprayed some water on top and put it over another heavy white card panel and ran it through my die cut machine. This was the ink press technique I learned from Jennifer McGuire. I used the ink pressed panel for the packaging described below.
- From step #3, I attached the “hugs” sentiment to the panel.
- Then, I adhered the top panel to the ink-blended background. The entire piece was glued to a slightly larger blue foil specialty paper matte before attaching to a 5.5”x 4.25” side folding heavy weight note card.
- To finish the card, on a black card stock scrap, I heat embossed “sending’ in silver and attached it right above “Hugs”.
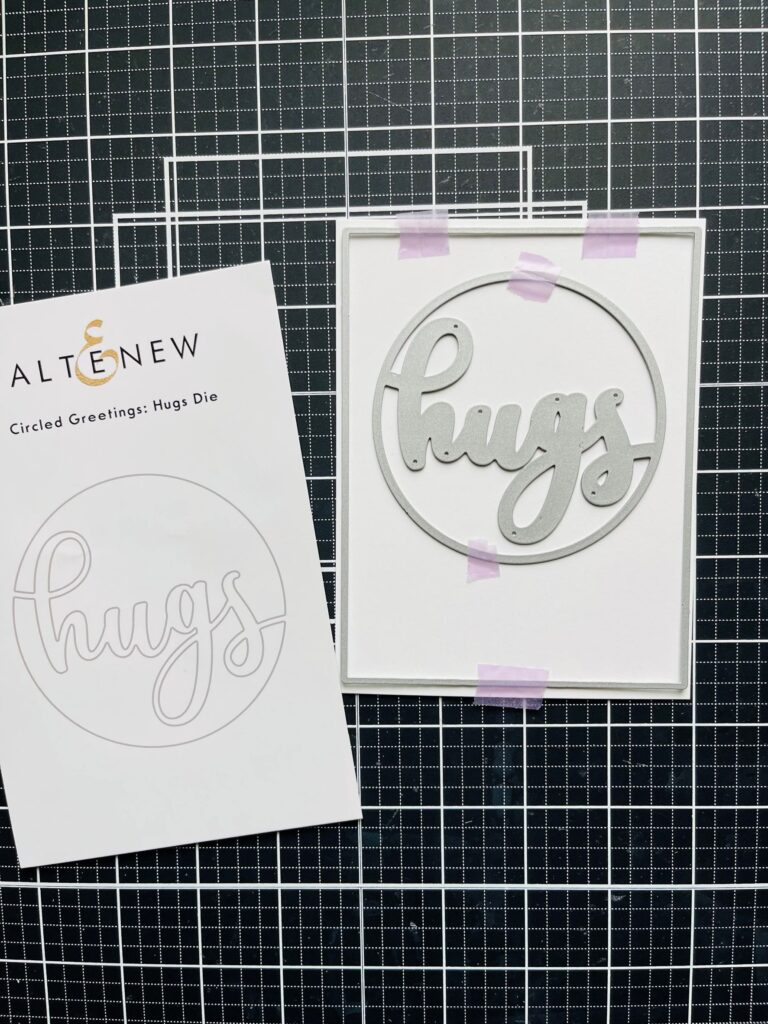
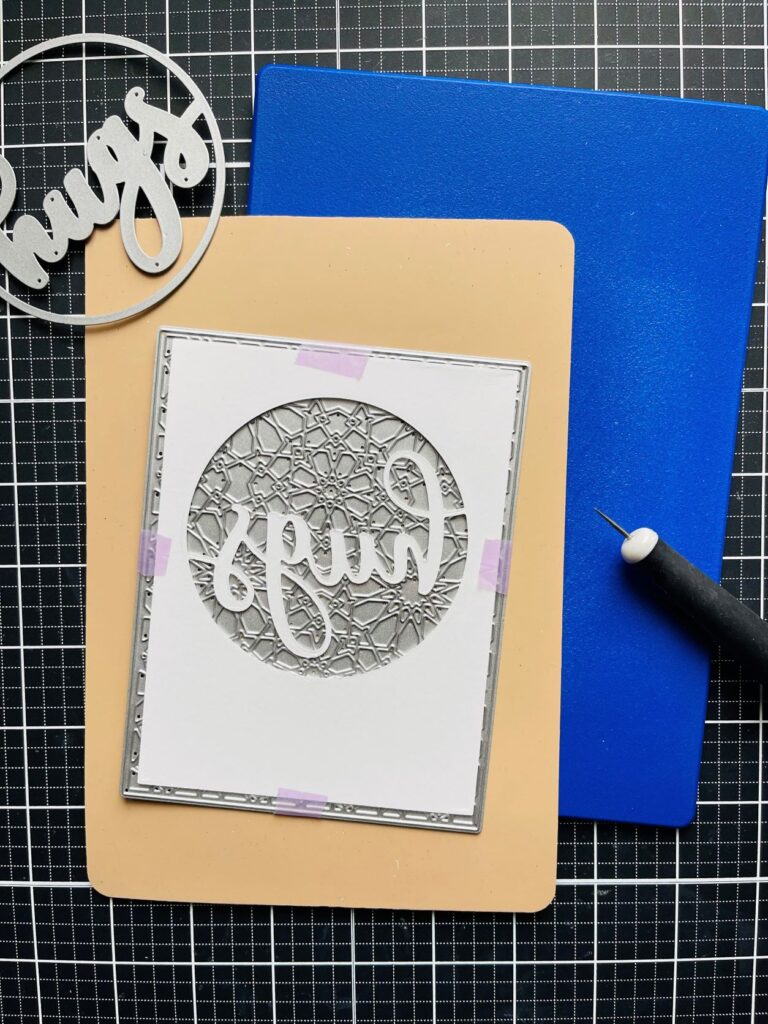
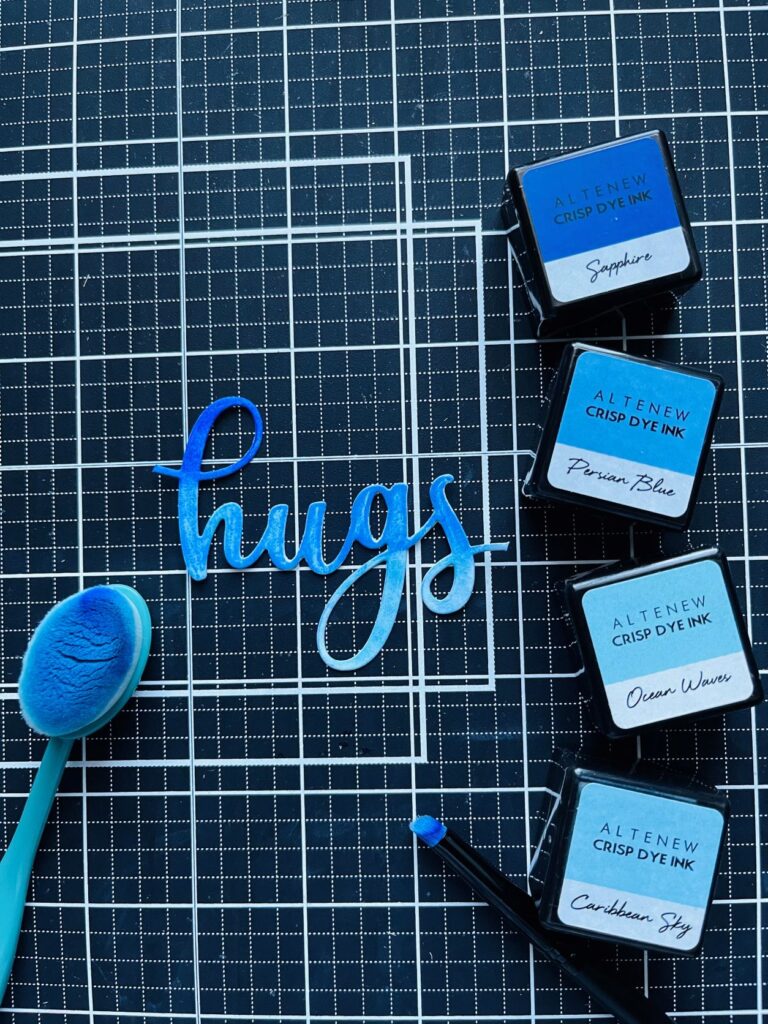
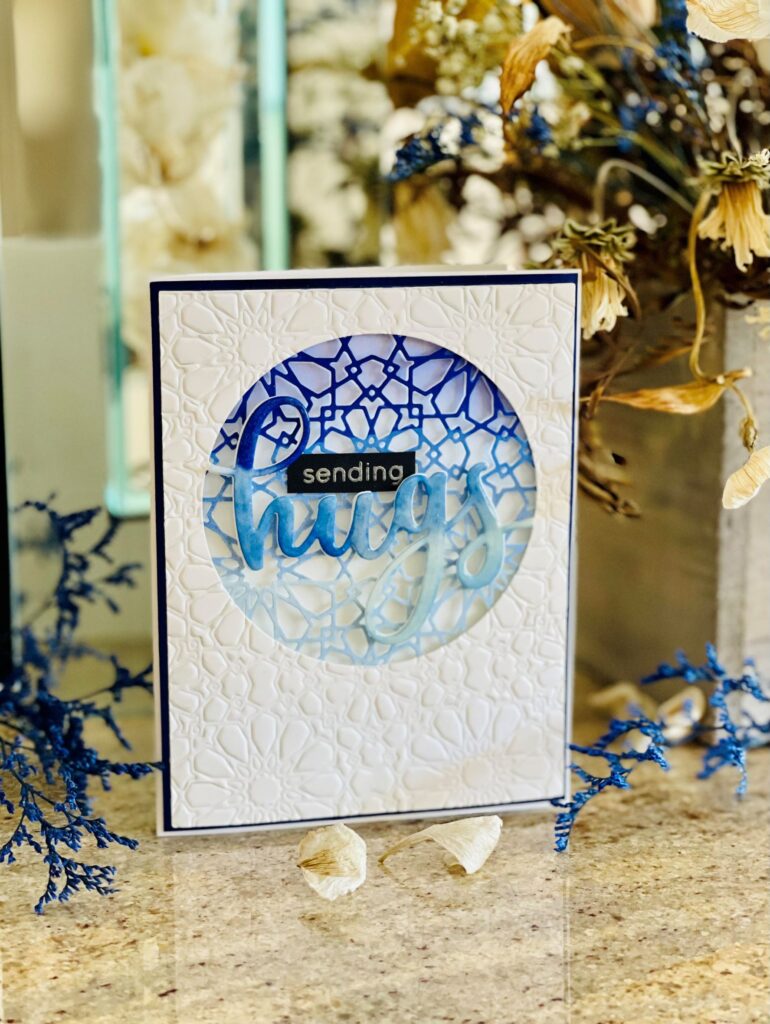
I must say this last card is probably my favorite of this series. But wait, there’s more. Let’s look at how I made the packaging.
Gift Packaging
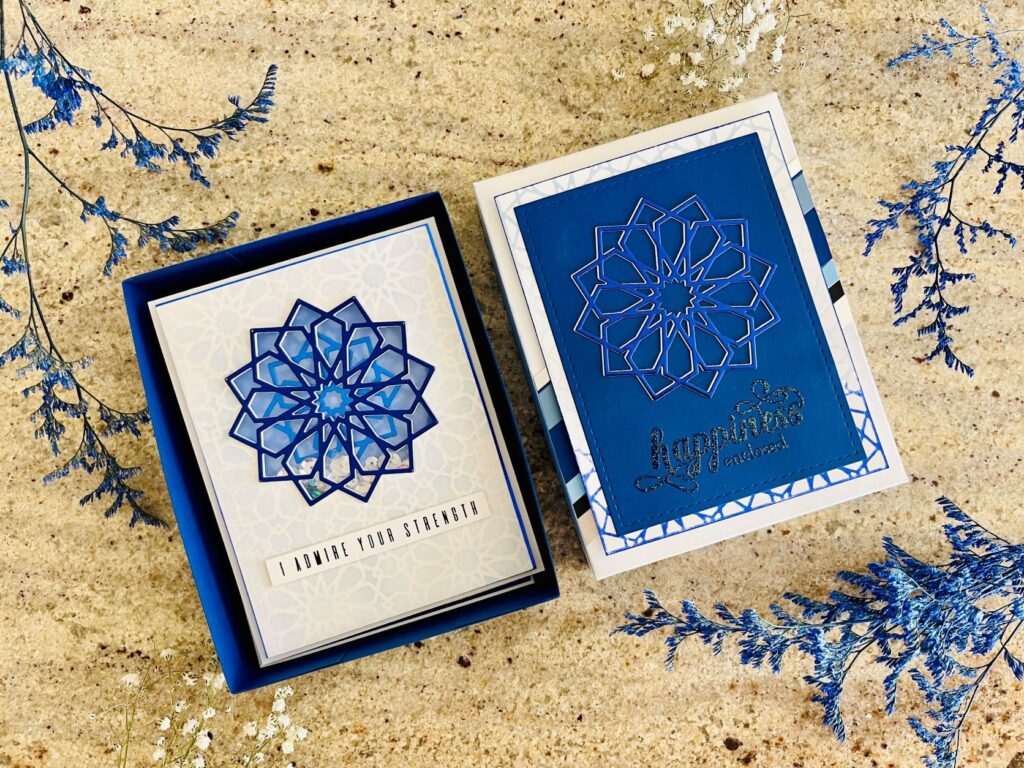
I wanted to make a gift box that fit with the card series.
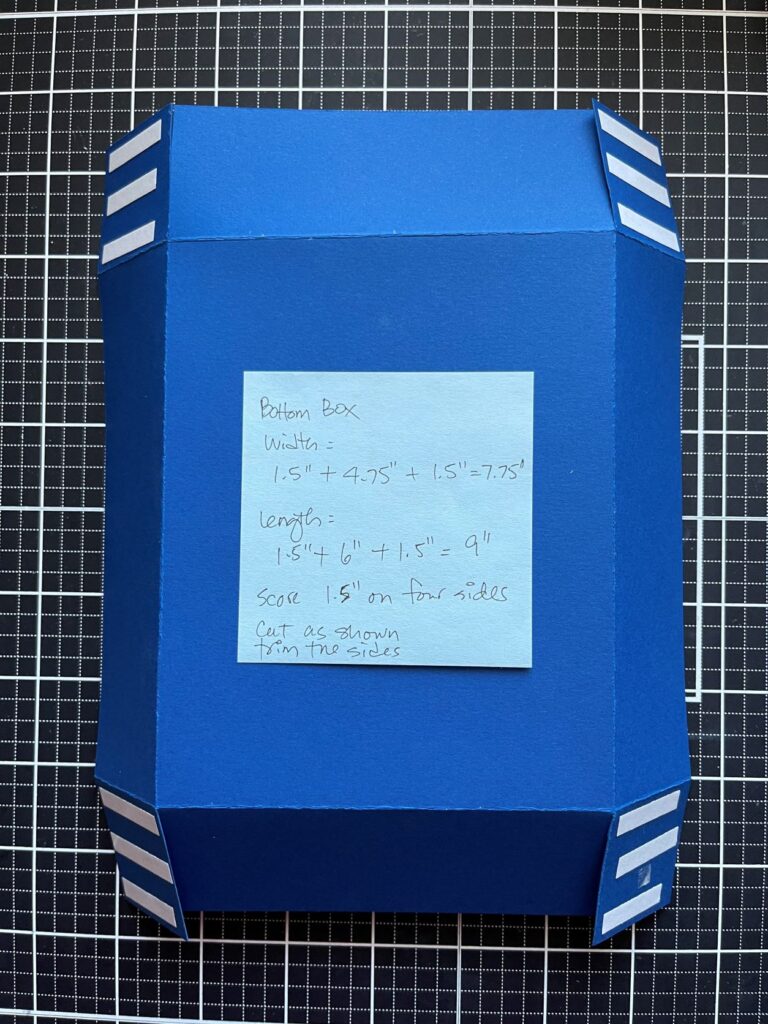
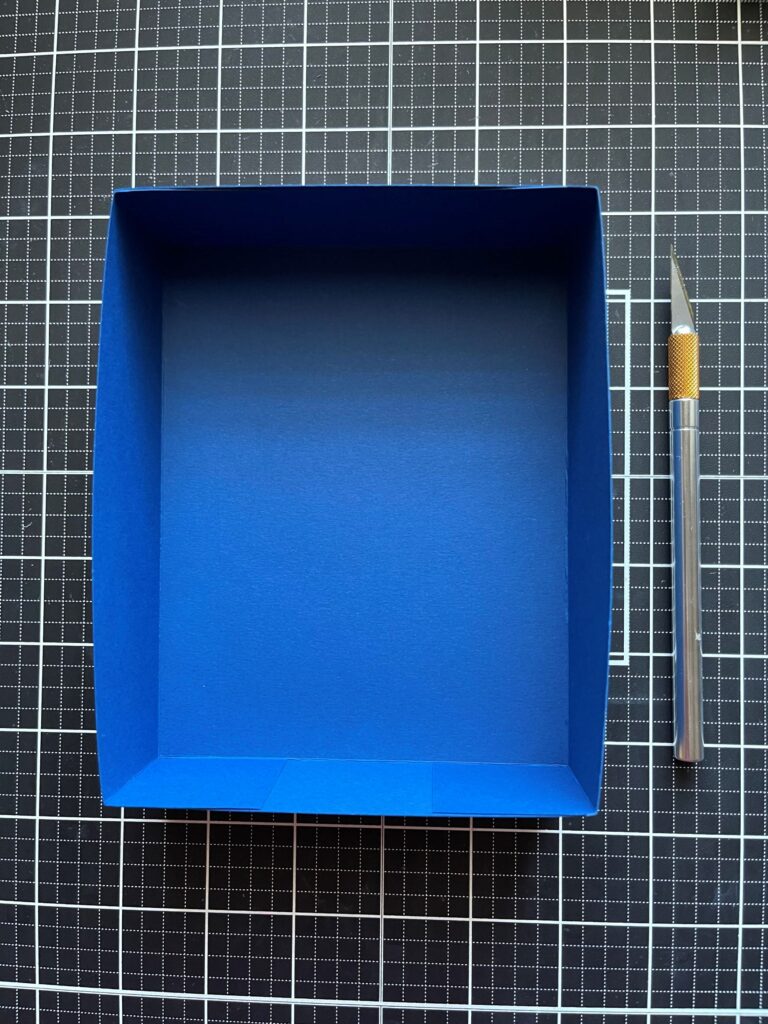
For the bottom part, I chose a dark blue card stock to match with the color scheme. The width measured 7.75” (which comprised of the 1.5” for each side + the middle 4.75”). The length measured 9” (which comprised of 1.5” for each side + the middle 6”). I scored 1.5” on all four sides, cut the flaps as shown, and adhered with strong double-sided tape. Tip: cut a smidge off the measurement on all sides so that when folded, the bottom fits nicely to the top.
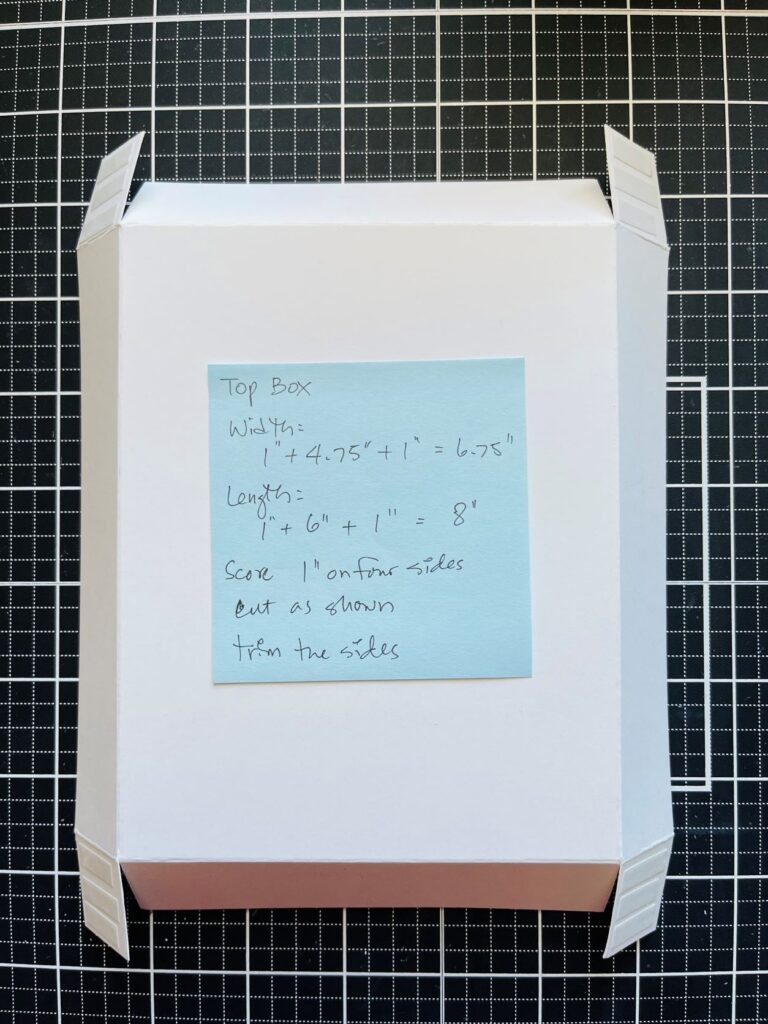
For the top part, I opted for a white card stock. The measurement was slightly smaller as I wanted the bottom box to show. The width measured 6.75” (which comprised of 1” for each side + the middle 4.75”). The length measured 8” (which comprised of 1” for each side + the middle 6”). Followed the same scoring and folding direction as the bottom box above.
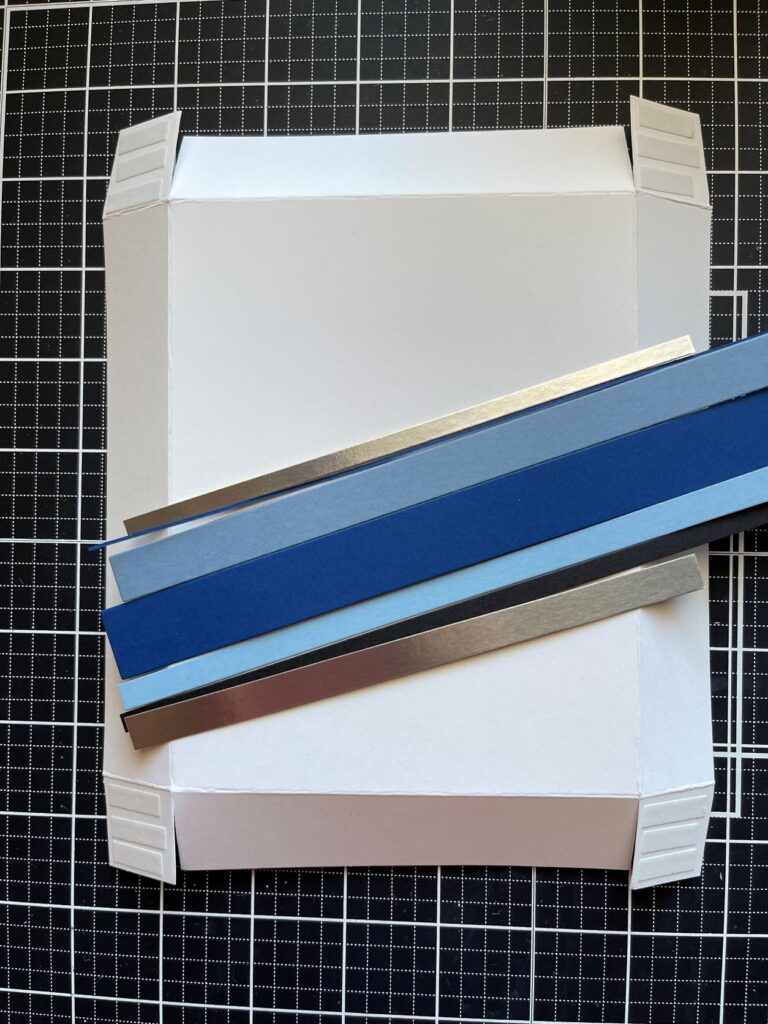
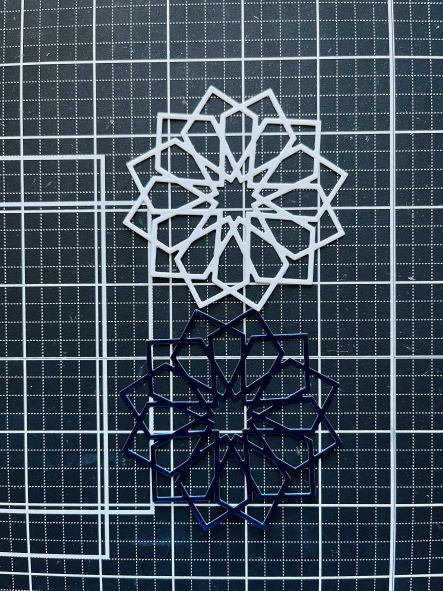
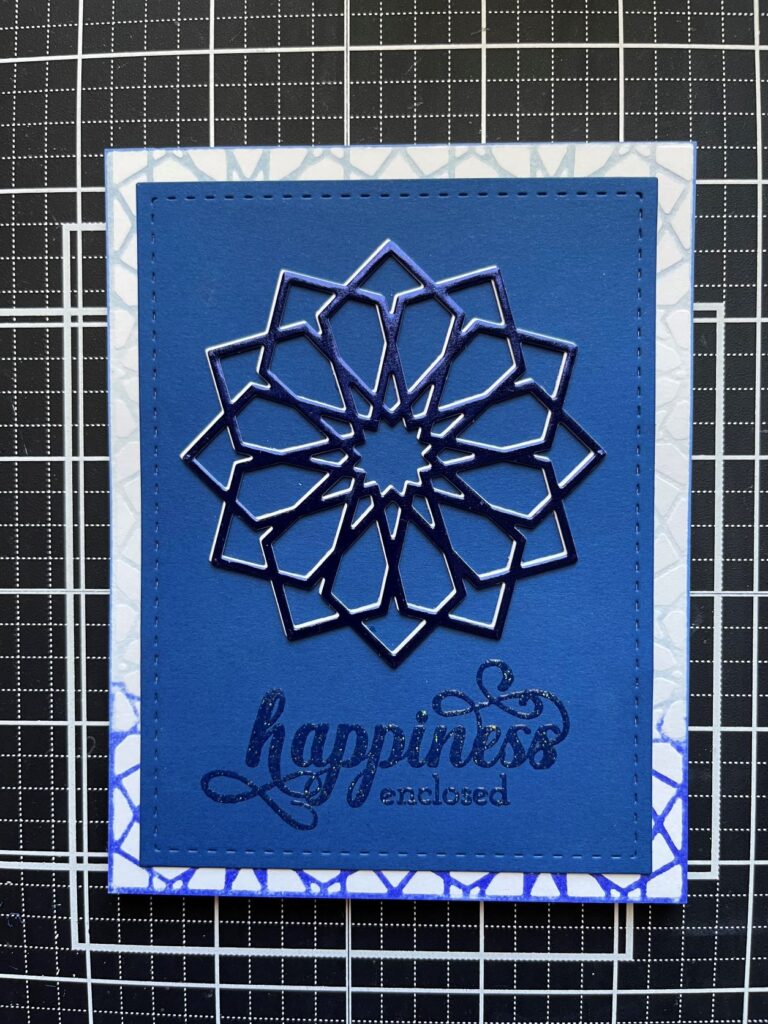
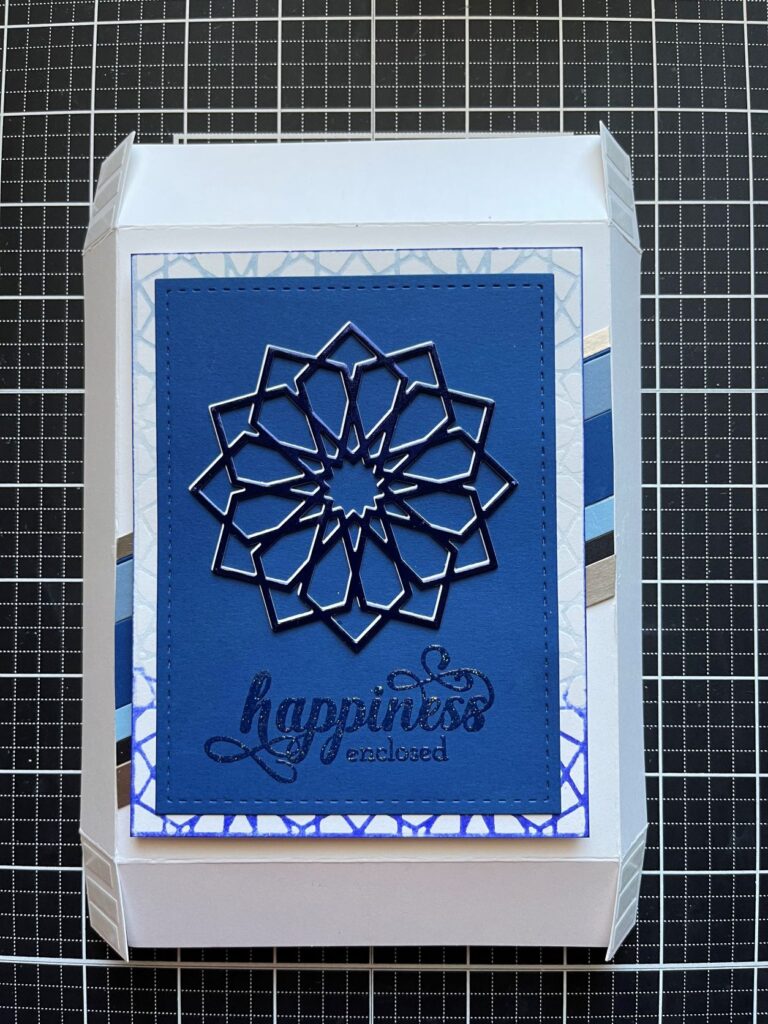
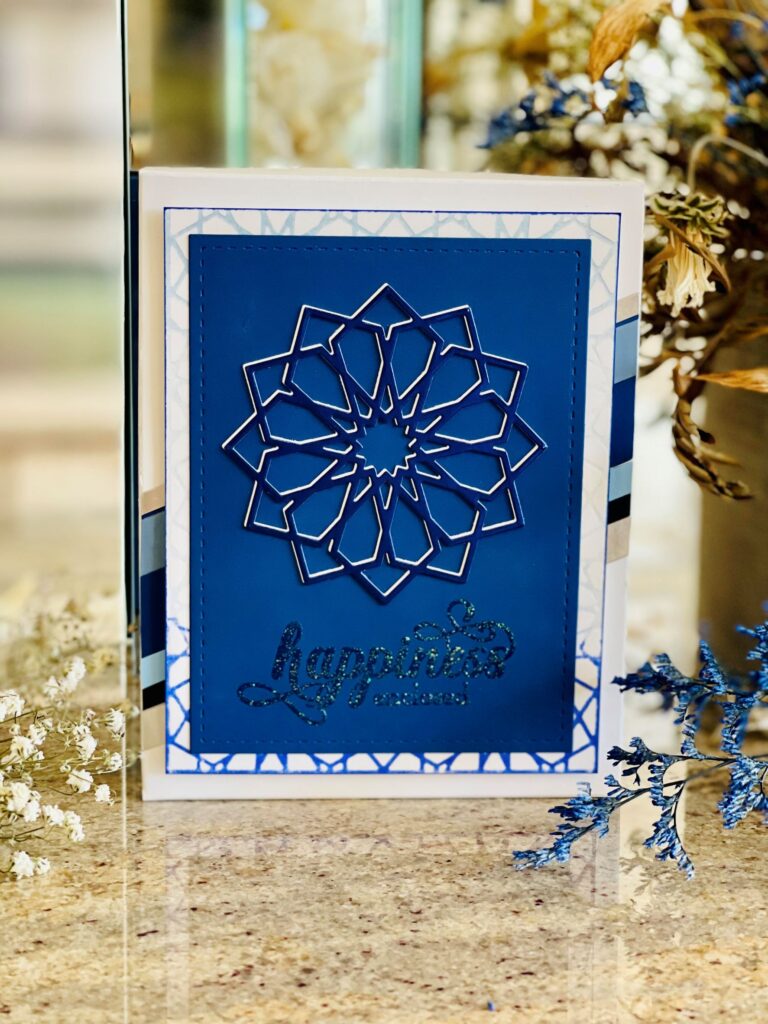
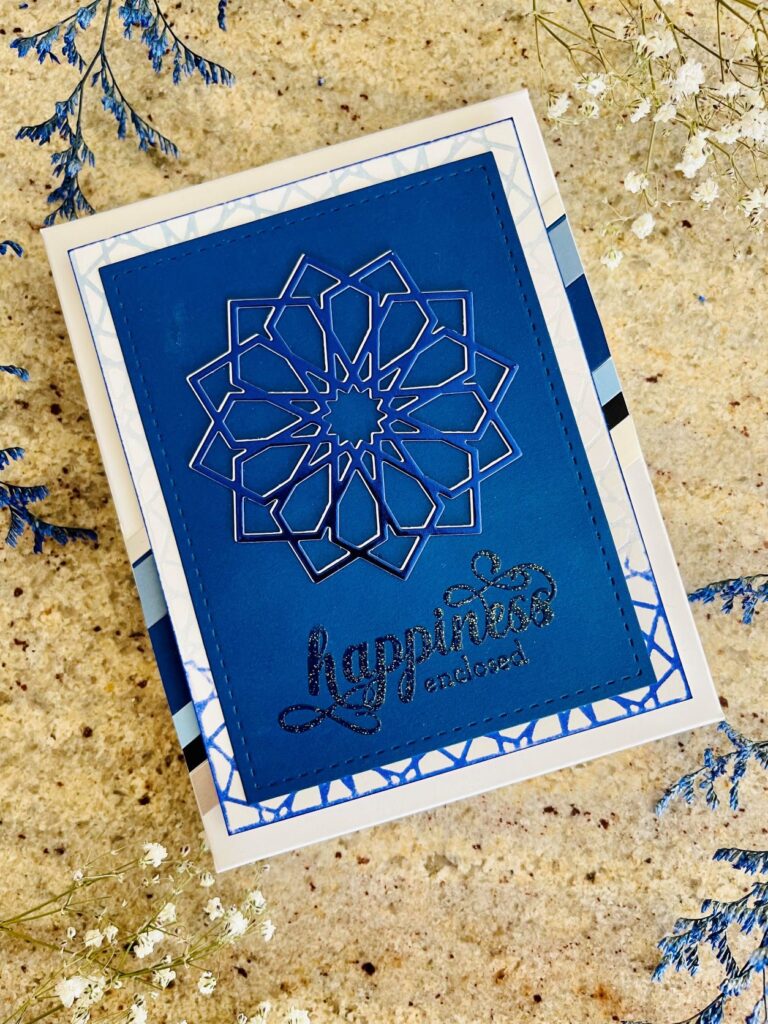
To complete the top box, I adhered some silver, blue and black card strips to the front and trimmed off any excess. Next, I cut a 3.75” x 5” rectangle using the same blue card stock as the bottom box. I had a foil paper and a white paper Dodec star die cuts left over from card 4. I staggered the foil paper version over the white die cut to create a shadow and adhered it to the top third of the rectangle, leaving room for a sentiment. Next, I stamped “Happiness Enclosed” and heat embossed it twice with Altenew Translucent Pearl embossing powder. I love the glitters showing through the sentiment! Remember the Dodec cover die ink pressed piece? I used it as a matte background to outline the rectangle and attached the entire panel to the box front. I love how the gift box turned out.
Although I tend to over think things and stressed myself out through the process, this final challenge was a fun and quite a learning experience for me. It also stretched my creativity. I hope you enjoyed this post and found some useful ideas to make your own gift cards set.
Thanks for sticking with me through a long post. See you again soon.
Lillian

Incredible!!!! Absolutely beautiful. They are certainly pieces of art! The patience in addition to your artistry is astounding!
Thank you so much Kathie.
Each card is more gorgeous than the next. I can not wait to see the other set.
Thank you so much Erum.