Hi Everyone,
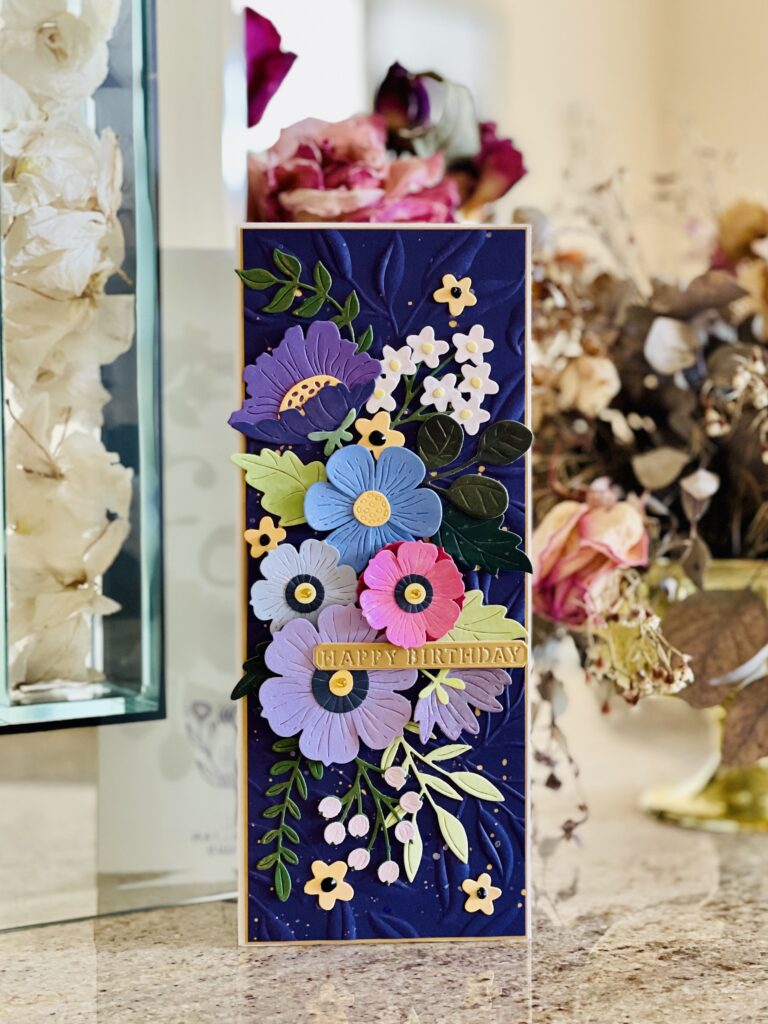
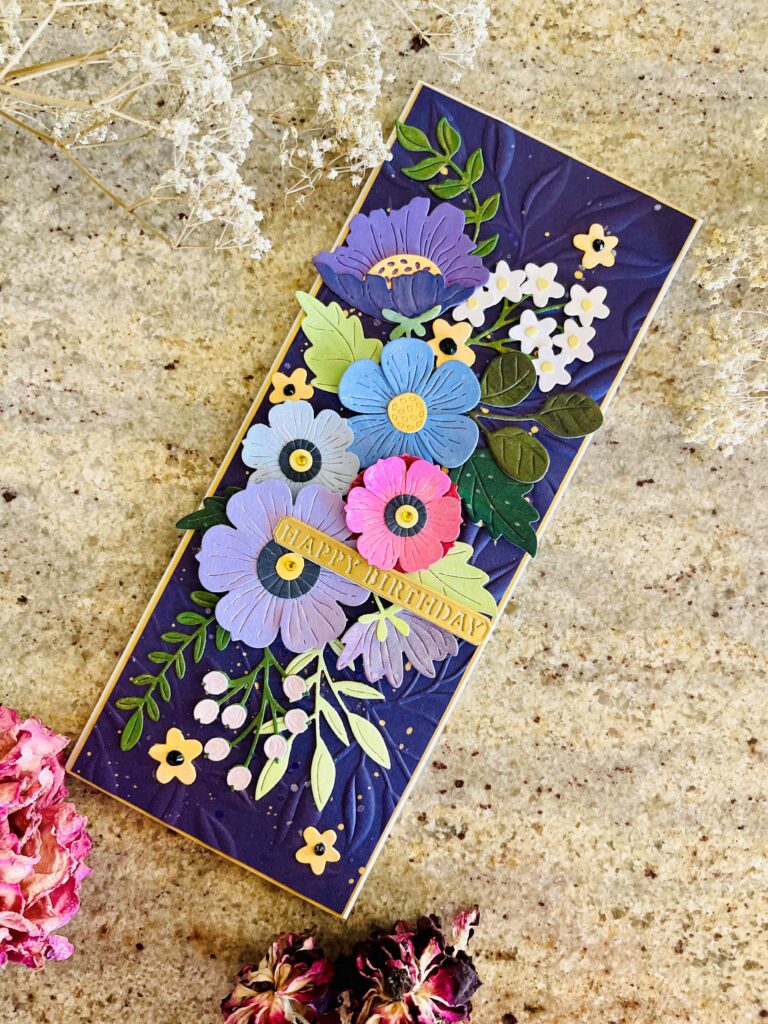
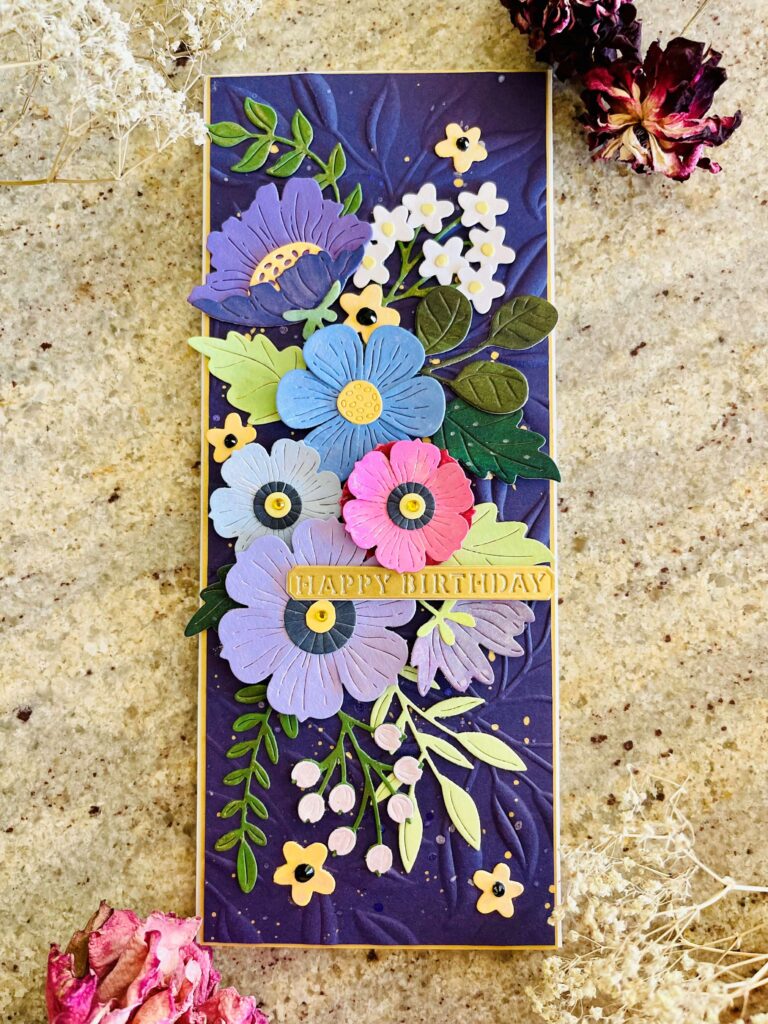
I am back sharing a slimline card made for a friend’s birthday this month. The card features Spellbinder’s Large and Small Die Club Kits January 2023. I love these two club kits and couldn’t wait to play with them. Since it’s my friend’s birthday, these kits are perfect for the occasion. Once a month, I get together with a small group of girlfriends for a meal. We usually explore new restaurants in town, catch up and if someone has a birthday, we celebrate the occasion. It’s such a wonderful thing to do and I look forward to the event each time. I can’t wait to see her reaction to this card at the upcoming gathering. Anyway, I usually consider the recipient’s favorite colors when making the card. This friend doesn’t have a favorite color. She wants to be surprised. Knowing that she loves slimline cards, here’s how I made her birthday card.


Steps:
- From Spellbinder’s January 2023 Large Die Kit, I die cut various flowers, leaves, berries and springs from different Spellbinder color cardstocks. I also used some left-over card backgrounds made with Lindy’s Gang Magical Powders.
- For some shimmer, I brushed some Ranger’s Perfect Pearl powder with very little water on all the flowers and berries. I wish you could see the shine in person. Pictures don’t do the shimmer justice.
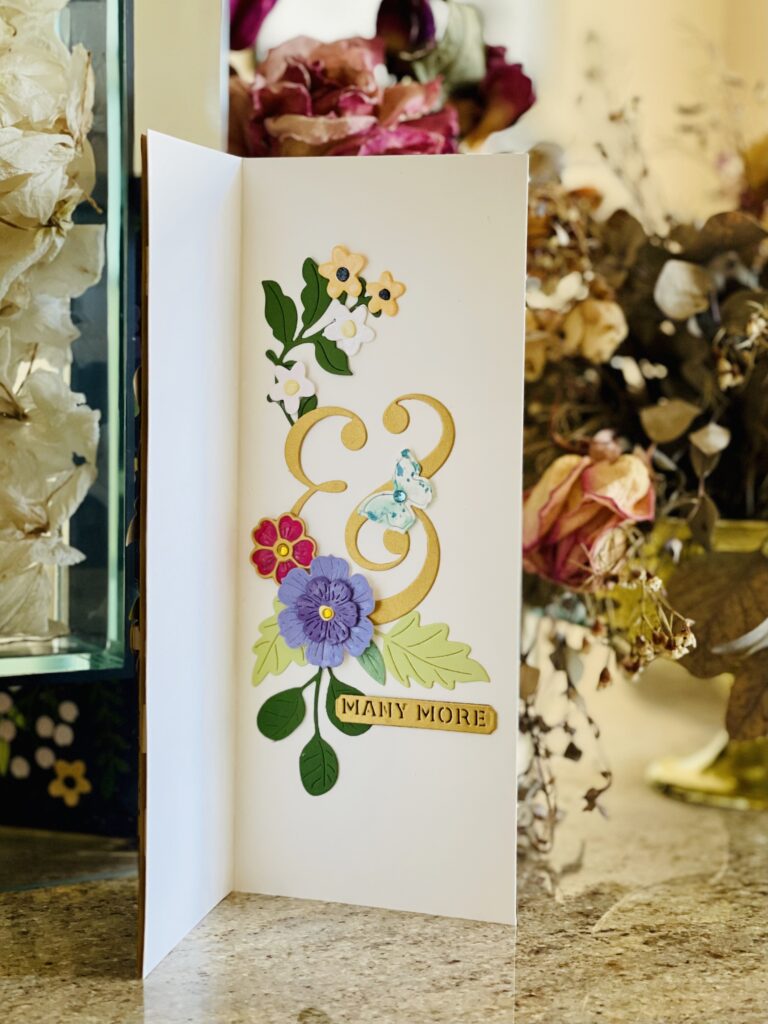
- With the Small Die Kit, I die cut the ampersand with Spellbinder brushed gold cardstock.
- The Small Die Kit comes with “Happy Birthday” and “Many More” dies. I also die cut them in brushed gold cardstock. Next, I die cut an extra shadow layer with white cardstock for the words to show up along with giving them the necessary dimension. These sentiments are gorgeous.

5. Next, I embossed a 3.25”x 8.25” purple cardstock with Spellbinder’s Leafy 3D embossing folder as the background panel. For added interest, I splattered with Gansai Tambi gold watercolor and Altenew’s Lavender Fields metallic shimmer spray.
6. I adhered all the elements to the panel along with the “Happy Birthday” sentiment before attaching it to a brush gold matte layer. Next, with some foam tape, I attached the entire panel to a slimline heavy weight card base.
7. To make the inside of the card special, I decorated it with the gold ampersand along with some left-over flowers, leaves and springs. I also added a small butterfly and the “Many More” sentiment.

8. I finished the card by adhering some gems on the flowers.

I love how the card turned out. Hope my friend will like it just as much. Thanks for stopping by and happy crafting! Lillian
Supplies Used:
Affiliated links below are at no additional costs to you. This will enable me to create more content. Thank you for your support.
Spellbinders Large Die Club of the Month (SPL)
Spellbinders Small Die Club of the Month (SPL)
Spellbinders Leafy 3D Embossing Folder (SPL | SCR)
Cardstock – 8.5 x 11 – 80 lb. Neenah Solar White – 50 Pack (SCR)
Cardstock – 8.5 x 11 – Neenah Solar White – Ultra Thick – 25 Pack (SCR)
Spellbinders Lilac Color Essentials Cardstock (SPL)
Spellbinders Purple Mist Color Essentials Cardstock (SPL)
Spellbinders Royal Amethyst Color Essentials Cardstock (SPL)
Spellbinders Peridot Color Essentials Cardstock (SPL)
Spellbinders Fern Color Essentials Cardstock (SPL)
Spellbinders Chamomile Color Essentials Cardstock (SPL)
Spellbinders Pink Sand Color Essentials Cardstock (SPL)
Spellbinders Brushed Gold Cardstock (SPL)
Spellbinders Onyx Color Essential Gems (SPL)
Spellbinders Teal Color Essential Gems (SPL)
Honey Bee Stamps Rainbow Gem Stickers (SCR)
Bearly Arts Precision Craft Glue (SPL)
Gansai Tambi – Watercolor – Starry Colors – 6 Color Set (SCR)
Altenew Lavender Fields Metallic Shimmer Ink Spray (ALT)
Lindy’s Stamp Gang – Powdered Paint – Magical Flat Set – Mountain Meadows (SCR)

Leave a Reply